The Best Audio Interface for Beginners – What you need to know
Buying an audio interface for beginners can be confusing. The selection of audio interfaces is huge and you may have questions about compatibility, inputs, outputs, and other technical specifications. In this buyer’s guide, we offer a few tips on what to look out for and list some of the best audio interfaces for beginners.
Note: This article was originally published in German on bonedo.de.
What is an audio interface and what do you need it for?
An audio interface “translates” analog audio signals from electronic instruments or microphones into digital audio data, and vice versa. This allows you to record audio on your computer and edit and mix your songs using DAW software (Digital Audio Workstation). For listening and monitoring, an audio interface can also send signals from your PC, Mac, or mobile device to speakers, headphones, or other external devices.
Whether an interface is a good fit for you is mainly determined by two things: firstly, your individual requirements and recording applications, and secondly, how much money you’re prepared to spend. This article is meant as a small guide to help you find the best audio interface. We’ll also shed some light on some of the technical terms, abbreviations, and advertising promises you’ll come across while looking for an audio interface for beginners.
If you’re thinking of using your computer’s built-in sound card, it’s best to erase that idea from your mind immediately. Anyone who has ever tried to use it for anything more than casual recording will agree: the audio quality is often shockingly bad, even on expensive computers with or without the fruity logo.
Recommended audio interfaces for beginners

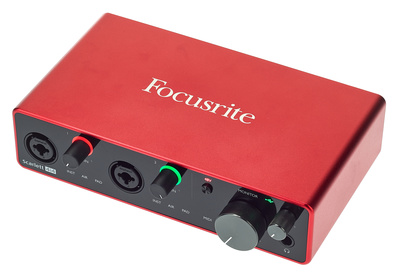

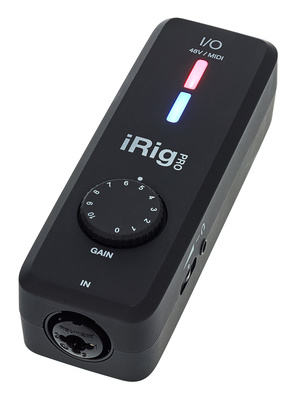
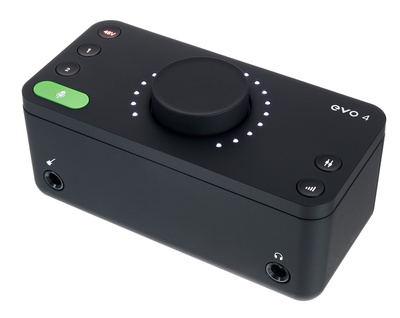
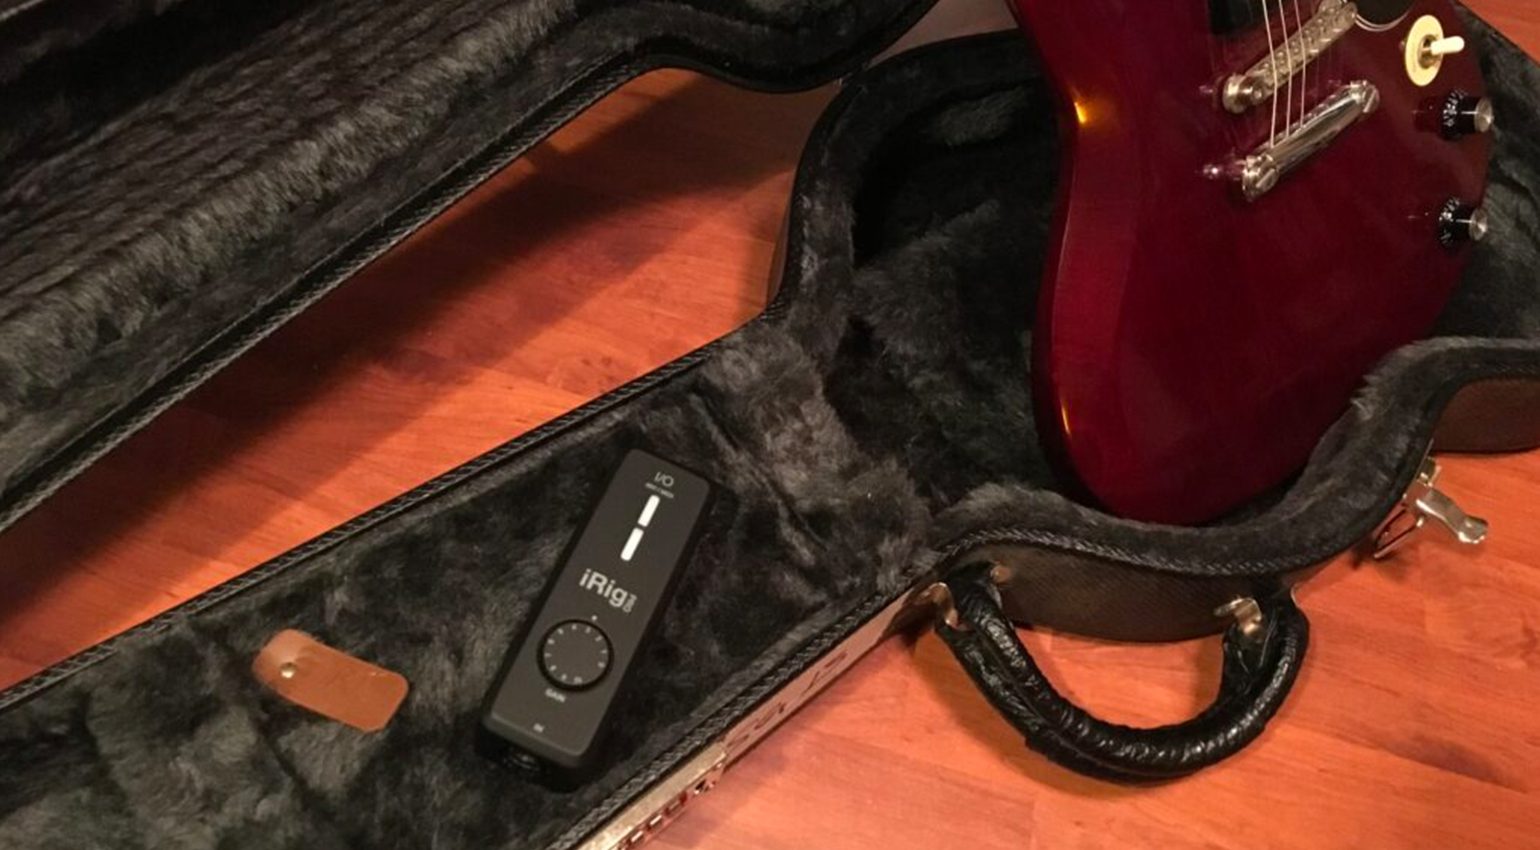
The Focusrite Scarlett 4i4* is among the most popular USB audio interfaces and it’s now available in its third generation. It’s known for its good sound, practical set of features, and attractive price. The Audient EVO 4* has some useful features like auto gain – and it’s probably the sleekest interface of the three. The IK Multimedia iRig Pro I/O* scores with its compact design and low price.
USB 2.0, USB 3.0, Lightning: A choice of connections
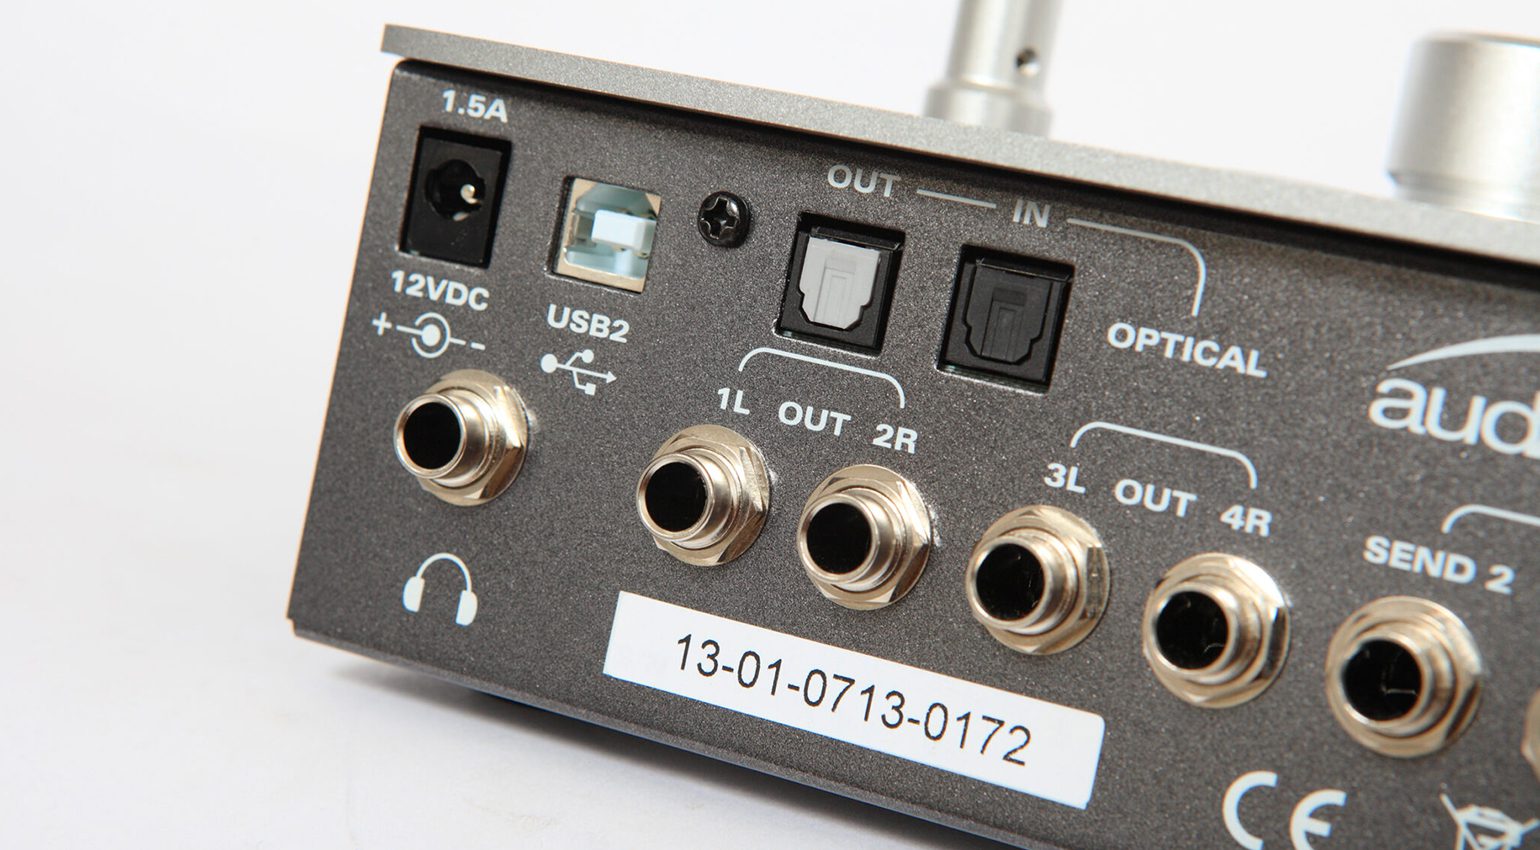
As the standard for connecting audio hardware, USB 2.0 is still number one. The advantages are obvious: USB 2.0 has low manufacturing costs, can power the interface, and allows for plug’n’play. The disadvantage, however, is that you might encounter problems with data transmission if you’ve got a large number of different USB devices connected to your computer. Many of the best audio interfaces can run on USB bus power, i.e. without a separate power supply. This is especially handy for mobile applications and saves you the hassle of carrying a DC power adapter.
How many inputs and outputs should an audio interface have?
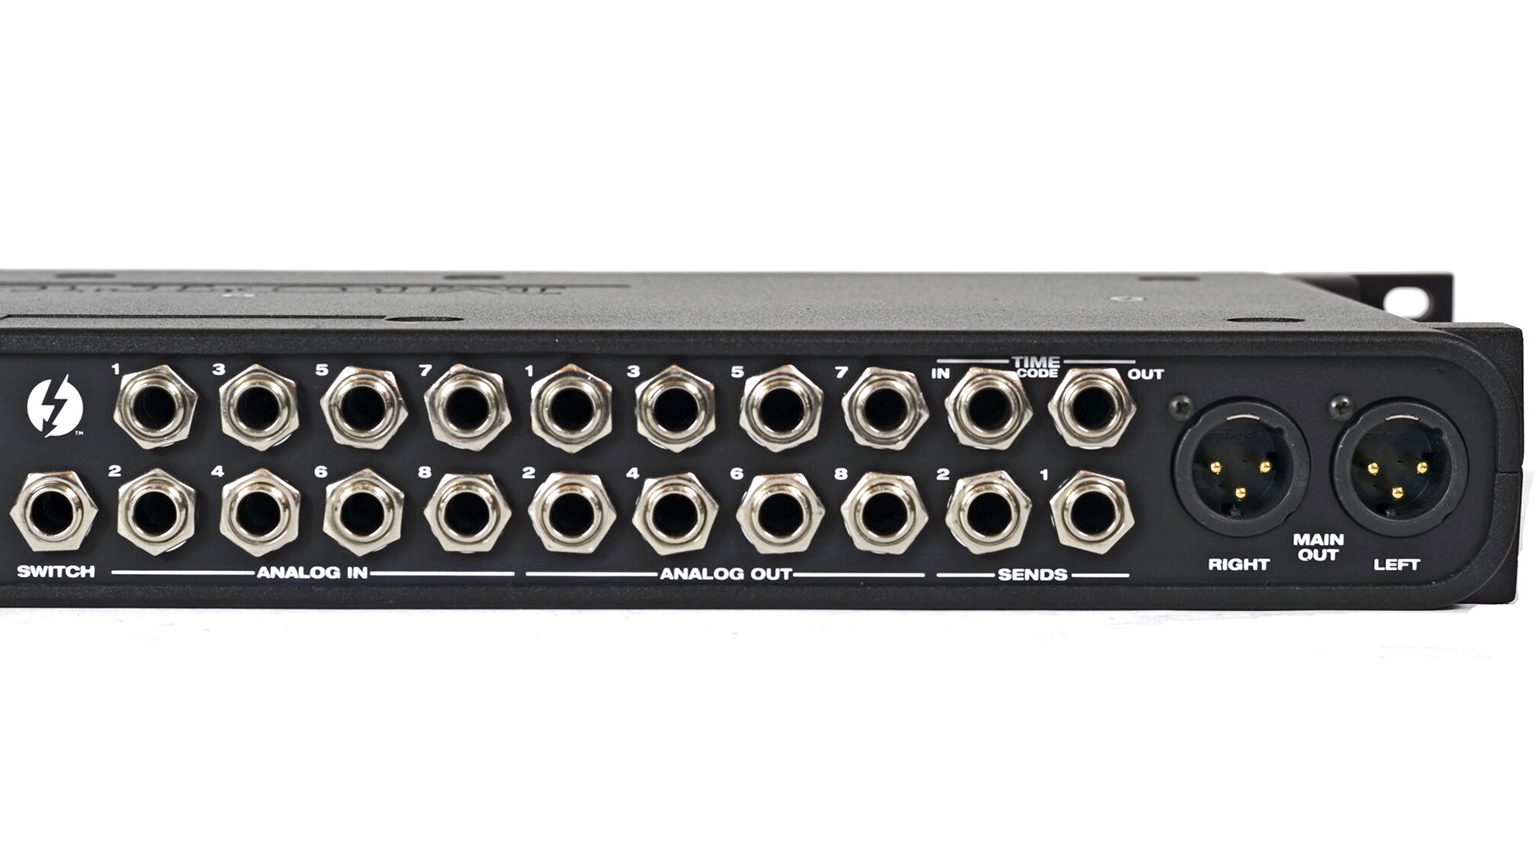
One of the first things to think about when you’re deciding which audio interface to buy is the number of inputs and outputs you need. Typical USB audio interfaces offer various configurations of 1, 2, 4, 6, or 8 inputs and outputs. Larger solutions for professional studios are also available with much higher channel counts, such as 16, 24, or 32 inputs and outputs.
Many of the most popular audio interfaces for home recording have two inputs and one stereo output (2 in / 2 out – these numbers always refer to the number of mono channels). This configuration allows you to record two mono or one stereo signal and send a stereo signal to your speakers for monitoring.
Why would you want more than two inputs and outputs?
Bear in mind, however, that there are limitations. Simultaneous recording of more than two mono signals or one stereo signal is impossible with a 2 in/2 out interface. If you need to record more than two mics at a time (e.g. for recording a band or drum set), you’re going to need additional inputs. Sending signals to external effects like a hardware compressor is another case that requires additional inputs and outputs: stereo output to the external device, return via a stereo input. But because you always have to hear what you are doing, another stereo output for the monitors is necessary in this case. In this example, a 4/4 interface with four inputs and four outputs (such as the Scarlett 4i4 mentioned above) would be needed.
It is of course possible to record instruments or singers with an interface with only two outputs. However, this means that all people involved must hear the same signal. A second pair of outputs allows you to make a separate monitor mix for the player/singer, which can be very helpful during recording.
Another application where you might want more than two outputs are live gigs. It’s always nice to have the option to provide the sound engineer with more than just a stereo signal. For example, you could route the beats and solo sounds to the mixing console separately, which gives the engineer more options in the mix.
Finding the best audio interface: line, instrument and microphone inputs
Most external audio devices that you might want to connect to your audio interface (equalizers, compressors, external microphone preamps, etc.) and sound generators (keyboards, synthesizers, drum machines) require line inputs. In addition to this, most audio interfaces for home recording also offer one or more microphone inputs equipped with microphone preamps. Electric guitars and basses are connected to special instrument inputs (also called “Hi-Z”), as are effect pedals.
Recording guitar or bass? Choose an audio interface with a Hi-Z instrument input
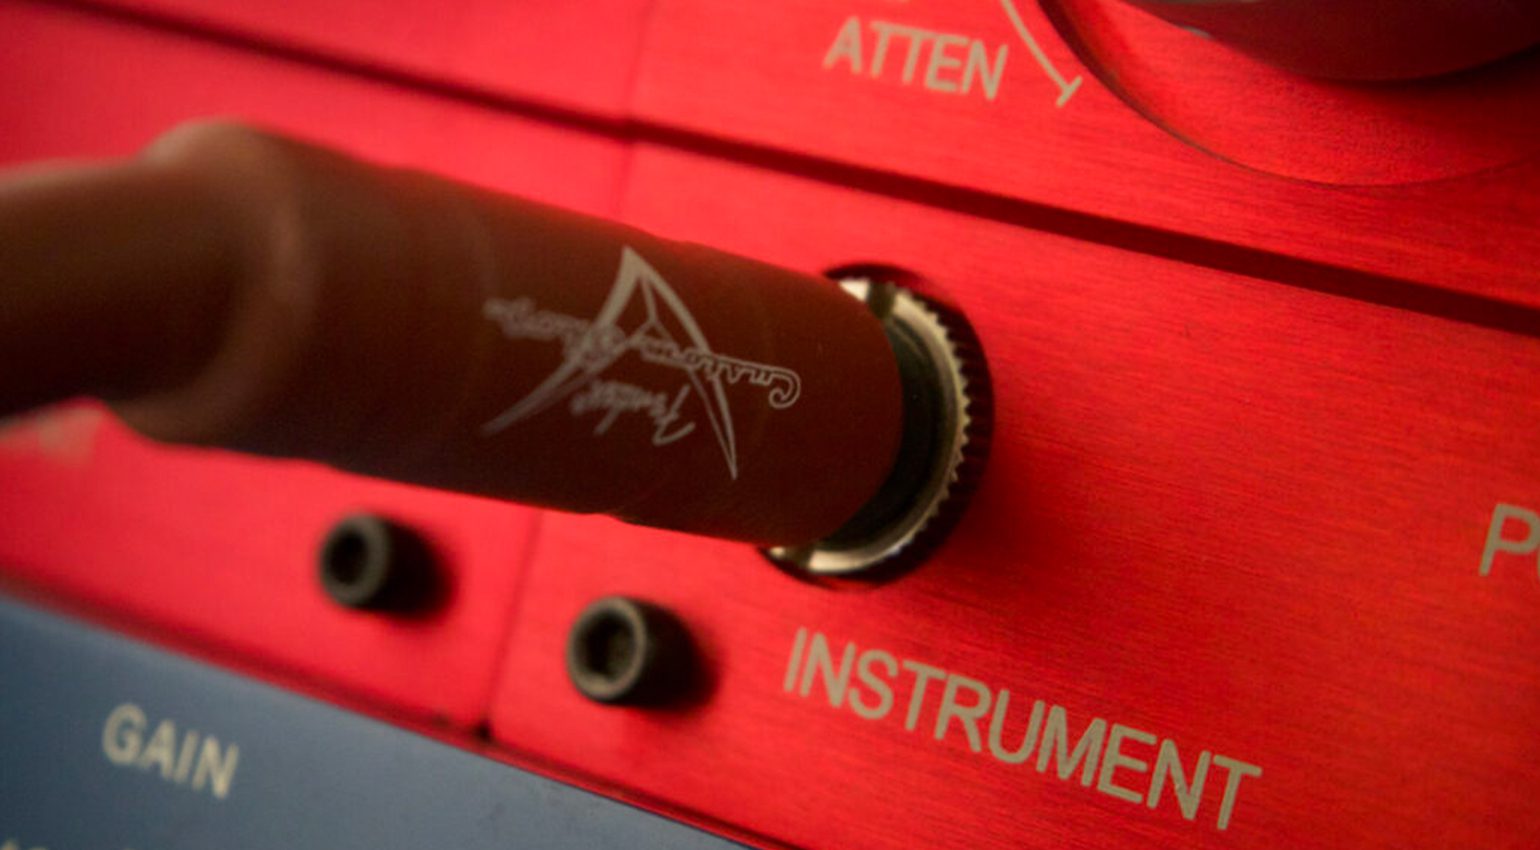
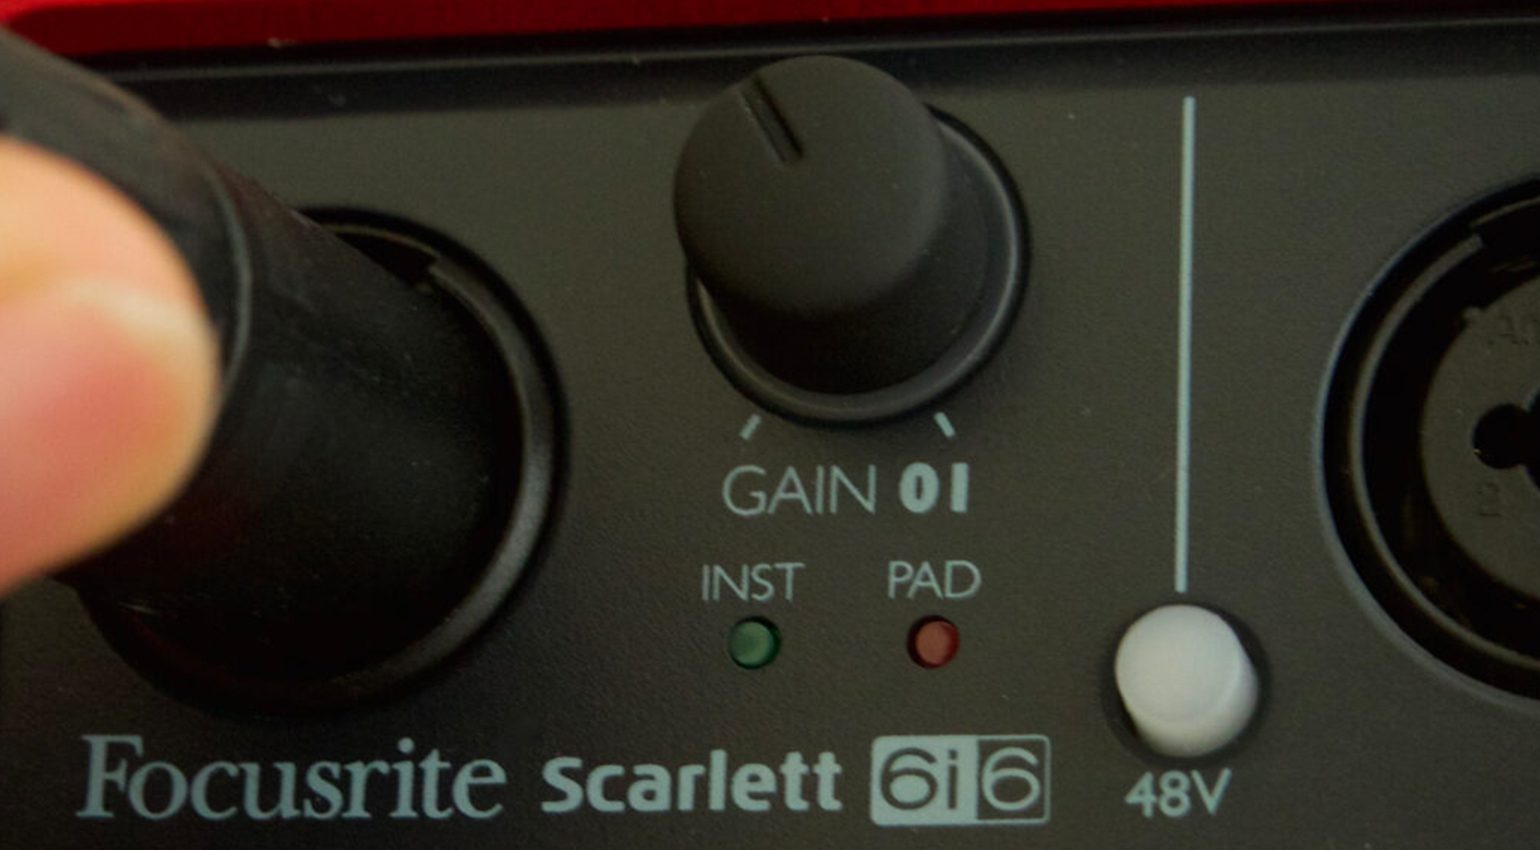
Almost all current audio interfaces have an instrument input for connecting an electric guitar or bass without using a DI box. If your interface doesn’t offer this type of input, you can get a DI box for little money, but that’s one more box that’s lying around. So it’s best to invest in an interface with an instrument input if you’re going to record guitar or bass. This also allows you to use amp and effect modeling plugins on your computer.
Buying an audio interface: The quality of the mic preamps matters
If you want to record vocals or anything else that requires a microphone, be sure to buy an interface with a built-in microphone preamplifier (preamp). The majority of current audio interfaces aimed at home recording offer this option. A preamp is necessary because microphones have a much lower output level than synthesizers, for example.
The quality of built-in microphone preamps has improved a lot in recent years. But don’t expect the preamps of an inexpensive interface to deliver the same quality as external, studio-grade preamps. A good microphone preamp inevitably costs a bit of money. If you’re serious about recording and own some nice microphones, a high-quality external preamp is worth considering. Rule of thumb: Dynamic microphones (moving coil microphones and ribbon microphones) require better and more powerful preamps than condenser microphones.
Phantom power: Essential for condenser microphones
For recording vocals, a condenser microphone is usually the weapon of choice. Tube microphones come with their own power supply, while most others require 48V phantom power. So make sure that this is available. Luckily, most audio interfaces that offer preamps also supply phantom power. A low-frequency filter is also great to have, as it can help to eliminate low-frequency noise (often called “high pass” or “low cut”). And as mentioned above: If you intend to use a (passive) ribbon microphone or certain dynamic microphones like the Shure SM7B, look for high-quality preamps with at least 65 dB of gain.
To save space, some compact audio interfaces don’t have all of their inputs and outputs on the box itself, but come with so-called breakout cables instead. These connect to the interface using a multipin connector on one side. On the other end, you’ll find the actual input and output jacks for connecting your other equipment. While breakout cables are great space savers, it’s really annoying if they break or get lost.
Outputs of an audio interface
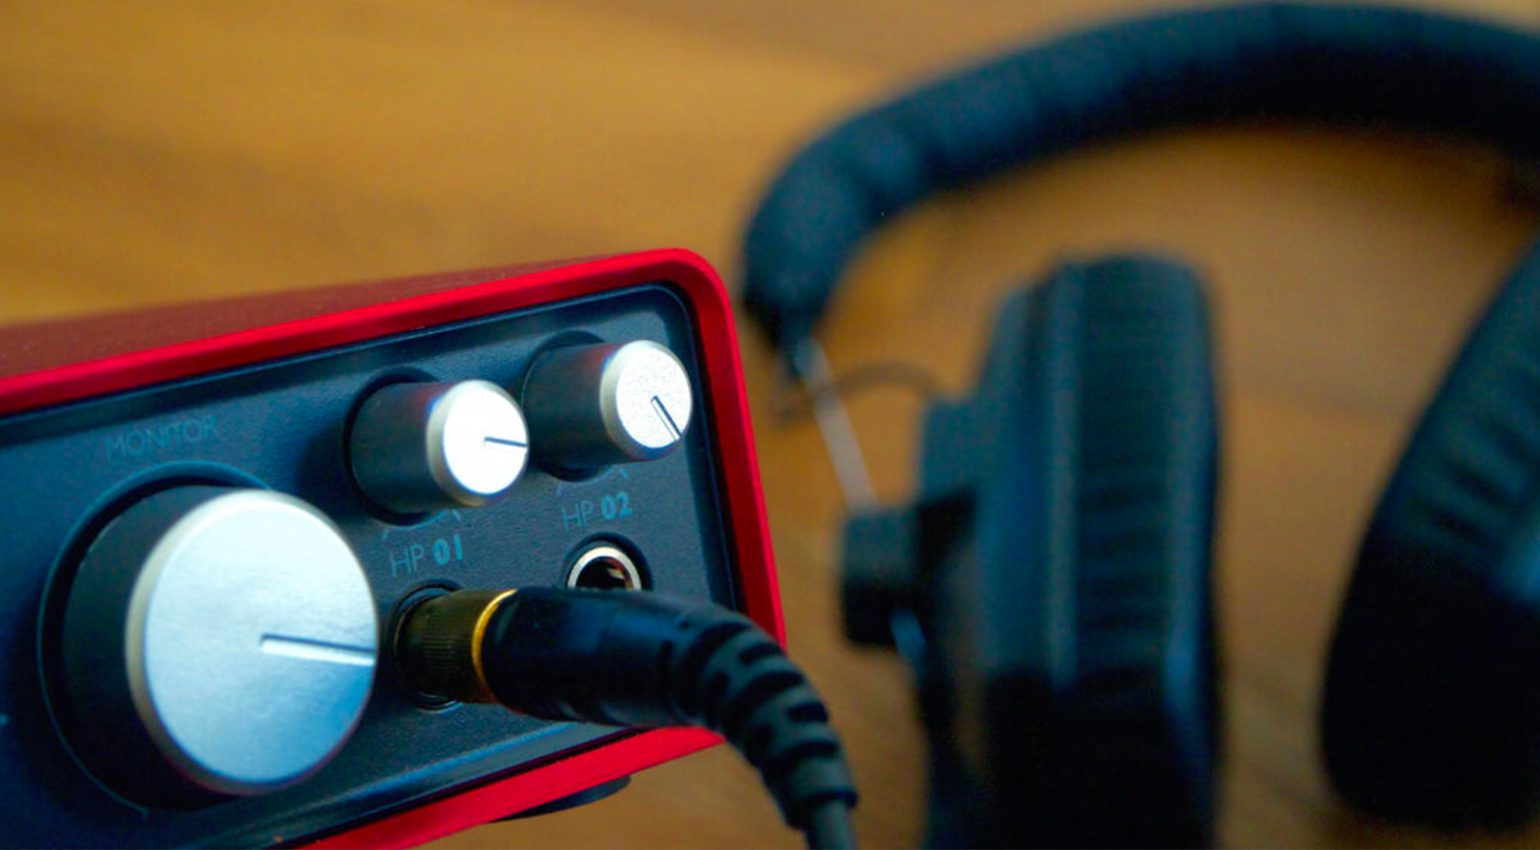
The outputs of audio interfaces for beginners are mainly used for monitoring, meaning that you connect your monitor speakers to them. In addition, there’s usually at least one headphone output.
But be careful! Just because there are several outputs, that doesn’t necessarily mean that you can “feed” them with different signals! In many cases, the headphone outputs always carry the same stereo signal as the main outputs. Why? Well, it’s cheaper, one less digital converter is needed, and the assignment in the software is easier.
Some audio interfaces offer two independent headphone amplifiers, which can be really nice to have. When you only have one room to work with, you won’t be able to use monitor speakers for listening while recording, so it’s really nice to be able to connect two sets of headphones with different volume levels.
Direct monitoring: Say goodbye to latency
In the past, monitoring during recording was often a problem with computer-based recording. Everyone has experienced how annoying it is to hear one’s own voice on a mobile phone with a short delay. The same problem occurs when the monitor signal (your own voice or instrument being recorded) is sent from the audio interface to the computer and back again.
What is Direct Monitoring?
Direct monitoring means that an input signal such as a vocal microphone can be sent directly to the (headphone) output without delay. Instead of sending the signal to the computer and back again, the audio interface mixes the signal directly with the playback from the DAW software and sends it to the headphone output. This avoids latency and is the only way to properly control timing and pitch when recording. If you don’t have a mixing desk, make sure that this feature is available!
However, there are significant differences between different interfaces in terms of convenience and flexibility. For example, it’s important that the audio interface can provide a mono sum of the input signals for monitoring. Otherwise, you’ll only hear your voice on the left side if you choose an odd-numbered input and on the right if you use an even-numbered input. But almost all audio interfaces can do this now – either with a dedicated mono button or via software.
Digital connectors on the audio interface
Most people who record at home only use the analog inputs and outputs of their audio interfaces. However, some interfaces also offer S/PDIF coaxial connectors. These can either send or receive two-channel digital audio via RCA sockets. An alternative to the coaxial S/PDIF interface is the optical version, which uses so-called TOS-Link connectors. Instead of voltages, this connection uses light pulses that are transmitted through very thin fiber optic cables. These cables are very susceptible to kinks and are quite expensive. It is rare to find both versions of S/PDIF on the same device.
So what is it for? You can use the S/PDIF inputs and outputs to connect certain digital effects and mixers, or high-quality, external analog/digital converters. Some hardware units such as channel strips offer A/D expansion cards as an option. Many hi-fi devices and some synthesizers also have S/PDIF outputs. Using the digital input on the audio interface avoids the lossy conversion from digital to analog and back again.
Should an audio interface for beginners have MIDI?
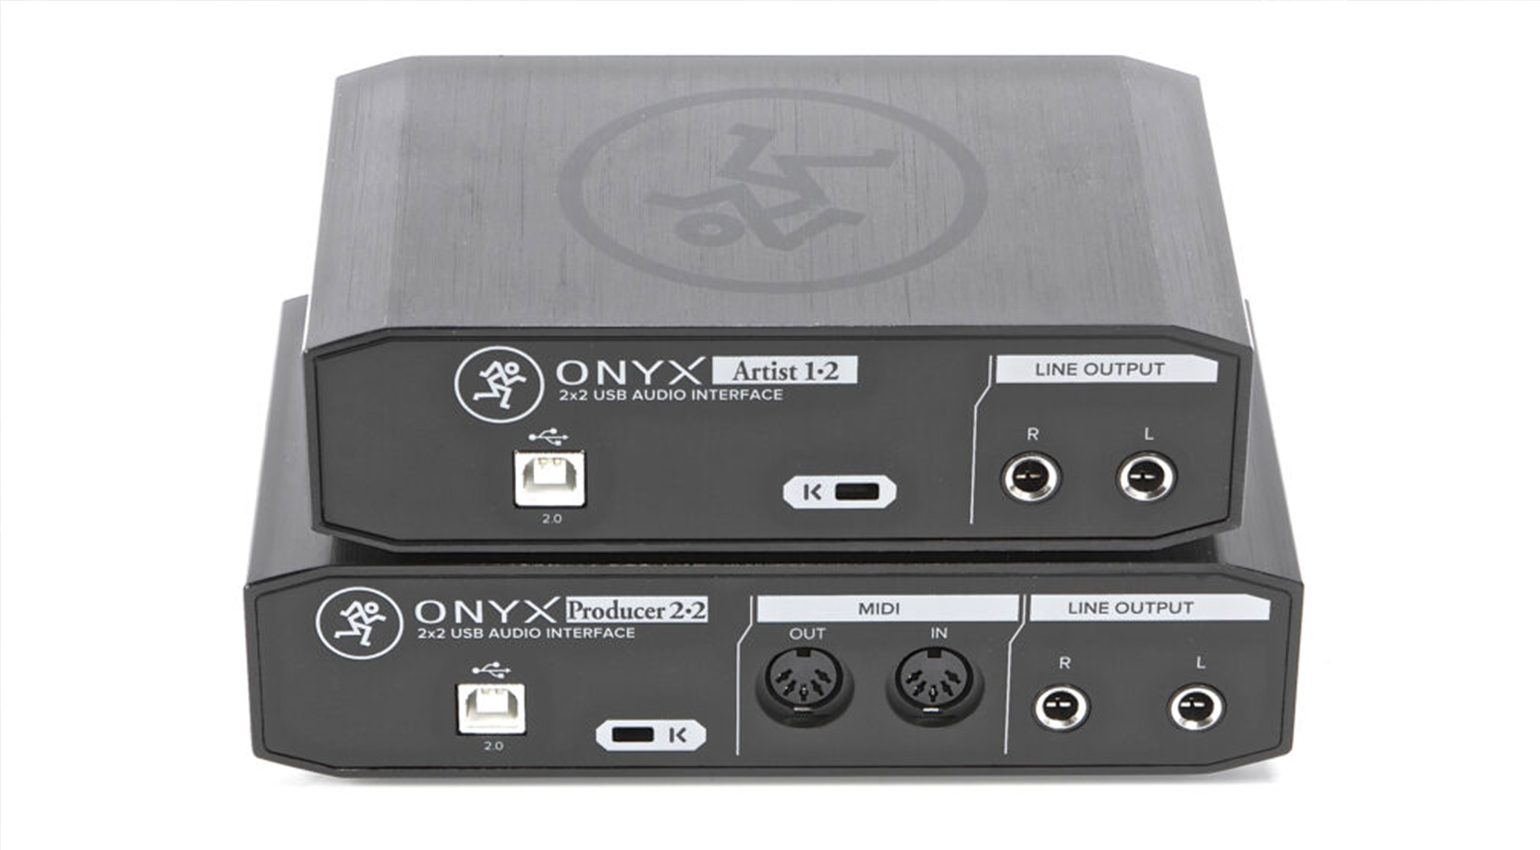
If you’d like to control a synthesizer, effect, or digital mixer from the computer using MIDI, or connect a master keyboard without a USB port, MIDI ports on your audio interface come in handy. They make it possible to send and receive MIDI control signals through software. If you only have a few MIDI devices, a single MIDI input and output on the audio interface is usually sufficient. Since this technology is inexpensive and highly useful, many audio interfaces for beginners offer a MIDI input and output. You can connect about three devices in series via MIDI-Thru (“daisy chain”). MIDI is also great for synchronizing your drum machines and groove boxes.
Numbers: Sample rate (kHz) and quantization (bit)
Which sample rate is best in an audio interface?
Manufacturers like to advertise their products with numbers – but do they really matter that much? You should think carefully about whether you really need the high sample rates that many audio interfaces now offer. After all, twice the sample rate also means twice the disk storage space and a much higher load on your CPU. For many audio applications, the gain is rather small, because other things are much more important for the sound (the analog signal path, for example). And a good 48 kHz interface sounds most likely better than a very cheap 192 kHz interface.
A digital resolution of 24 bits for AD converters is now standard
In the meantime, a bit depth of 24 bits is now the standard. All this means is that the information leaving the converter consists of 24 zeros or ones for each sample. And again, a higher bit depth doesn’t automatically produce a better sound! That said, 24-bit converters have a wider dynamic range, which usually results in a higher signal-to-noise ratio.
Beyond the sample rate and resolution, the true quality of the converters is expressed in values that aren’t normally mentioned in advertisements – mainly the various errors generated by the components. That is to say: There are 16-bit converters that sound many times better than some 24-bit converters.
Buying an audio interface: Keeping the latency low
The term latency refers to the time delay between incoming and outgoing signals. Thanks to direct monitoring (as mentioned above), latency is now less of an issue for recording audio signals, but you’ll still encounter it when you play software instruments using a MIDI keyboard. If the latency is too high, there will be a noticeable delay between playing a key and hearing the sound.
The total latency is the sum of many different short delays affecting the signal on its way through the interface and computer. These include hardware buffering, software buffers, and delays caused by the A/D and D/A converters. The minimum latencies listed in data sheets should be taken with a grain of salt, as they’re often only achievable under lab conditions and with the trade-off of an enormous CPU load. So it’s important to test in advance (if possible), search manufacturers’ websites and forums for information, and, of course, read a few reviews.
What’s the best design for an audio interface?
It might seem obvious, but the design and form factor of an audio interface are just as important as its features. Do you need to take it on the road with you? Then it makes sense to get an interface that’s rugged and small enough to fit in your bag. What about the layout of the front panel? Do you need tweezers to operate the controls? Are the labels legible even in dim lighting conditions? These are just some of the things to consider depending on your application.
Additional features, displays, and software packages
Some manufacturers are kind enough to provide a screen for level metering. This is not a gimmick, but extremely useful, because it’s way more accurate than the simple signal and clipping LEDs many other audio interfaces for beginners offer.
Some audio interfaces offer extra features that normally require a second device. For example, there are interfaces that double as DAW controllers, mixers, and/or monitor controllers. Advantage: You only need one instead of two or three boxes. Disadvantage: When something fails or you want to upgrade, you have to replace the whole thing.
Almost all manufacturers offer their own control software for controlling the features and internal routing of the audio interface. Other software like plugins and entry-level versions of popular DAWs is often also included. A decent software package can go a long way, especially when you’re just starting out.
Checklist for buying the best audio interface for your workflow
The bottom line is, there are many different factors to consider when buying an audio interface for beginners. One important point is, of course, the amount of money you’re willing to spend. While there are some excellent inexpensive options out there, keep in mind that the somewhat more expensive brands have usually earned their reputation for a reason. Here is a checklist for your purchase:
- Which operating system and hardware should the interface be compatible with?
- How many inputs do I need, how many outputs do I need?
- How many microphones do I need to connect?
- What should my monitoring section look like (routing, headphone outputs, etc.)?
- What form factor and size suits my workflow best?
- Which special features and optional extras are important to me?
- Which software comes with the interface?
- How big is my budget?
More information about audio interfaces for beginners
- The best audio interfaces of 2022
- Best audio interfaces for guitarists
- The best home recording packages – bundles to get you started
- The best audio interfaces under €200
3 responses to “The Best Audio Interface for Beginners – What you need to know”

 4,2 / 5,0 |



Most of the usb powered audio interfaces on the market lack adequate power to drive a decent set of headphones. They are either obscenely expensive OR the mfr’s cheap out on the minimum requirements for I/O in a an audio interface.
why is it you always cater to to upper end of the market?
A two channel is 2 in 2 out interface is more than adequate for beginners
Thanks for your input. In actual fact, Gearnews is very much focused on accessibility and affordability. Our coverage of premium brands like Prism and Lynx (the upper end of the market) constitutes less than 1% of our content.