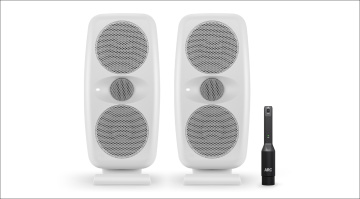
Speaker Placement for Beginners: 5 Nearfield Monitoring Tips
You’ve got your first set of monitors, but you aren’t sure where to position them? We’re discussing speaker placement for beginners.
There is a wealth of online data about acoustics and one could say that it’s easier than ever to build your own home studio. However, when you’re starting out it’s easy to get confused and overwhelmed with conflicting info from manufacturers and your favourite YouTubers.
Speaker Placement for Beginners
To cut through the madness, we’ve put together a simple guide that will help you get the most from your studio monitors in any environment. While it won’t transform your bedroom into Oceanway Studios, we can certainly give you a better understanding of some of the basics of monitoring.
1. Your Room
The sonic potential of your listening environment is more important than any single piece of equipment in your studio. Remember that when you take in recommendations from a speaker manufacturer, they often come from the context of outfitting a professionally treated studio.
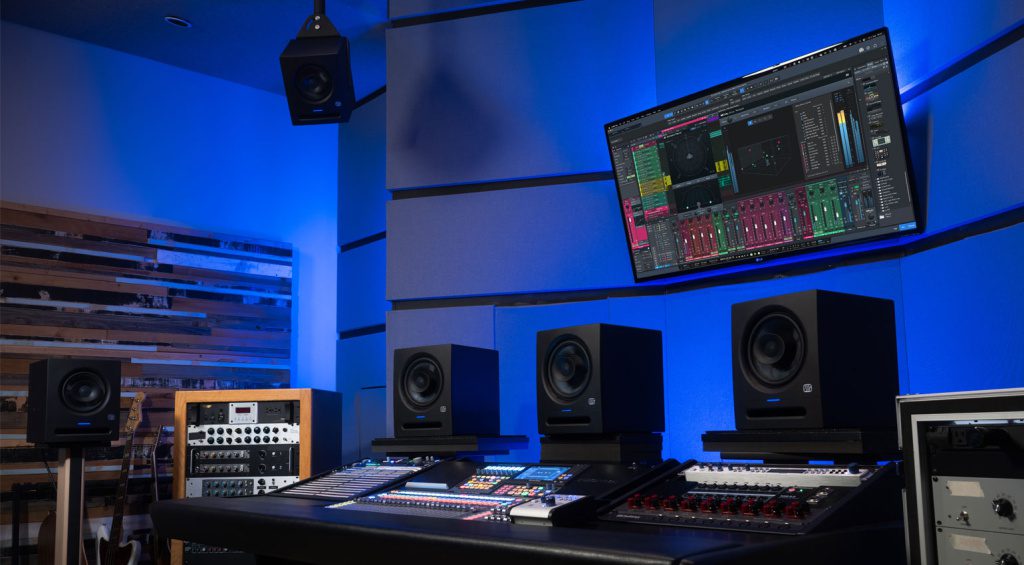
This doesn’t mean that the information is inaccurate, but rather that those of us without treated rooms can’t expect the same results. So without building the ideal environment, how then do we go about improving the acoustics of a converted room?
Rather than spending thousands on acoustic treatment, I would always recommend working with what you have. Moreover, keep your expectations realistic, as this will prevent you from investing money unnecessarily.
With this in mind, we can look into some basic speaker placement principles from the perspective of working in the average untreated spare bedroom.

2. What is Nearfield Monitoring?
The term Nearfield is used in acoustics to describe the listening distance that allows you to hear more of the sound source than the reverberated reflections in your listening environment.
This is a great starting point for speaker placement, as most of us face spatial limitations that often determine our listening position and where we can place our studio monitors.
You might be forced to place your monitors close to a wall. While this might not be ideal, as long as the distance is greater than the diameter of the bass reflex ports and the wall is not perpendicular to the monitor, you should avoid some negative effects of speaker boundary interference.
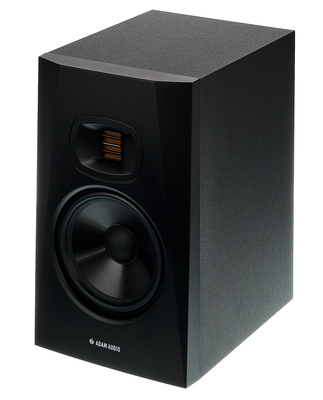
Furthermore, you might have been told that monitor speakers with 5-inch or smaller woofers are designed for smaller rooms. This is an important myth to debunk as we’ll find out next.

3. Speaker Size
One aspect of selecting a studio monitor which is a slightly contentious issue is the speaker size in relation to the room. Although many manufacturers recommend certain specifications for certain room sizes this is not something we need to take into account.
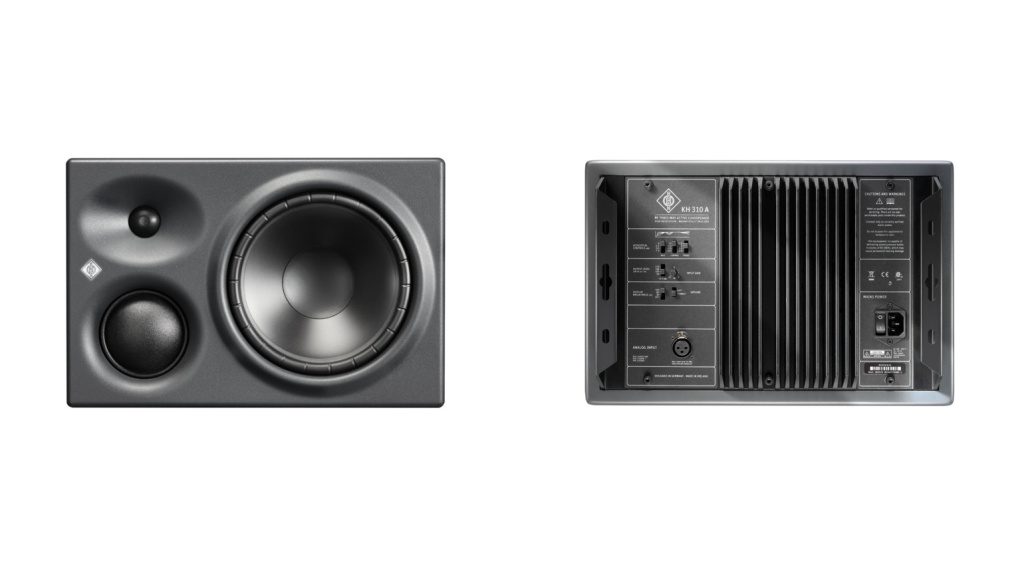
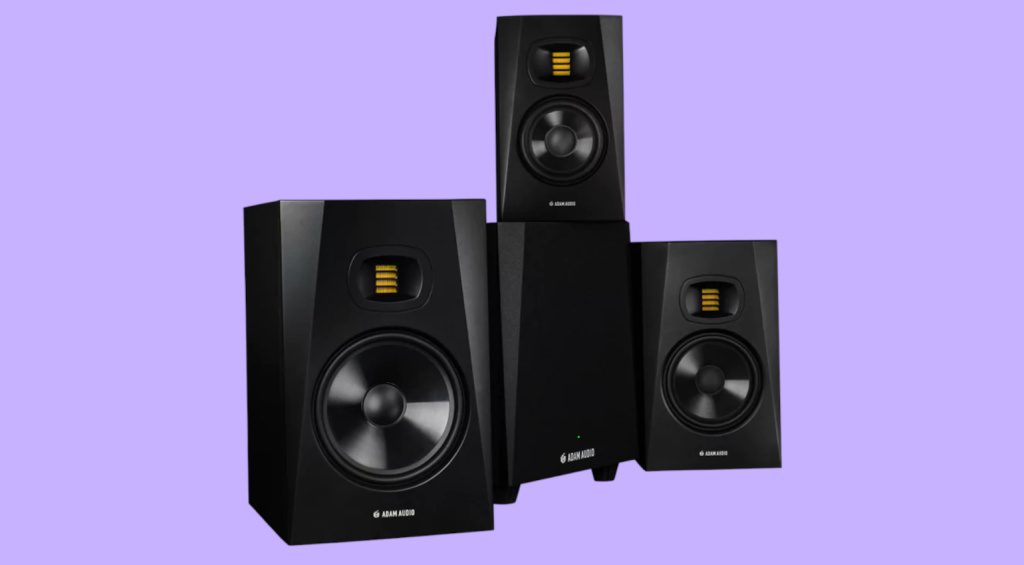
The reason being that how much room reverberation we hear is largely dependent on the SPL level at which we are listening. A larger 2-way will have a wider frequency response, while a 3-way speaker allows the woofer to deal with a smaller frequency range.
As low frequencies are more volatile and harder to manage, having more headroom is useful in almost all audio applications including music production, mixing, mastering, and sound design.
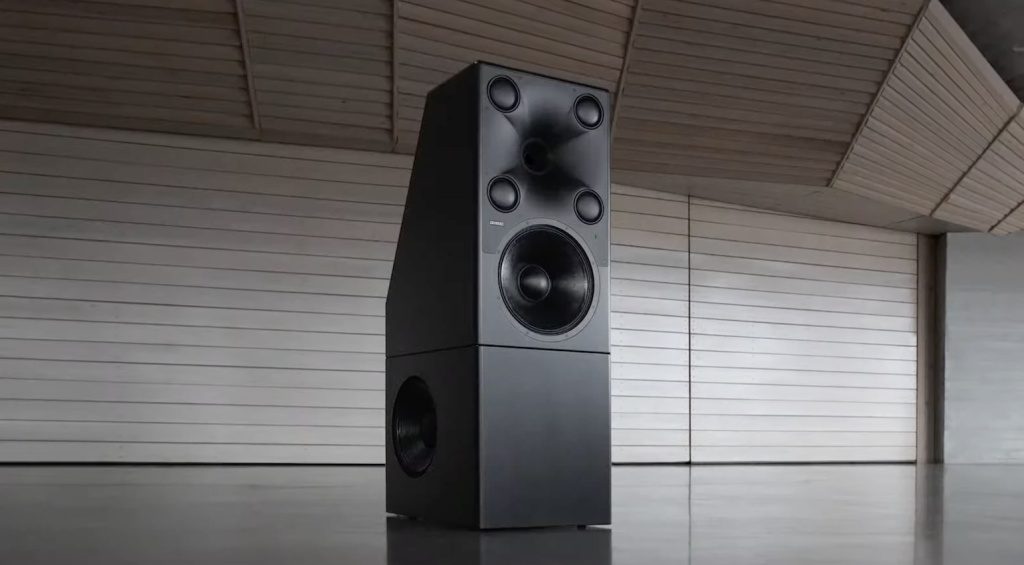
It’s also worth noting that the placement of subwoofers has changed over the years. Rather than a single subwoofer, most stereo professional monitoring systems are configured with two subs stacked directly below the monitors.


4. Monitor Stands
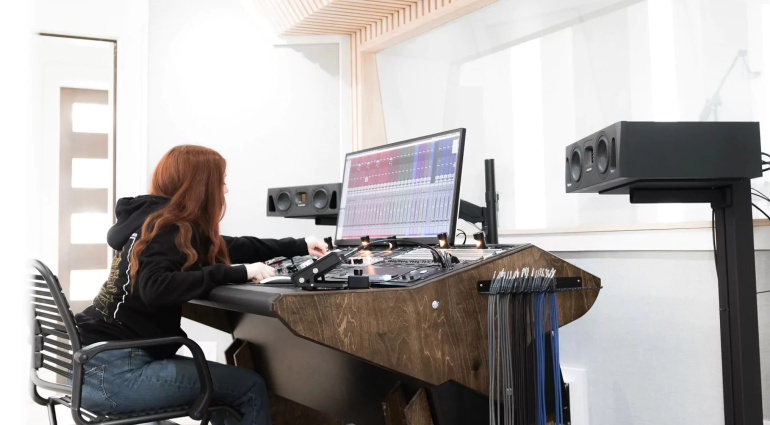
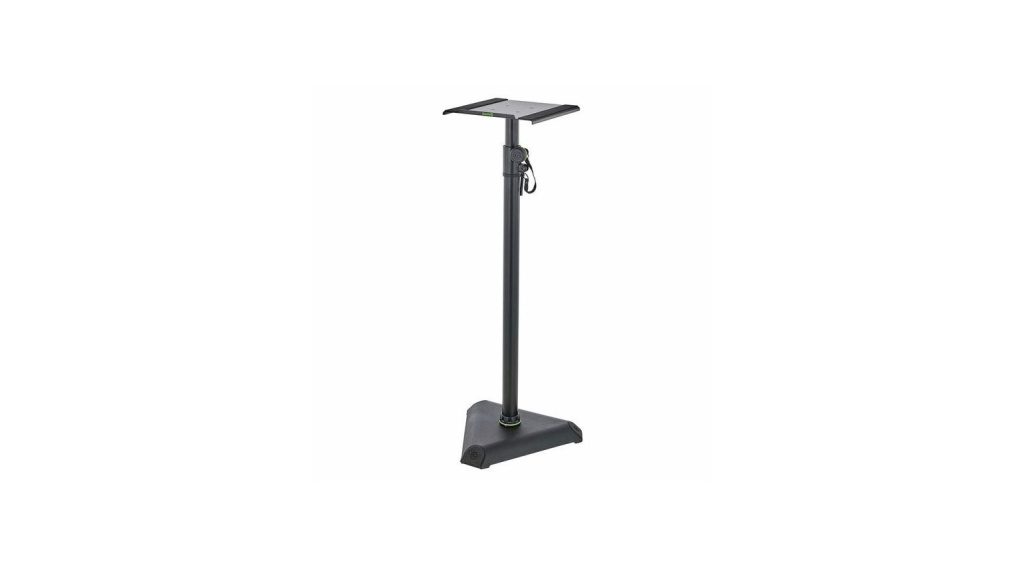
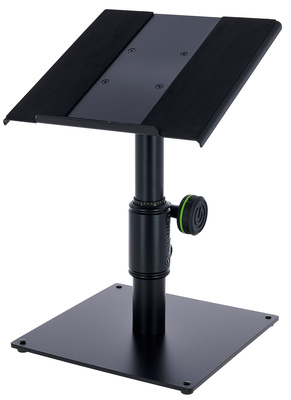
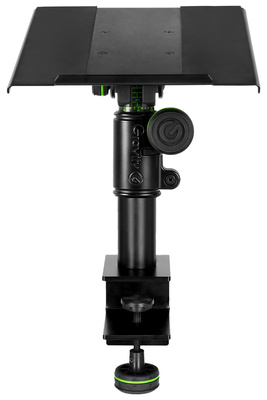
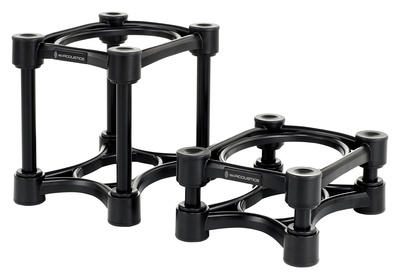
Using monitor stands is by far one of the most effective methods for placing your speakers accurately in any room. In addition, stands also allow you to get great performance from your monitors compared to using decoupling pads on your desktop surface.
Many manufacturers and so-called acoustics experts make hard-and-fast rules about isosceles triangles and the ideal distance to place your speakers apart from one another according to driver size.
In the average home studio, it isn’t always possible to recreate these lab-like conditions. So, always take the information with a pinch of salt when you apply acoustics recommendations to your studio.
If you don’t have the option of using floor stands for your studio monitors, desktop stands are a great alternative. Acoustic isolation pads can change the speaker’s angle slightly, but they don’t reduce the boundary effect as much as stands.



5. Boundary Interference
One aspect of acoustic theory worth investigating is boundary interference and its effect on sound waves that are either in phase or out of phase. The boundary effect occurs when sound is reflected back off a surface in a way that interacts with the original source.
For frequencies that are in phase with the reflected signal, we can experience a boost in level. Conversely, out-of-phase reflections will result in a dip in volume. Where in the frequency spectrum these boosts and dips happen is dependent on the speaker’s distance from the boundary.
As you move the speaker further away from the wall, the dip in volume caused by the out-of-phase reflections moves lower in the frequency range. This means that the bass response can in fact be maintained when monitors are positioned in close proximity to a wall.
With this in mind, it’s still possible to tweak your monitor positioning to improve their accuracy and overall frequency response, regardless of the size of your room or speakers.

More about Speaker Placement for Beginners:
- Thomann’s Guide to Studio Monitors
- All about Acoustics
- Thomann’s Guide To Studio Acoustics
Table of Contents
*Note: This article about Speaker Placement for Beginners contains affiliate links that help us fund our site. Don’t worry: the price for you always stays the same! If you buy something through these links, we will receive a small commission. Thank you for your support!

 3,9 / 5,0 |