How to use Effects Plugins in your DAW: 5 Useful Tips
We learn about basic effects processing.
When you’re starting out in music production, nothing is straightforward. So to help you out, we’re looking at how to use effects plugins.
So you’ve dived in and got your first DAW, but where do you start? You can start building songs by working with the stock library sound content or recording your favourite instruments, but effects can really shape your sounds into something with its own identity.
How to use Effects Plugins
What is an effects plug-in?
An effects plug-in is a processor that isn’t directly responsible for making sounds like a software synth or sampler. Instead of creating sounds, effects are used to alter them in all sorts of delicious ways.
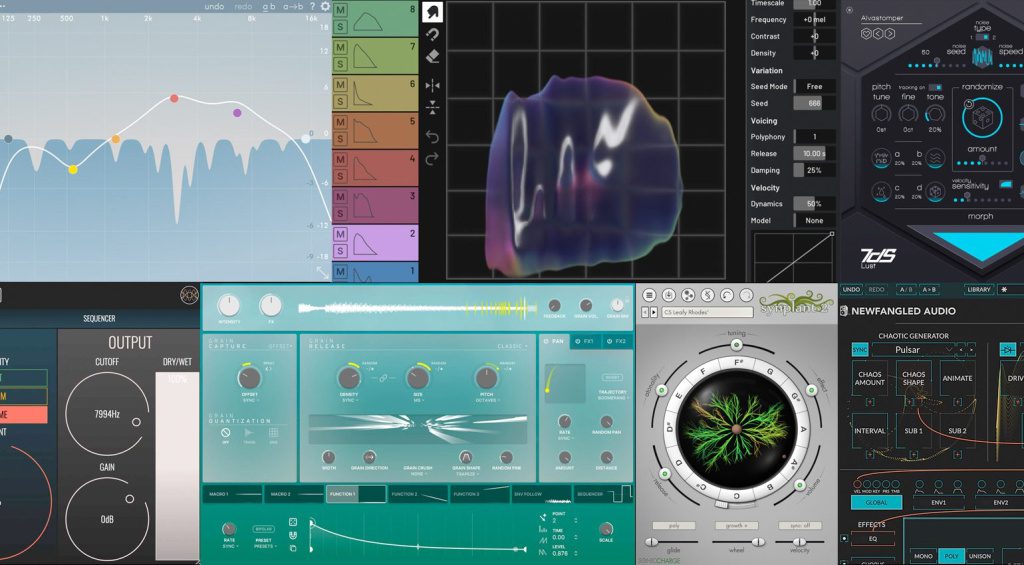
Most DAW systems include a basic range of loops, instruments, and effects. So when you’re learning how to create music, your knowledge about effects will help you quickly define your sound as an artist or producer like Prince did by putting loads of gated reverb on his Linndrum patterns.
The design of effects plug-ins tends to follow two basic philosophies: those that are based on hardware units and those that aren’t. No matter which you prefer using, it certainly helps to have some knowledge about classic hardware effects and their role in the history of recorded music.
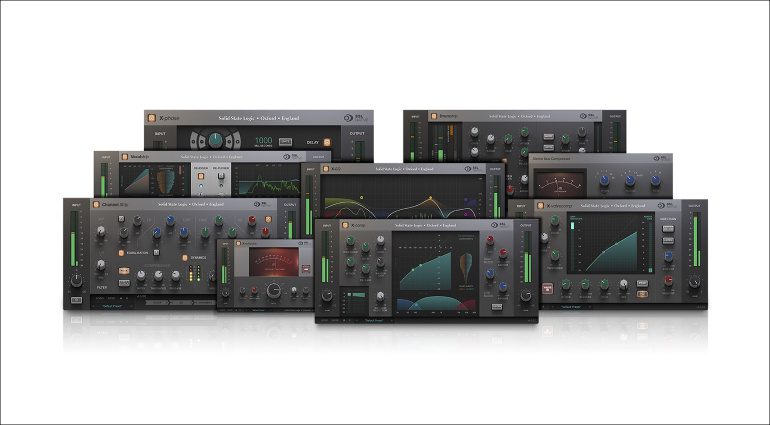
Besides the plug-ins included with your DAW, there is a world of effects known as 3rd-party plug-ins that you can add to your library. Your chosen application, be it music production, mixing, or podcast editing will determine which plug-ins are useful to you.
- Learn about different Plug-in Formats

Presets
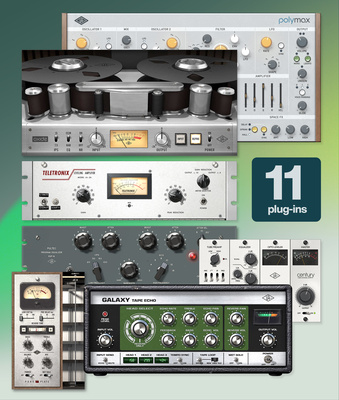
When I was first learning about DAW software, the preset library was one of the most enlightening aspects of the learning process. By quickly skipping through the presets of any effects plug-in, you are able to get a rough idea of what it’s capable of.
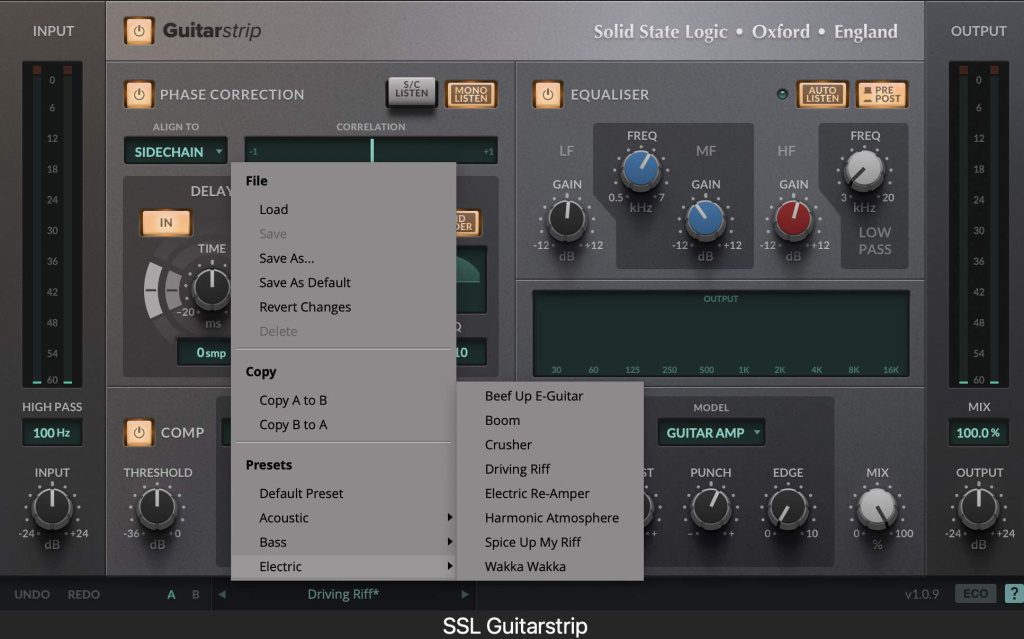
When tackling technical processes like EQ and compression, this helps a great deal as a beginner. While EQ presets can show you the crucial frequency ranges for working with drums, guitars, and vocals, the compression settings give you a template for working with different types of instruments.
If you don’t have any experience, these templates can give you a foundation to work from which demystifies creative modulation effects that might not have as obvious an application as a compressor.
For this reason, presets can become part of your workflow for creating sounds. So much so that I imported the instruments and effects presets from Emagic Logic Platinum to the current version of Logic Pro.


In-line Effects Processing
In modern DAW workflows, the most common way to use effects plug-ins is as channel inserts in what is known as in-line processing chains. This means that unless the plug-in has a wet/dry mix control, the entire signal will be processed.
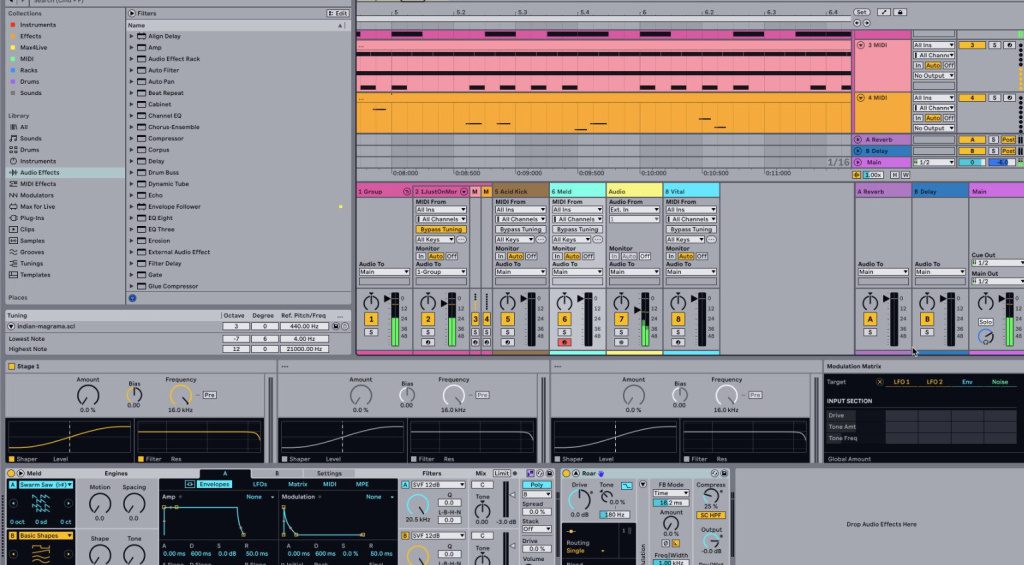
Using plug-ins in this way is extremely quick and efficient when dealing with your “channel strip” type effects like compressors, EQs, saturators, and gates. The effects can be dragged and dropped between channels and you can save entire effects chains and recall them in different DAW projects.
These processing chains can get lengthy, especially when dealing with vocals. Luckily, you can quickly bypass any effect in the chain to find out what it’s bringing to the table in terms of tone, expression, or dynamics shaping.
Although this is the preferred method of effects processing for most modern producers, it doesn’t give you the most control and it’s not the most CPU-efficient way to work for every effect type.


Parallel Effects Processing
When working with drums, for example, you might want the added option of being able to set the reverb level for each individual channel. Instead of loading up seven or eight reverb plug-ins, we use a technique known as parallel effects processing.
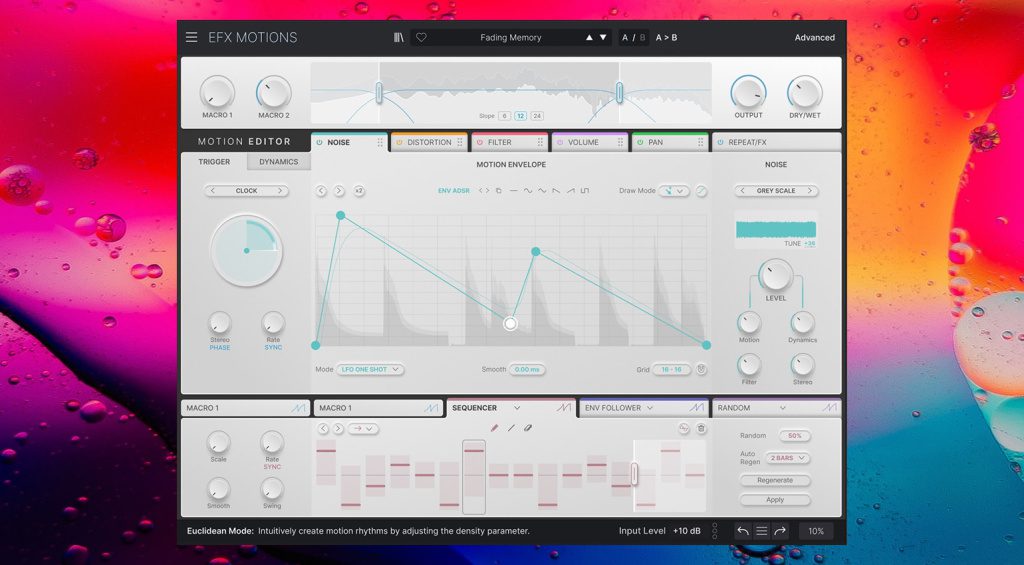
Each channel within your DAW has routing parameters known as sends that split the original signal and send it to an assignable aux channel in varying amounts. For our drums, the solution is simple: open a reverb plug-in on an aux channel with its wet/dry mix set to 100%, and send each drum channel to the reverb bus as desired.
Another application for parallel effects processing is when using compression on channel groups for vocals, guitars, and drums. By sending a pre-fader split of our channel group to a compressor, we can dial in far more extreme settings, as we can then control how much of the compressed is reintroduced into the mix with the channel fader.

Offline Effects Processing
Another, often overlooked side of effects plug-ins comes into play when we use what is called offline processing. Although this falls under what was once referred to as destructive editing, many DAWs have a failsafe in place to revert back to your unprocessed signal when needed.

This method of processing can come in handy when your projects reach a critical mass in the channel count department and you now need to consolidate and clean up. Not only does this streamline your workflow, but it also takes a big load off your CPU.
Once you’re ready to do your final mix, you can start by bouncing your channels down with the in-line effects chains active. Furthermore, bouncing down your effects return tracks separately will give you an extra degree of control in your final edit.
Remember to save a separate version of the project before you start this process, so you can always revise should you encounter any problem areas later on in the mix process.


More about How to use Effects Plugins:
- Check out our weekly Free Plug-ins Roundup
- Thomann’s Guide to Plug-ins
*Note: This article about how to use effects plugins contains advertising links that help us finance our site. Don’t worry: the price for you always stays the same! If you buy something through these links, we receive a small commission. Thank you for your support!

 1,0 / 5,0 |