From Bedroom to Pro: Upgrading Your Home Studio
Is it time to give your studio a more professional edge?
Looking to take your music production and recording capabilities to new heights? We check out different ways of upgrading your home studio.
In this Article:
Upgrading Your Home Studio
Whether you’re trying to produce music at a more professional level or mix projects for clients, there are ways of improving the workflow and acoustics of your space to achieve better results faster.
Upgrading Your Home Studio: Acoustic Treatment
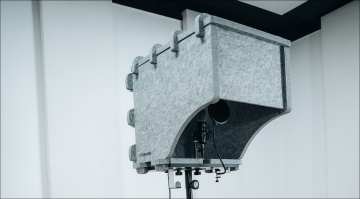
Acoustic treatment is the primary method of improving your studio for both recording and mixing. With isolation materials, you can seal your room off from the outside noise or even create your own vocal booth to optimize your recordings.
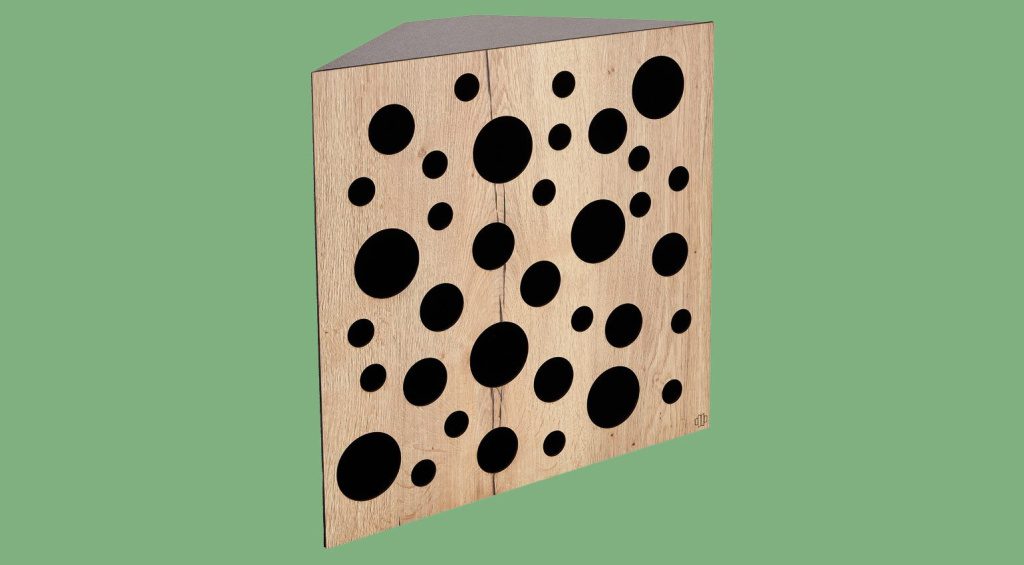
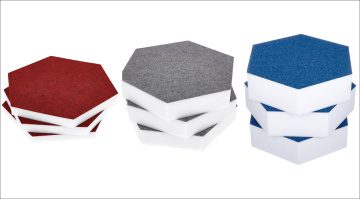
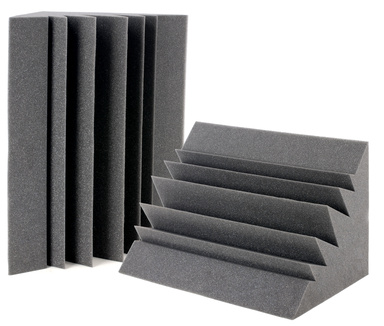
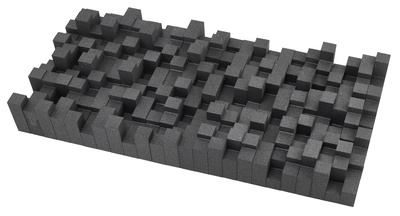
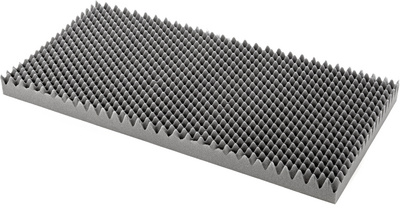
Meanwhile, acoustic absorbers and diffusers can be strategically placed to optimize your environment for analytical listening. Starting with bass traps in the corners of your room, you can reduce standing waves and get a much clearer picture of what’s happening in the low end of your tracks.
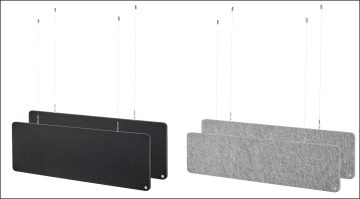
Next, on the ceiling and walls, you can use a combination of absorbers to deaden the room, as well as diffusers to manage and spread sonic reflections in a more natural way. YouTube channels like Acoustic Insider can be really helpful, so make sure you do your research before you install anything in your studio. Furthermore, make sure you clearly understand the difference between acoustic treatment and soundproofing, as this is absolutely crucial.



Upgrading Your Home Studio: Studio Furniture
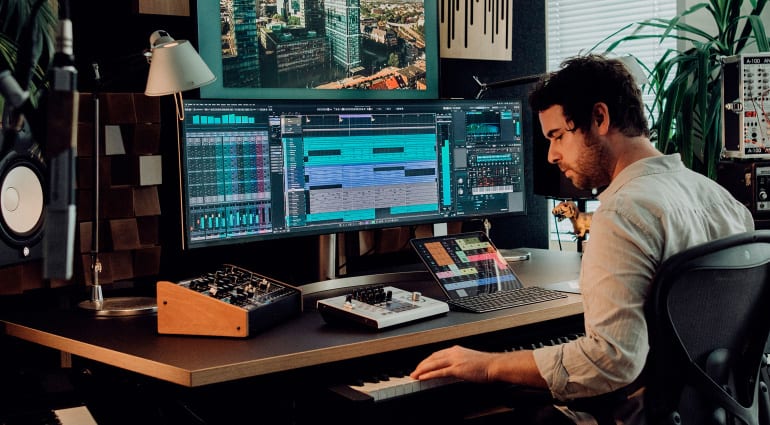
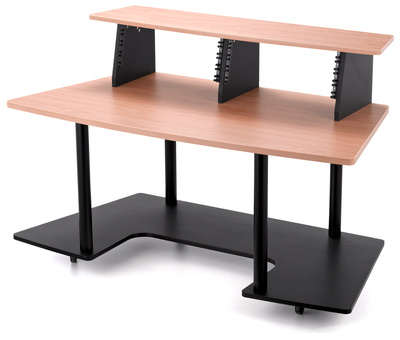
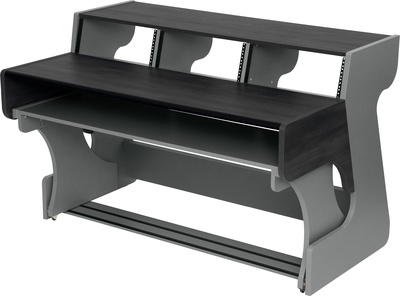
If you spend most of your studio time working in a DAW, it helps to have a desk designed for the task. This ensures that your displays and studio monitors are at the correct height, your master keyboard and control surface are at your fingertips, and your cabling is neatly managed.
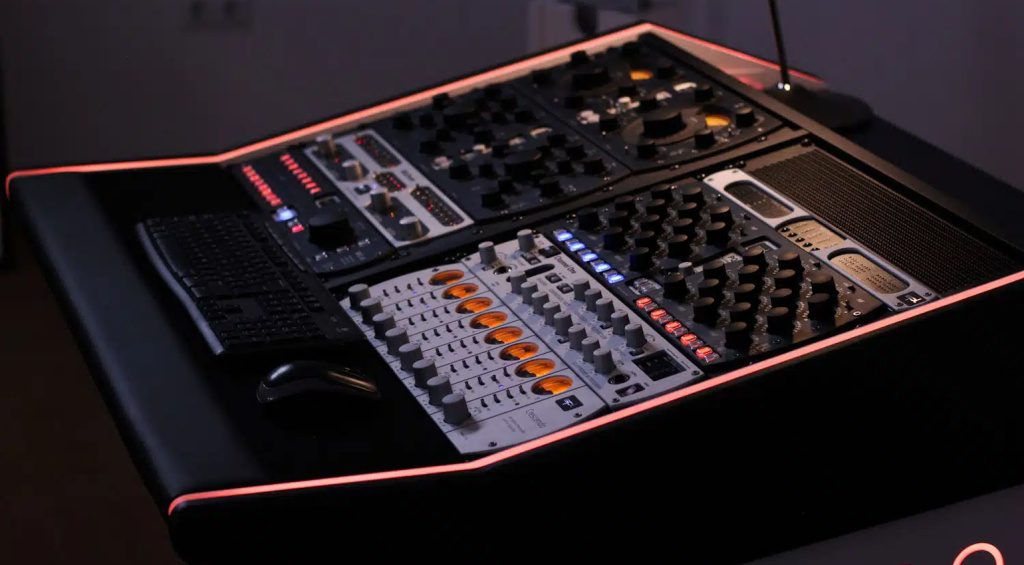
In addition, professional studio desks can also provide you with varying amounts of rack space, depending on their size. At the very least, this means you’ll have space to rack up your Furman power conditioners or there are even desks designed for mastering engineers to fit all the essential rack gear nicely angled for ease of use.
You can find some worthwhile budget options from StudioRTA, or if you’re looking for something more specialized, Zaor is one of the more sought-after manufacturers of studio furniture available.


Upgrading Your Home Studio: Centralized MIDI
Are you still having to plug all your gear in manually when you need to use a particular hardware instrument or effect in your production? Well, there is another way. Having all your favourite gear wired up lets you access it fast, which means you stay in your creative flow.
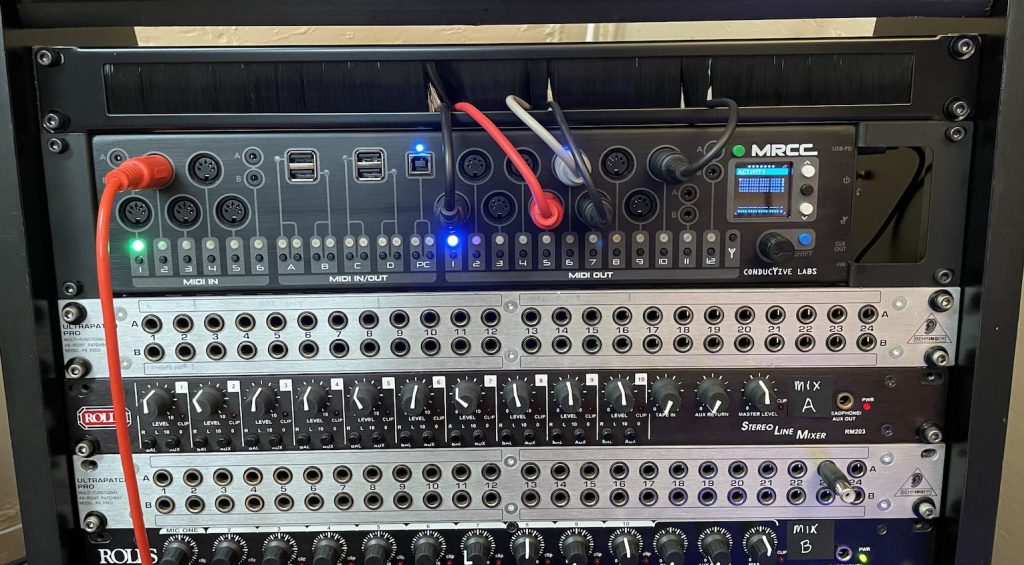
So, if you use a DAW like Ableton Live or a dedicated sequencer like the Sequentix Cirklon, you can instantly trigger any synth, sampler, or drum machine in your studio. This is made possible with a dedicated MIDI interface, saving you the time it takes to set it up whenever you have a creative inkling.
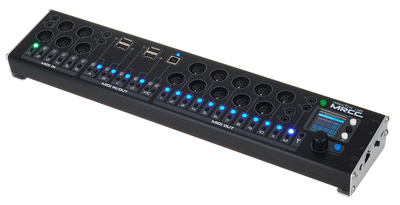
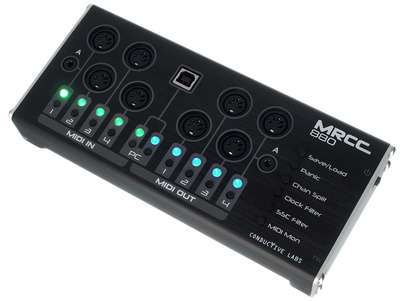
With solutions from Conductive Labs, you have USB, 3.5 mm, and 5-pin MIDI connectivity which covers a wide scope of hardware devices released in the last 40 years.


Upgrading Your Home Studio: Centralized Audio
Wiring up your entire studio for running hardware in and out of your DAW is a slightly more complicated affair, but it can be dealt with in several ways. Here, the determining factors will be the number of inputs you require and the level of flexibility you’d like in terms of signal routing.
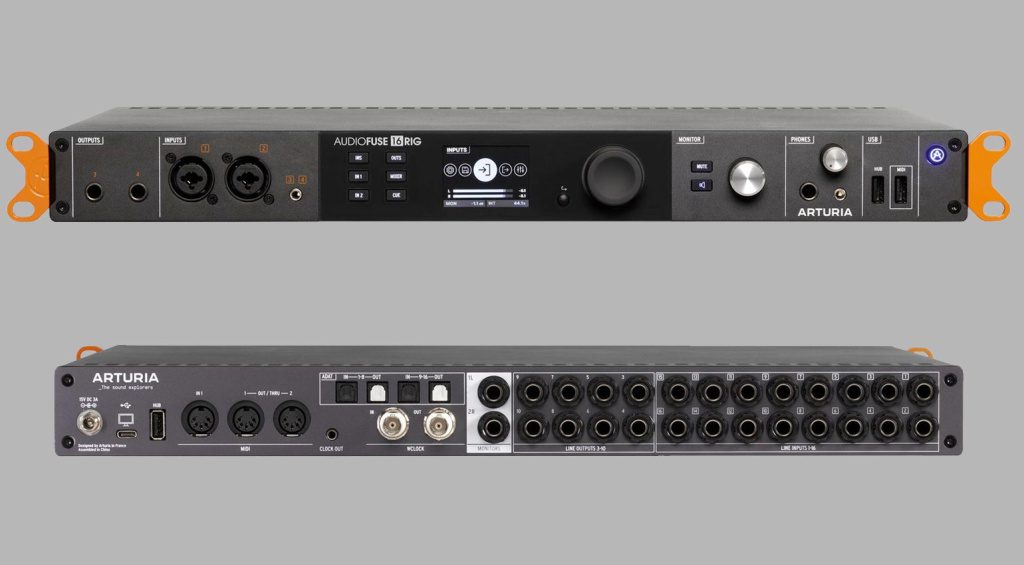
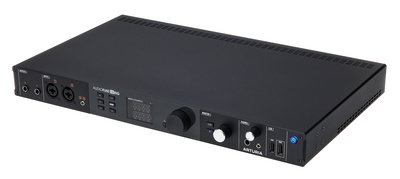
If all you want to do is link up a few synths and drum machines, a multichannel audio interface like the Arturia AudioFuse 16Rig provides ample inputs and a low-latency DSP mixer. This means you can take time jamming with or without your DAW and customize your setup for your workflow.
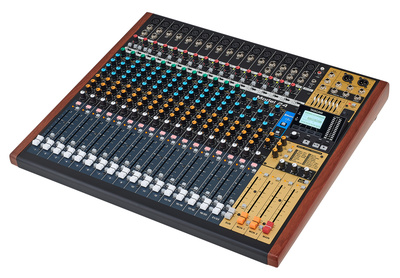
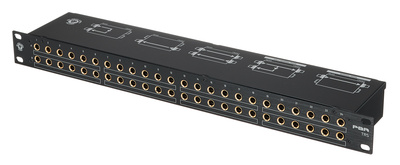
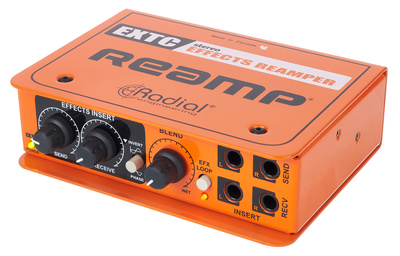
For more extensive setups with hardware effects processors, you might want to consider an analogue mixer and even a patch bay. Although this is the more expensive option, you’ve already invested in the gear that justifies it. What’s more, the flexibility offered by a patch bay is unprecedented especially once you start adding your pedal board into the mix with the Radial EXTC.




Upgrading Your Home Studio: Monitoring Options
If you’re starting to mix projects for clients in your home studio, one of the ways to improve your monitoring system is to add more options. Chances are, you’ve already got a decent pair of monitors that you’ve become comfortable with.
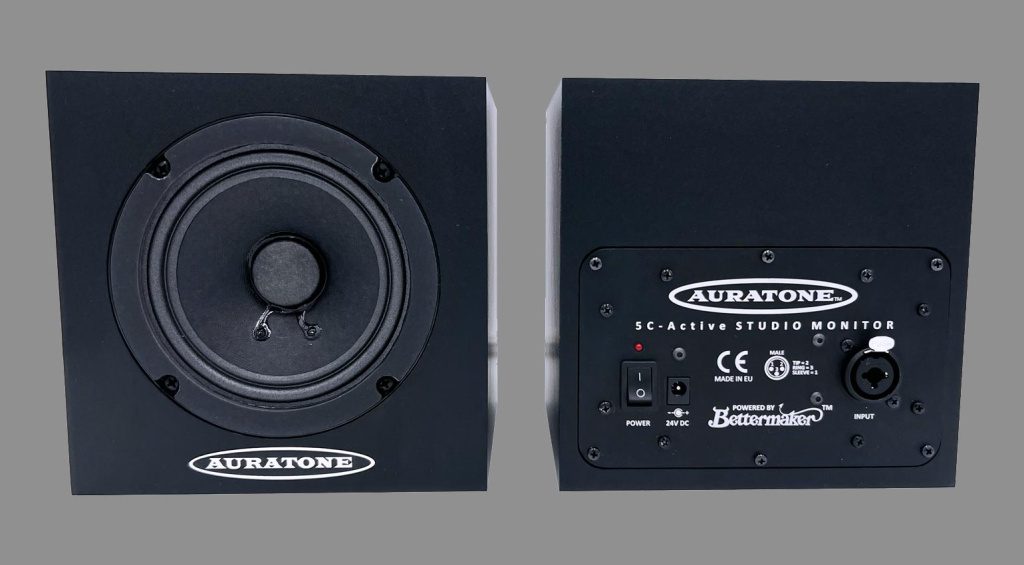
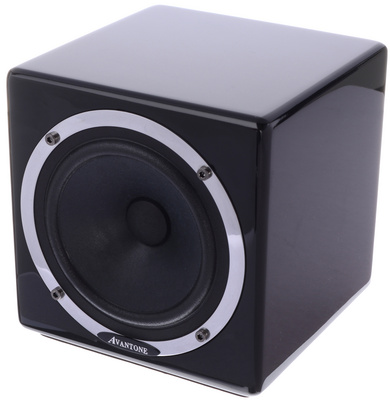
However, by adding even a single coaxial cube-style monitor to your setup, you can check the mono compatibility of your mixes and you have an unforgivingly truthful monitor renowned for its translation properties.
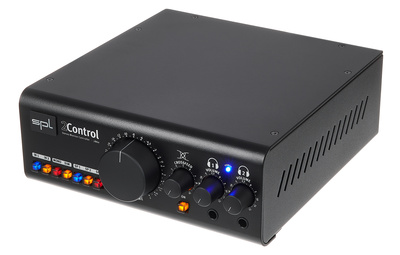
With the SPL 2control monitor controller, you have connections for two stereo sources and outputs for two stereo and one mono monitor feeds, as well as two headphone outputs with SPL’s renowned crossfeed control.


More about Upgrading Your Home Studio:
- Speaker Placement
- Learn about Music Production
*Note: This article about Upgrading Your Home Studio contains advertising links that help us finance our site. Don’t worry: the price for you always stays the same! If you purchase something through these links, we receive a small commission. Thank you for your support!
 4,2 / 5,0 |