Post-Recording Workflow: Time to Bake those Takes
Useful tips to polish up your home recordings.
We’re discussing post-recording workflow, including some of the key steps to take when editing your recordings in different styles of music.
In this Article:
Post-Recording Workflow
So you’ve finished recording your song, but what comes next? Well, before you get into mixing, there are a few steps you can take to iron out the creases in your recordings.
Post-Recording Workflow: Before You Start Editing
Before we dive in and start editing our recorded takes, there are a few things to keep in mind that will help with the process as a whole. Once you’ve finished recording, you want to back up your project in one of your cloud storage accounts and on an external drive. This will ensure that no matter what happens, you always have the original version to revert to, should you need it.
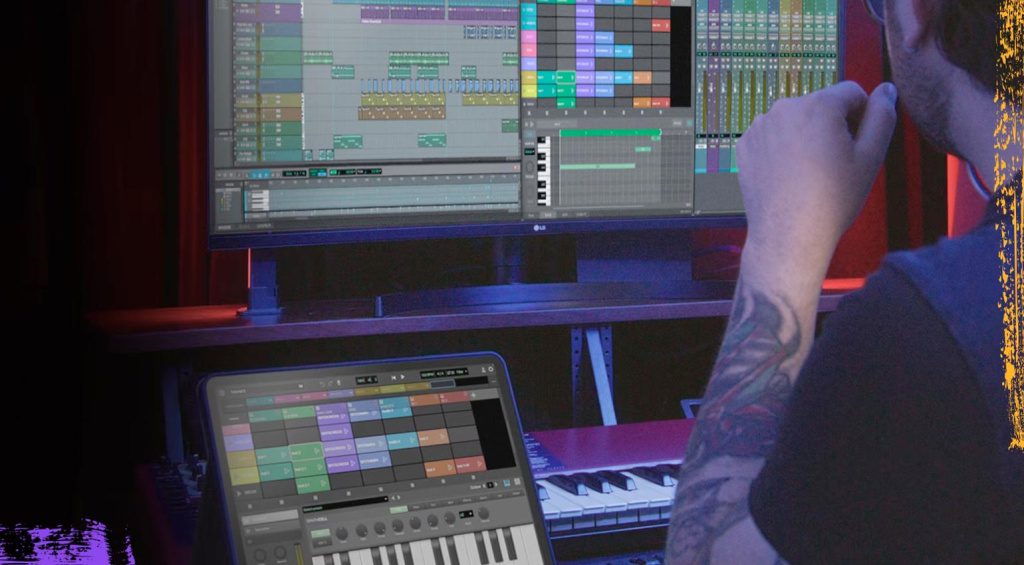
Next, refer to any notes that may have been taken during recording, as this will help point out which takes require editing. No matter the order in which you choose to do your processing, it’s important to do it systematically. This means that rather than jumping between time alignment and removing the background noise of a vocal take, you should focus on performing one process completely before moving on to the next.
This will help you to develop a workflow that suits the particular project, and as you might use one particular tool or plugin per process, it’ll speed up your workflow. Pay attention to any problem areas in the recordings that have come up in the notes, as you might want to get these out of the way first.


Post-Recording Workflow: Working with Comps
During recording, working with comps can help you create performances comprised of the best sections of multiple takes. This technique is effective, as you can create new sections with each loop cycle by looping the verse or chorus section you’re recording. In this part of the process, we want to flatten all comps into single channels and remove any duplicates.
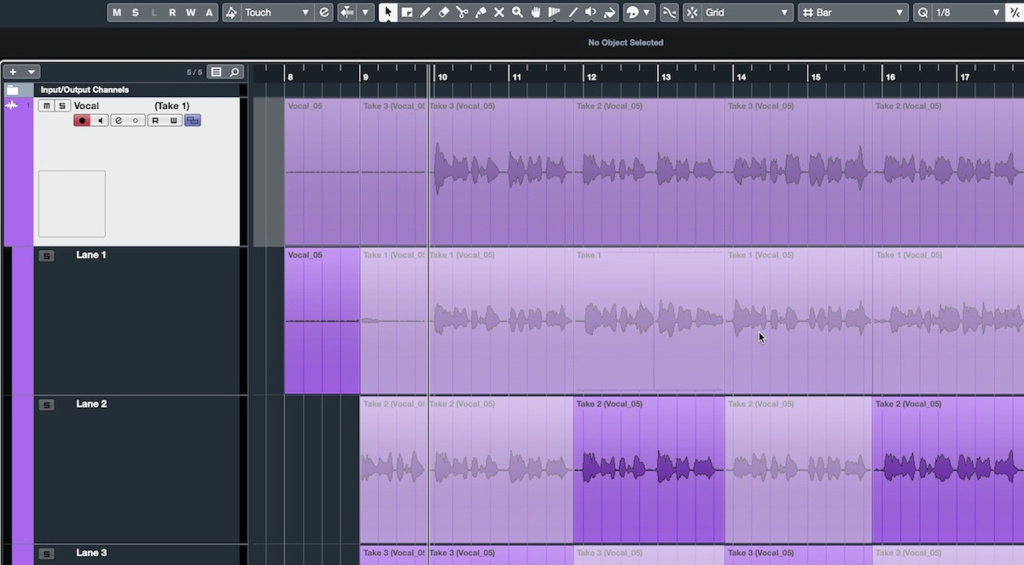
By moving methodically from left to right across all audio input channels, we can clean up the project and slice our recordings into sections. Will you be using unique performances for your choruses or creating them with various multis with different effects? Do you still need to record more overdubs? All these questions should be answered before you dive headlong into editing.
Once you have your entire recorded arrangement mapped, you can move on to pitch correction and time alignment, as well as reducing and removing any clicks, pops, and sibilance in your vocal tracks. You probably caught most of these during recording and simply got the artist to punch in and re-do the parts, but there are always those that slip through.

Post-Recording Workflow: Pitch Correction and Time Alignment
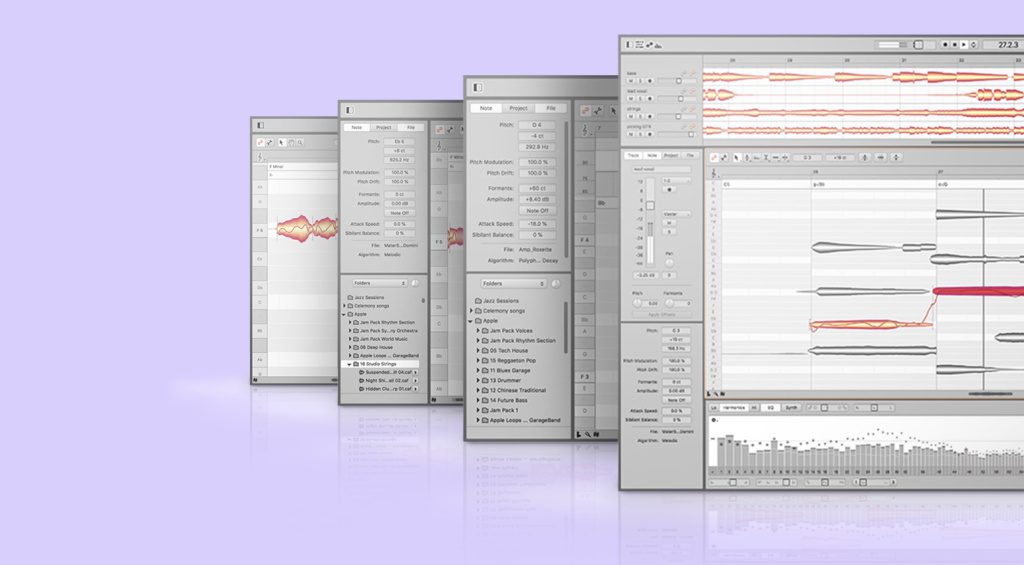
Whether you use Melodyne or Cubase’s VariAudio feature, pitch correction and time alignment can be done in the same part of the process. Depending on what style of music you’re working with, you’ll need to decide if you’re simply fixing a few of the most obvious problem areas or perfecting each note and shaping each word.
If you’re working in the stylistic vein of Tom Waits, there’s no need for pitch correction, as the processing will alter the character of the voice, giving it a somewhat unnatural tone. Alternatively, with a Pop or EDM track your vocal is surrounded by softsynths, so you can use as much pitch processing as you like and it will fit the aesthetic nicely.
Although pitch and time editing is a macro process, try to keep the bigger picture in mind. If you meticulously edit every note in one verse, you’ll need to go just as deep for the entire EP or album. Be aware that like Auto-Tune, pitch correction gives your vocals a particular sonic character. The more processing you do, the more evident this sound will become in your end product.


Post-Recording Workflow: De-ess, De-click, and De-pop
If you’re recording rap vocals, you’ll want to pay close attention to the clicks, plosives, and sibilance. A good set of studio monitors or headphones is essential here because problem areas might not appear very pronounced initially. However, once you start compressing, stacking, mixing, and mastering, the slightest artifact will jump right out at you.
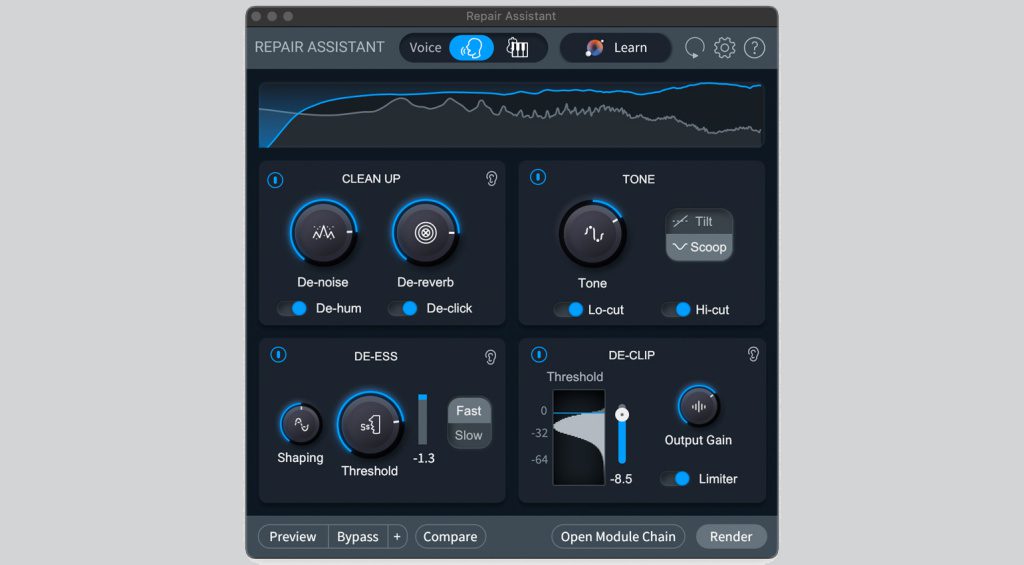
Izotope RX was originally designed for dialogue editing, but it works really well on rap vocals too. With its Repair Assistant, you have access to all the necessary tools for treating inconsistencies, while the Dialogue Isolate tool can help you reduce the ambient reflections from the recording environment where your vocals were tracked.
When it comes to editing vocals, macro clip gain editing is still one of the most effective ways to isolate and reduce sibilance and plosives while maintaining the natural overall feel. Be sure that you master clip gain editing, before you start looking into more specialized plugins, as these will perform even better after you’ve made the necessary gain adjustments.

Post-Recording Workflow: EQ and Compression
If you’re doing vocal EQ and compression for the first time, working with a reference track is a great place to start. In most of today’s commercial music genres, the vocal occupies a large space in a relatively sparse mix, so its tonality and dynamics are crucial. Start with a track with a similar vocal style to yours and put the song through a spectrum analyzer.
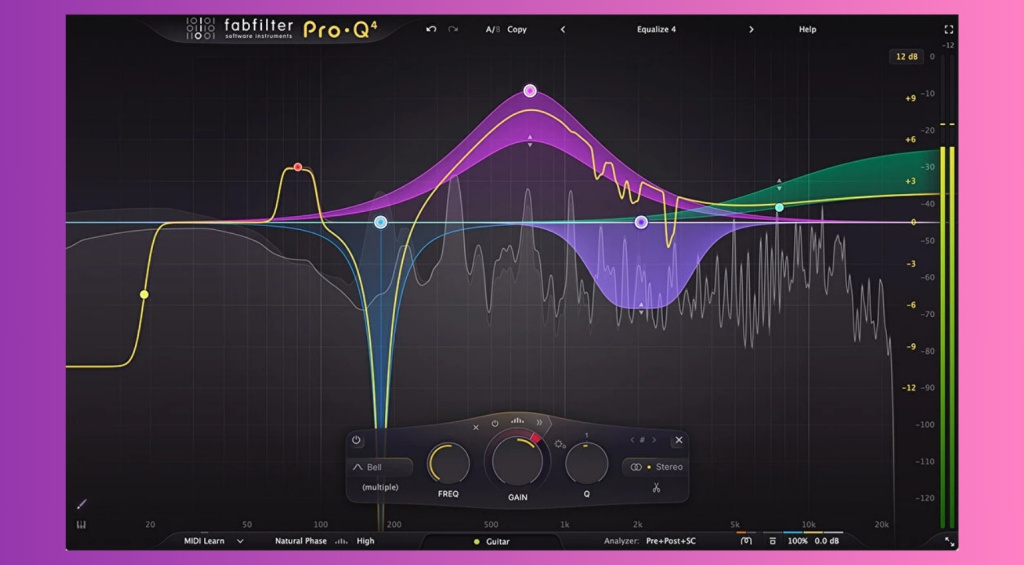
This should give you an idea of the range where your vocals should sit. Naturally, context is everything, because your mix is not identical to your reference track, so pay attention to the analyzer as the song moves from the verse to a solo vocal drop, and then into the chorus. You’ll find there are no low frequencies below 100 Hz, and you’ll want to scoop your mids to enhance the clarity.
Vocal compression is all about achieving uniform consistency as your song flows from one section to the next. While Waves RVox is an excellent tool to have on the end of your vocal processing chain, the standard compressors in Pro Tools, Logic Pro, and Cubase can also get great results once you understand how to use them.

More about Post-Recording Workflow:
*Note: This article about Post-Recording Workflow contains promotional links that help us fund our site. Don’t worry: the price for you always stays the same! If you buy something through these links, we will receive a small commission. Thank you for your support!
One response to “Post-Recording Workflow: Time to Bake those Takes”

 2,7 / 5,0 |






Recording rap vocals requires a controlled acoustic environment to capture every detail without unwanted artifacts. Clicks, plosives, and sibilance can become exaggerated during compression and mixing, making sound treatment essential. Just like dB Absorber specializes in high-performance anechoic absorbers for RF and microwave applications, similar advanced materials are used in professional studios to eliminate echo, reflections, and background noise. Proper soundproofing and absorption ensure that vocals remain crisp and clean, allowing artists and engineers to produce polished, professional-quality recordings.