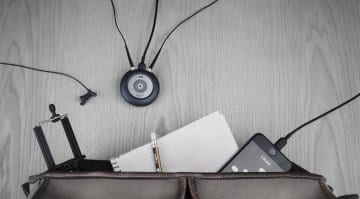
Budget guitar recording, Pt. 2: Choosing an audio interface
Recording at home on a budget
Last week I covered a few basics and mentioned some great free software packages that you can use to get professional results for your guitar recordings. If you missed that instalment then I would urge you to read that article first, as it might save you some money.
Recording Tips
No matter where you choose to do your recordings, there are some basic factors to be aware of.
- The space that you record in
- The noise you need to make
- Background and ambient noise
- Electrical wiring – is there a dimmer switch in the room or a fridge freezer on the same mains ring?
Most of us are recording in our homes and therefore will have all of the above to consider before we even press the record button. You ideally want a room that is away from traffic noise or any other type of interference that could end up on your recording.
Avoid rooms with dimmer switches as they can play havoc with interference. I mentioned fridge freezers because they often spike mains rings when they kick in. A home can conjure all sorts of weird buzzes and nasty noises into your audio recordings.
Be aware that the space you record in will have an effect on the recording. I would advise trying out a few different rooms. I often record acoustic guitars in my bathroom, for example, as it is tiled and provides a nice ambience. Soft furnishings like sofas and curtains can be used to make a room less lively.
Listen
I could probably write a book on the subject, but home recording is about the balance between its qualities as a home and a recording space. It is worth finding a room that is quiet and comfortable. It should have a balance of hard surfaces and soft furnishings that you can manipulate to get your desired ‘room sound’. For example, can you move the sofa to stop sound bouncing off a flat wall? Or are there heavy curtains you can pull across the window to help with background noise?
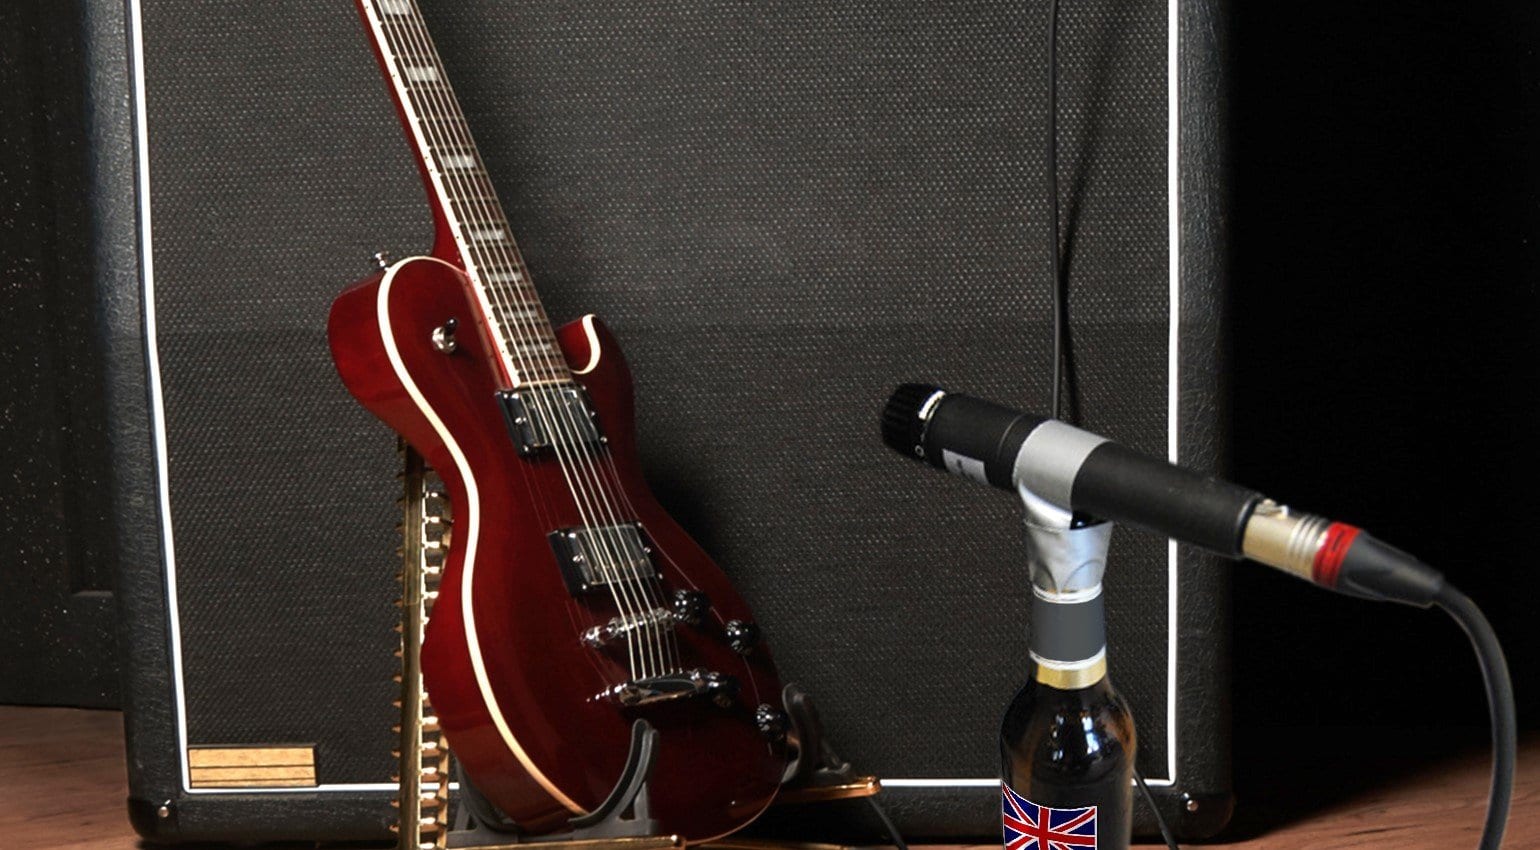
Guitar recording on a budget – How loud is this going to get? Will my neighbours call the noise police? · Source: gearnews.com
Audio Interfaces
I did briefly mention last week a few hardware techniques like soldering and basic guitar maintenance. These will save you money that you can use to buy essentials like guitar strings (or beer) – and an audio interface.
This device (or soundcard, as we used to call them) is essential. Somehow, your guitar signal has to get into your computer or tablet. Audio interfaces built into computers are not much good for guitars and microphones. More often than not, they are designed for ‘Line’ level signals and cannot handle the impedance of your guitar’s output and don’t have the connectors needed for decent microphones.
What do I need?
Over the years, I have advised literally thousands of people on recording audio. I could list loads of audio interfaces, but a better approach is to know what to look for.
Inputs
I would always where possible choose an audio interface with two inputs rather than one and for the simple reason that it gives you more choice on how you mic stuff up. If your mate comes over you can also jam or record together.
Phantom Power
Inputs should have both mic and line capabilities, so expect to see XLR/TRS jack combo inputs on the audio interface. Look for an interface with 48V Phantom Power as it allows you to use condenser microphones. While AKG’s C1000S microphone can be used with a 9V battery, a RODE NT-1A needs phantom power. Both are more sensitive than a standard dynamic mic like the Shure SM57.
If ‘condenser’ and ‘dynamic’ microphones are alien concepts to you, find an audio interface that can be used with both. This will mean looking for the phrase ’48V Phantom Power’ somewhere on the specifications when you are doing your research.
Latency
You ideally want your latency as low as possible, it will be measured in milliseconds and the lower it is, the better it will be for recording via your DAW. Some audio interfaces even have a zero latency monitoring option, so look out for these.
24bit/192kHz?
Most modern audio interfaces offer 24-bit recording and either 96 kHz or 192 kHz recording rates. The chances are that you’ll only need lower sample rates. A typical project will probably be set up for 24bits and 48kHz.
Simply put in my own Luddite way:
96 kHz = 96,000 samples per second (or you may want to think of them as slices) of your incoming guitar sound. The more samples or slices, the more accurate the representation of your audio. The higher the bit-rate, the better the dynamic range. More bits = finer measuring of dynamics (volume).
For a much more in-depth, useful read, check out both these articles here and here.
MIDI
You may or may not want MIDI built into your audio interface. Personally, I prefer to have it, as it means I can use a MIDI controller keyboard. Or I can send MIDI out to control another piece of equipment, like an FX processor or an external hardware synth.
Free software!
You have probably all seen that many companies offer “£300 pounds worth of FREE Software” bundled in with their audio interfaces. Is this software any good?
Last week I wrote about free software. If you read that article you’ll see that you probably don’t actually need any of that at all. In fact, all this ‘extra value’ is often available for free anyway. Often, it’s all just marketing to get you to buy their product.
Research
I have owned many audio interfaces in my 30 years of recording. I’ve used everything from ridiculously large 48-input rack units to simple USB-to-jack-plug guitar cables. Do your research and if you need any further help feel free to contact me via the site.
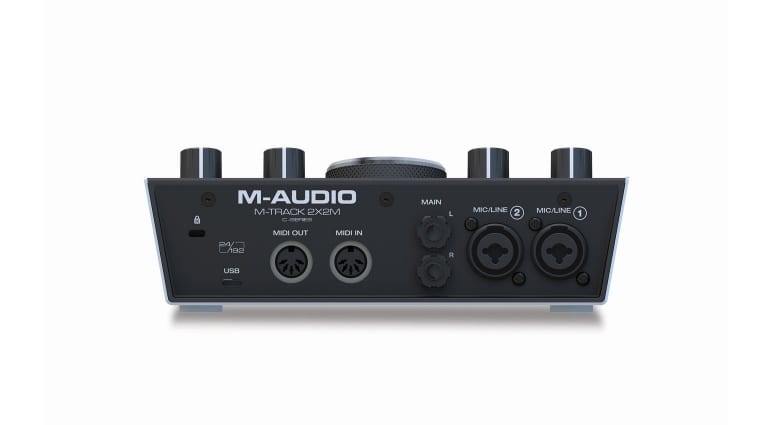
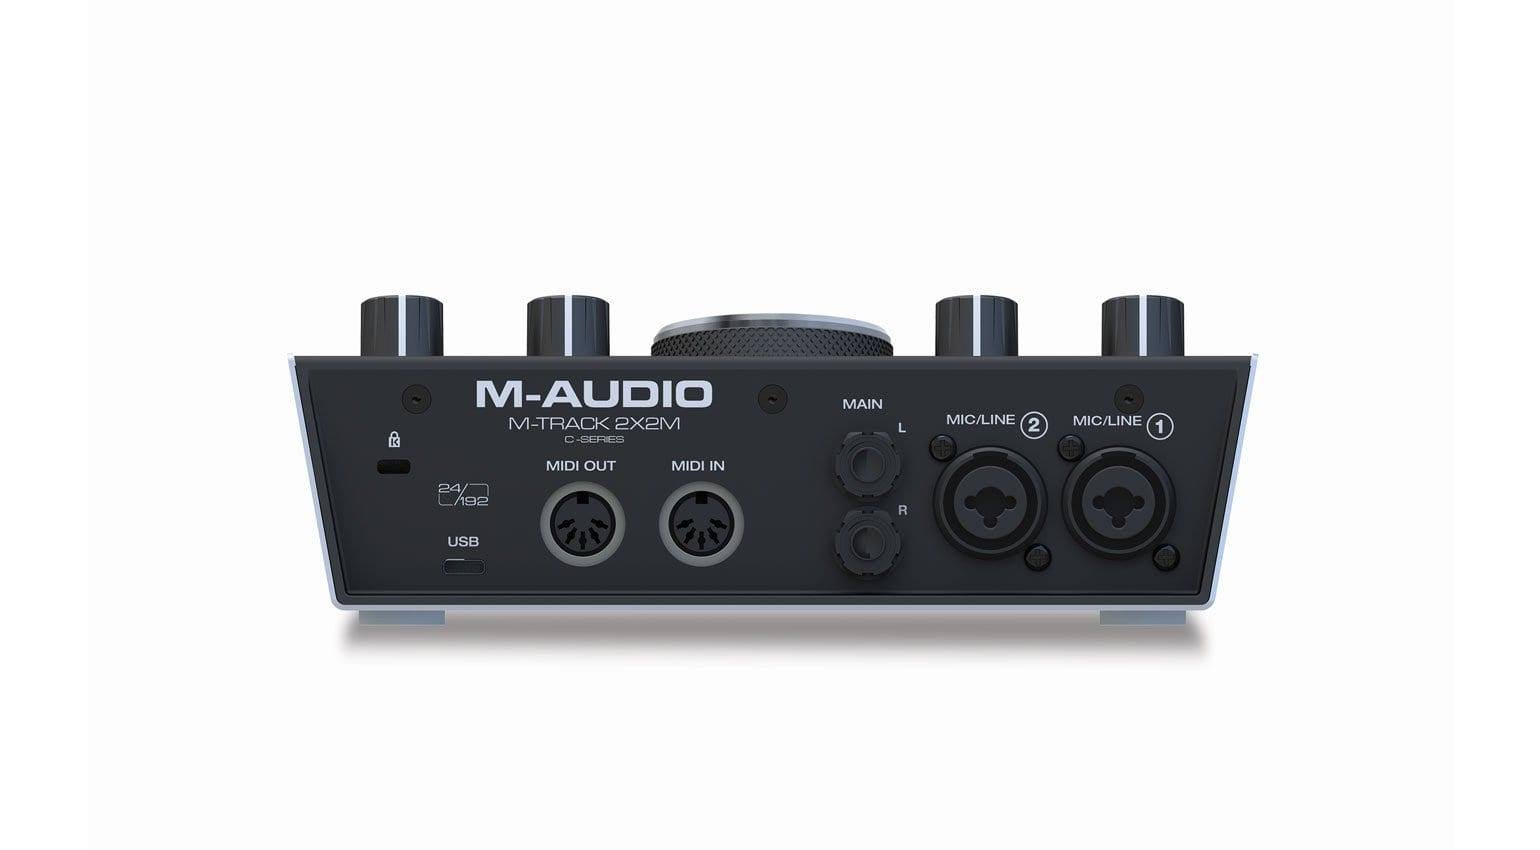
This year, I wanted a simple portable interface recording on my MacBook Pro. I chose one of these, as I wanted to stay under £100 and still have something that gave me options and flexibility. I used the criteria above and it served me well, as the interface is perfect for the job.
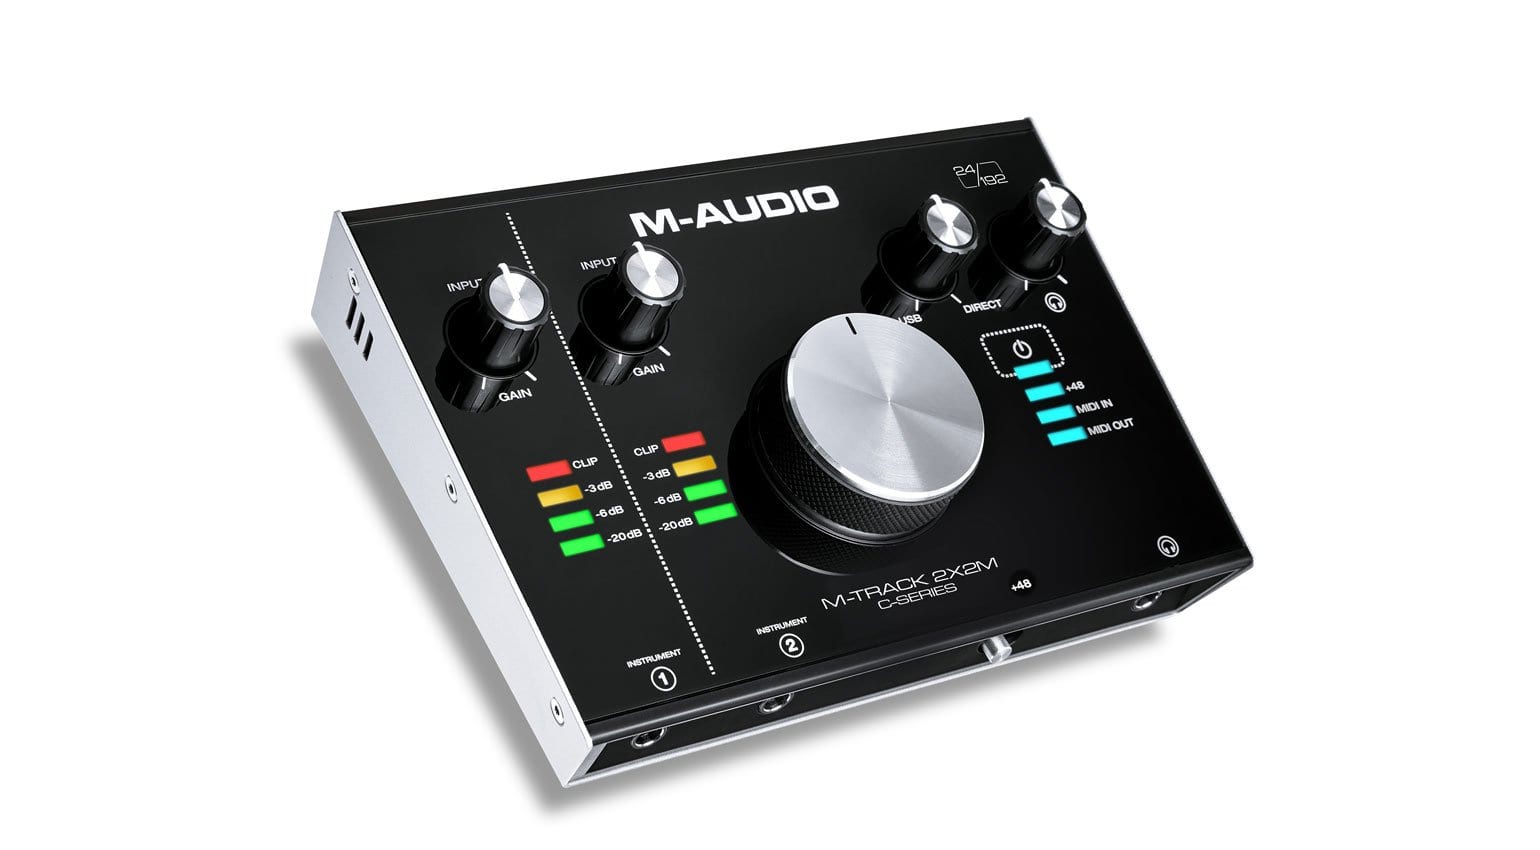
The M-Audio M-Track 2X2M under £100 and worth checking out for a good all round interface · Source: M-Audio press pack
Next week, I’m going to cover some recording tips and tricks that you can use at home to achieve professional results – using the microphones, audio interface, plugins in a room in your own home!

