Building my own Van Halen Frankenstein Super Strat in a day: A tribute to Eddie
I set myself the task of building my own Frankie
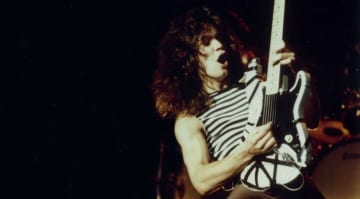
With the sad news of the passing of guitar legend and innovator Eddie Van Halen, I set myself the task of building my very own ‘Frankie’ Super Strat using parts that I had laying around my house. In this article I talk about what I used and how you could build your very own Frankenstein guitar, in tribute to one of the greatest guitarists ever to live.
Building a ‘Frankie’ Super Strat
I’m just going to state the obvious: I am not Eddie Van Halen, which means I don’t play like him and I have a different taste for my guitar setups. However, if you do want to build your very own exact replica then I would recommend having a look at these sites:
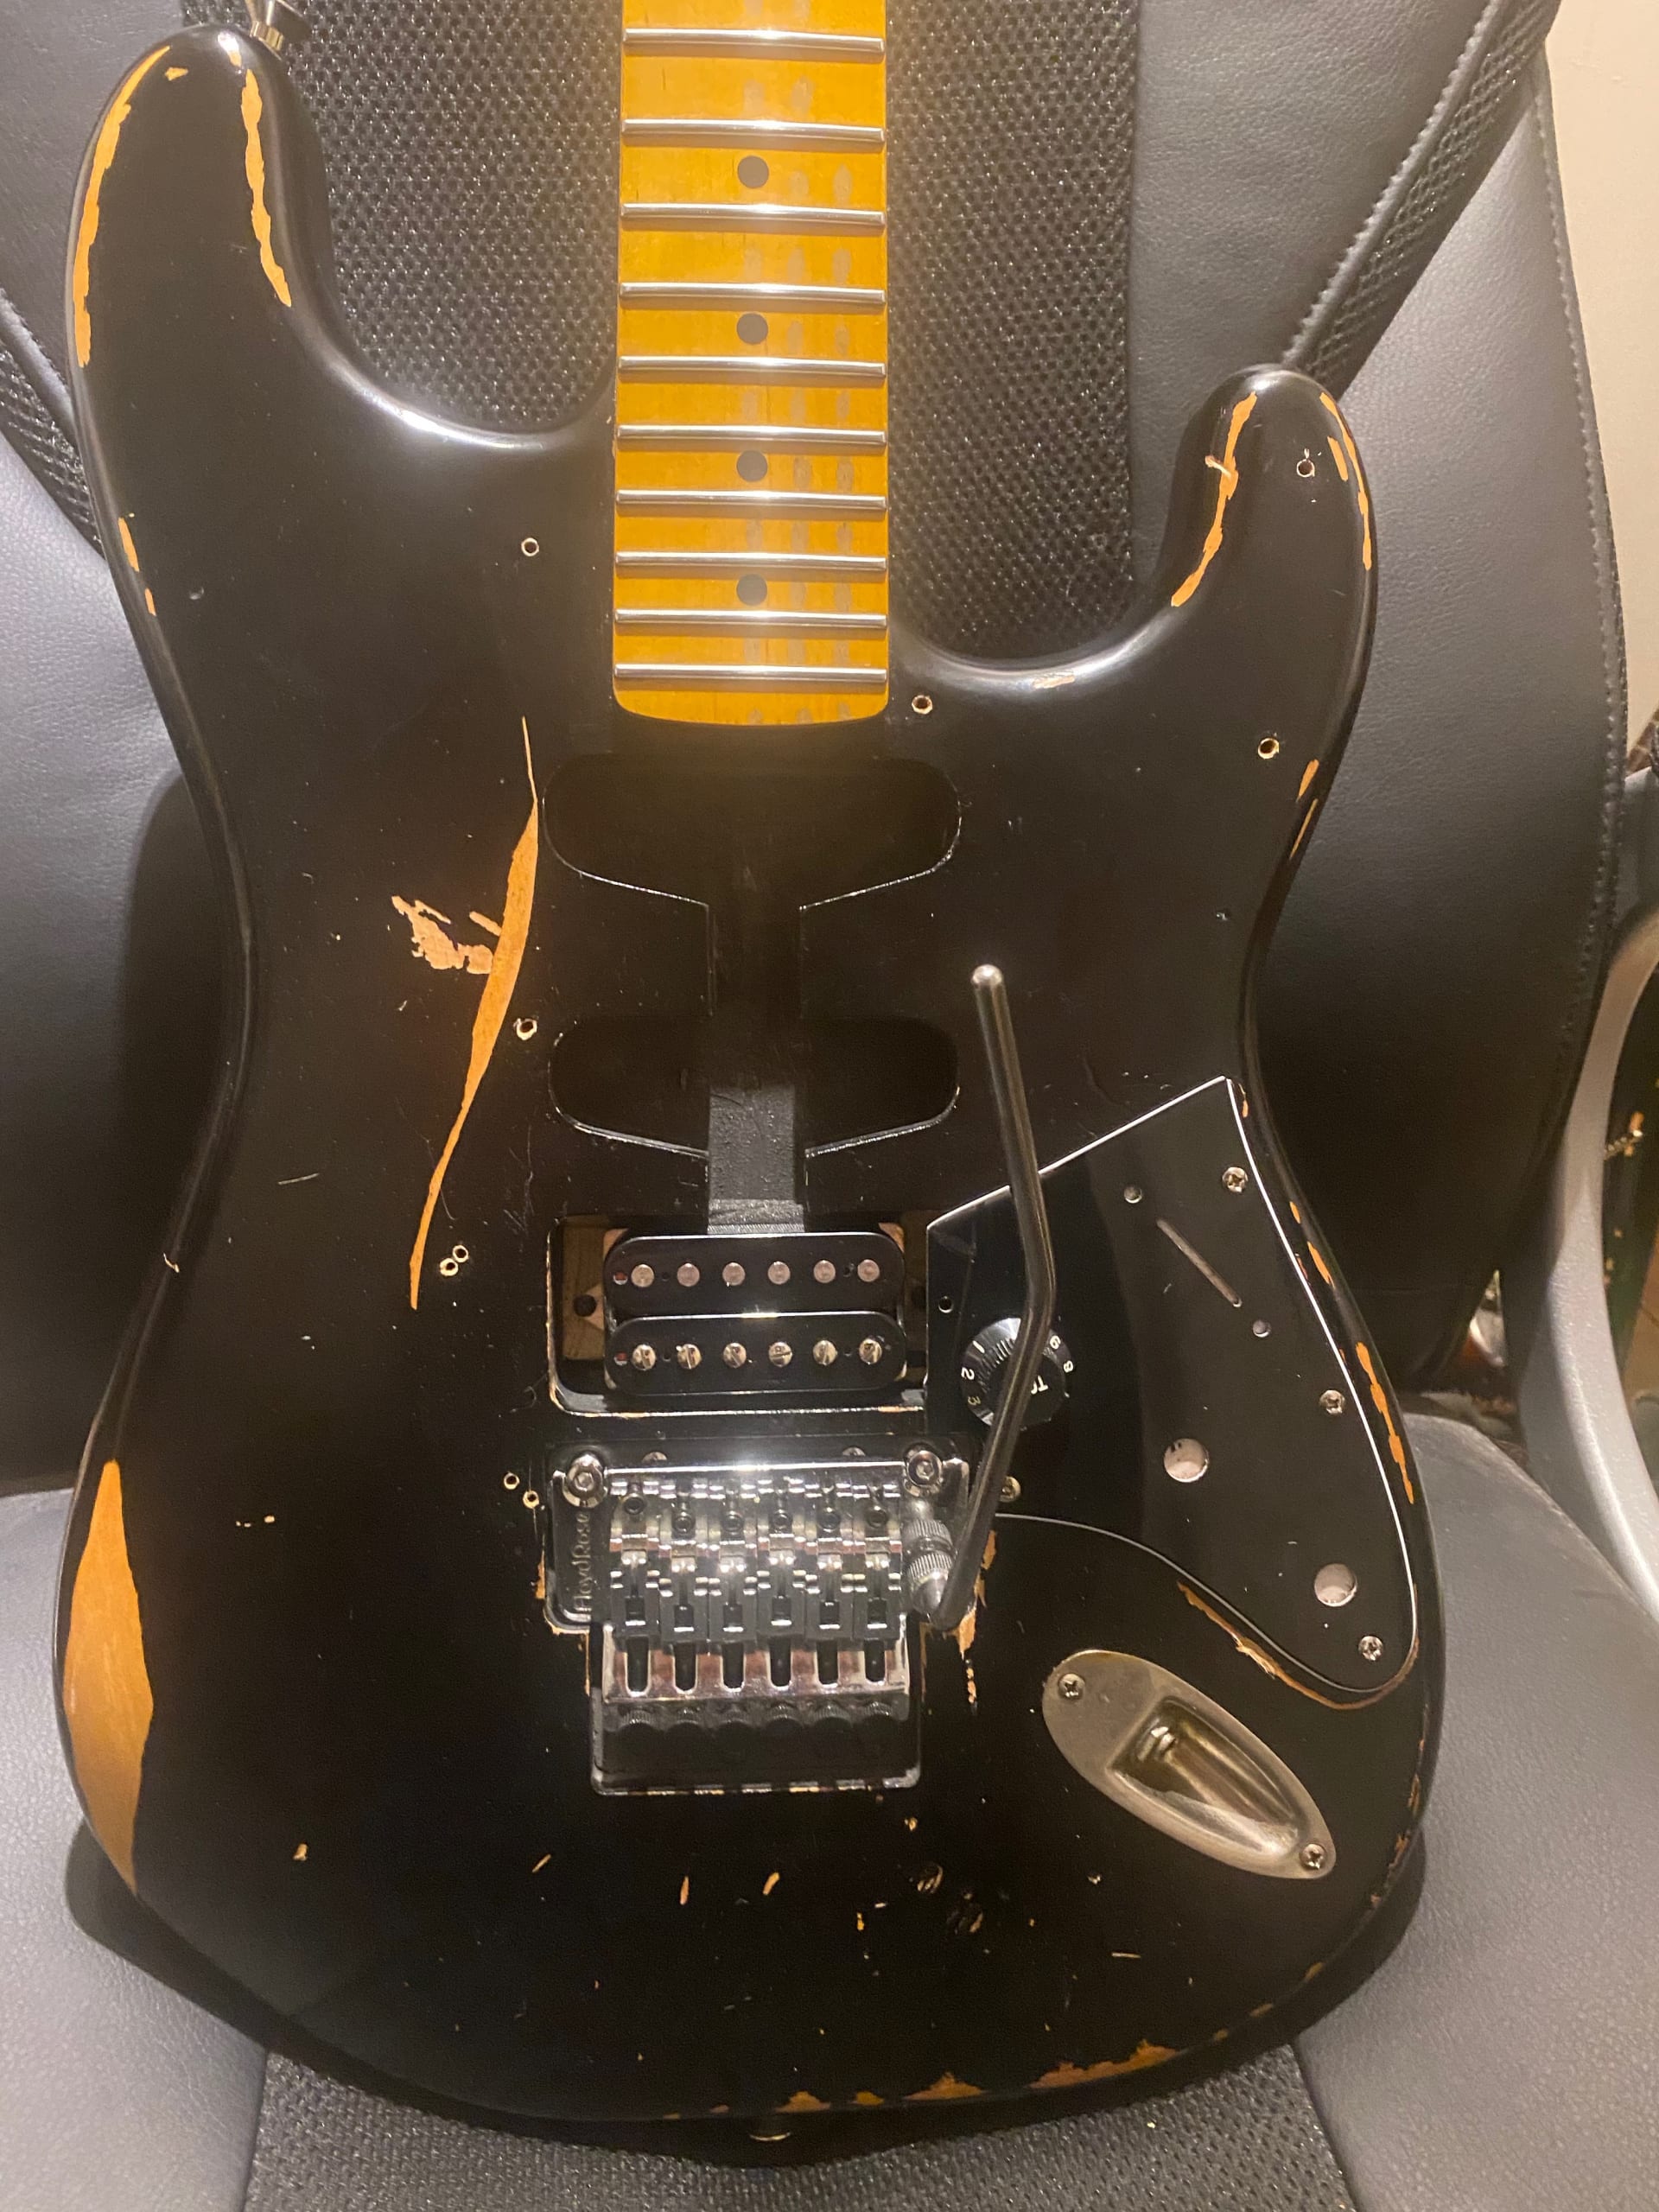
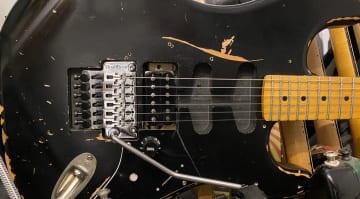
With that out of the way, here is my take on the Frankie, a cut-down rat-rodded, Floyd Rose equipped, single humbucker loaded Super Strat which I put together in a day.
The Rules
After hearing the sad news of Eddie’s passing, I decided to break out my spares and parts box to see if I had enough to build a Frankie-style guitar of my own. In the spirit of the original guitar that EVH built using a chisel and basic tools, I, too, would not buy anything new for this build. The only thing new on this Frankenstein guitar would be the strings.
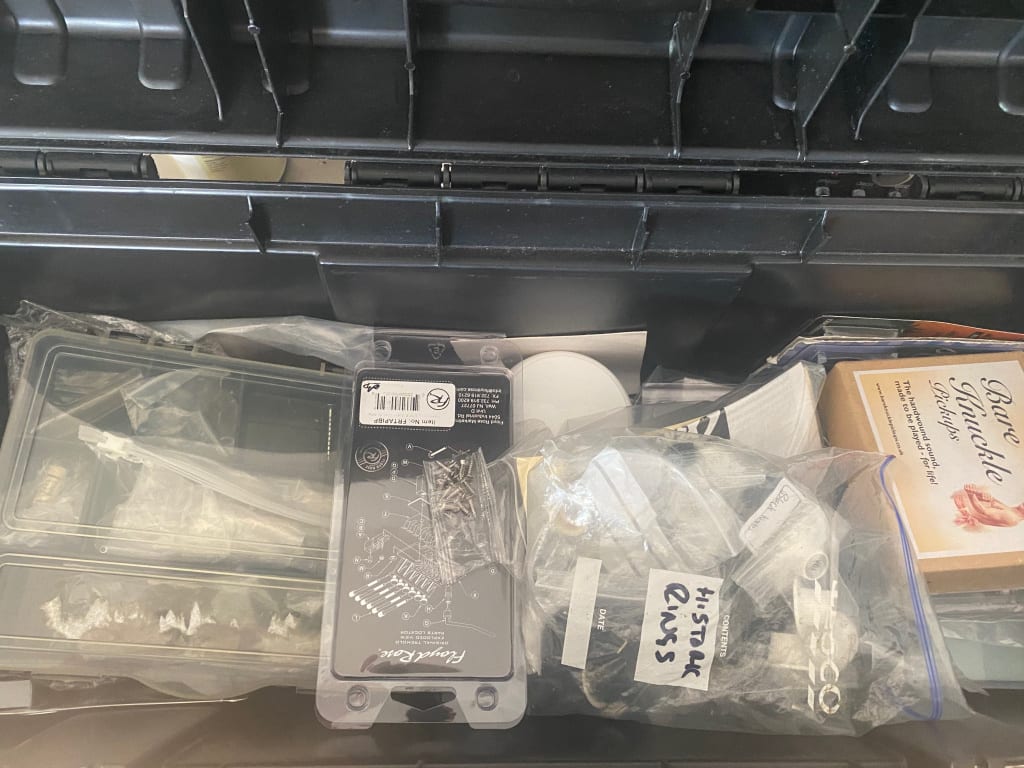
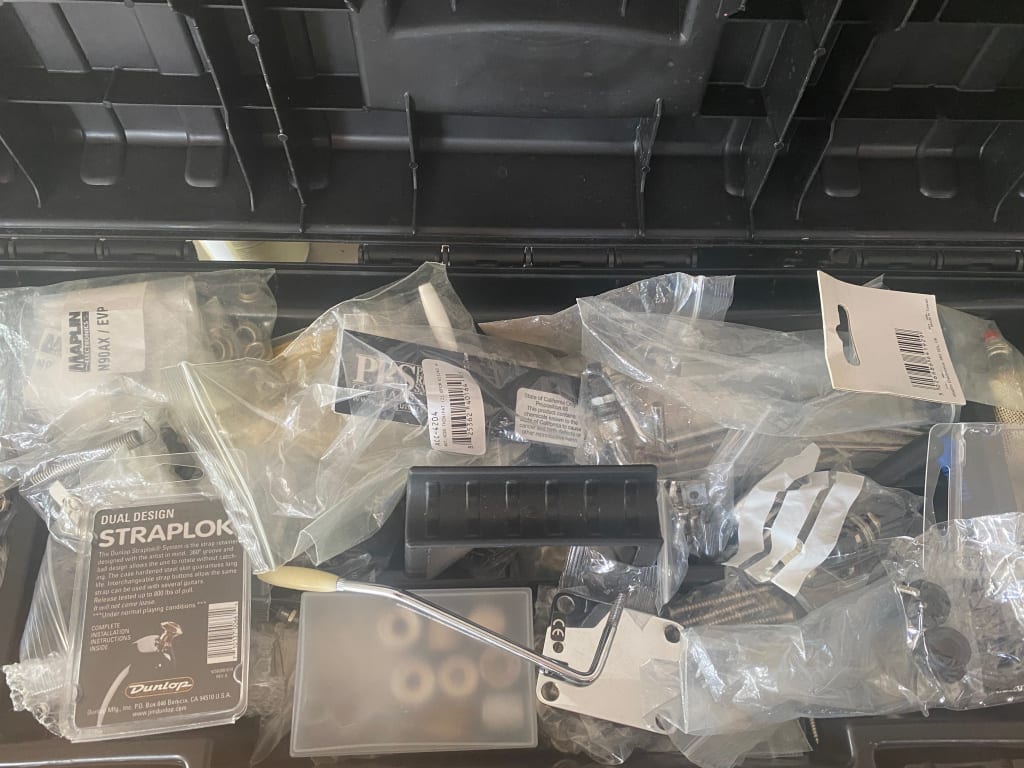
I grabbed my box full of parts and found the top half of an old Floyd Rose locking trem system, a Schaller Floyd arm, and a big oversized titanium trem block. Each had been taken from various different guitars. All I had to do was get out my hex wrenches and put it all together into one, cohesive unit.
Floyd Rose
If you’ve ever put a Floyd Rose trem together, then you know it can be an awkward job. This took me the best part of an hour, as I had to guess roughly were the intonation for each string should be set for each string. I also had Van Halen blasting out the stereo, and was distracted by Eddie’s incendiary guitar for most of the time and had to keep stopping to smile. First time I put it together, I looked at it and realised I’d f**ked up and put the trem block on backwards, so I had to do it all over again. This is what happens when you get too engrossed in the music and forget to check the basics.
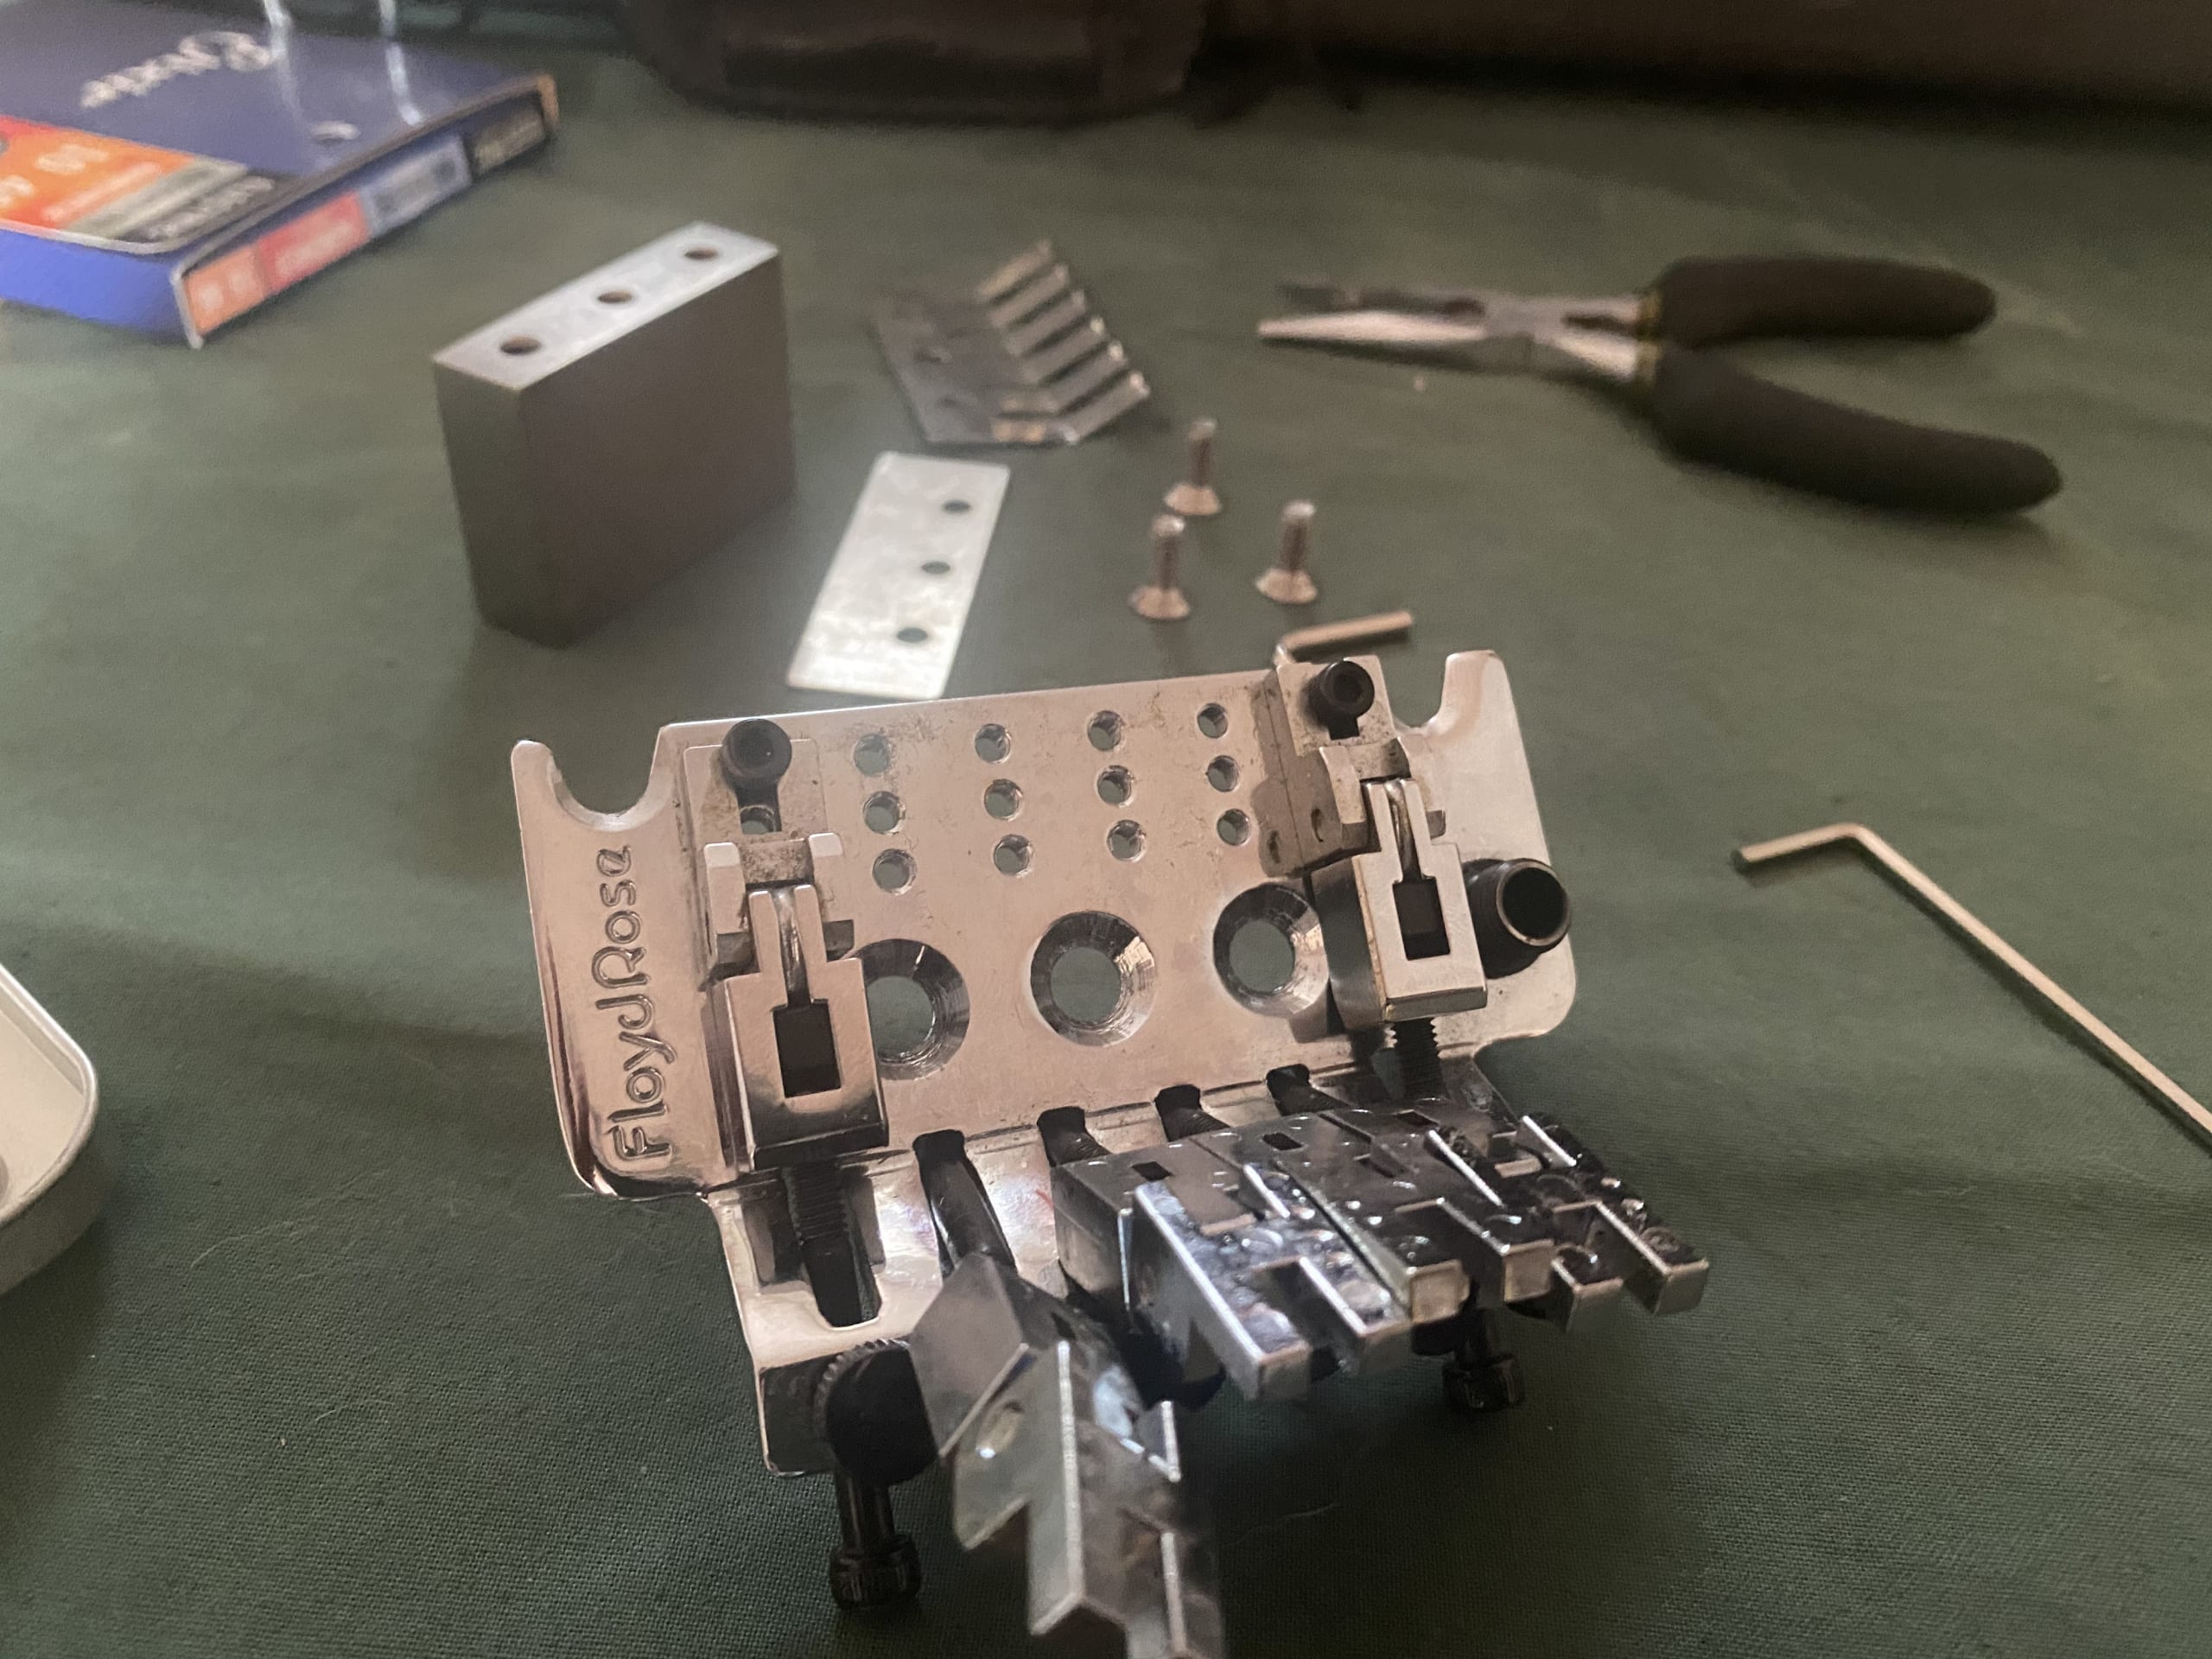
Building. a Floyd Rose from bits. Remember to check your trem block is the correct way around! · Source: Jef Stone
Humbucker
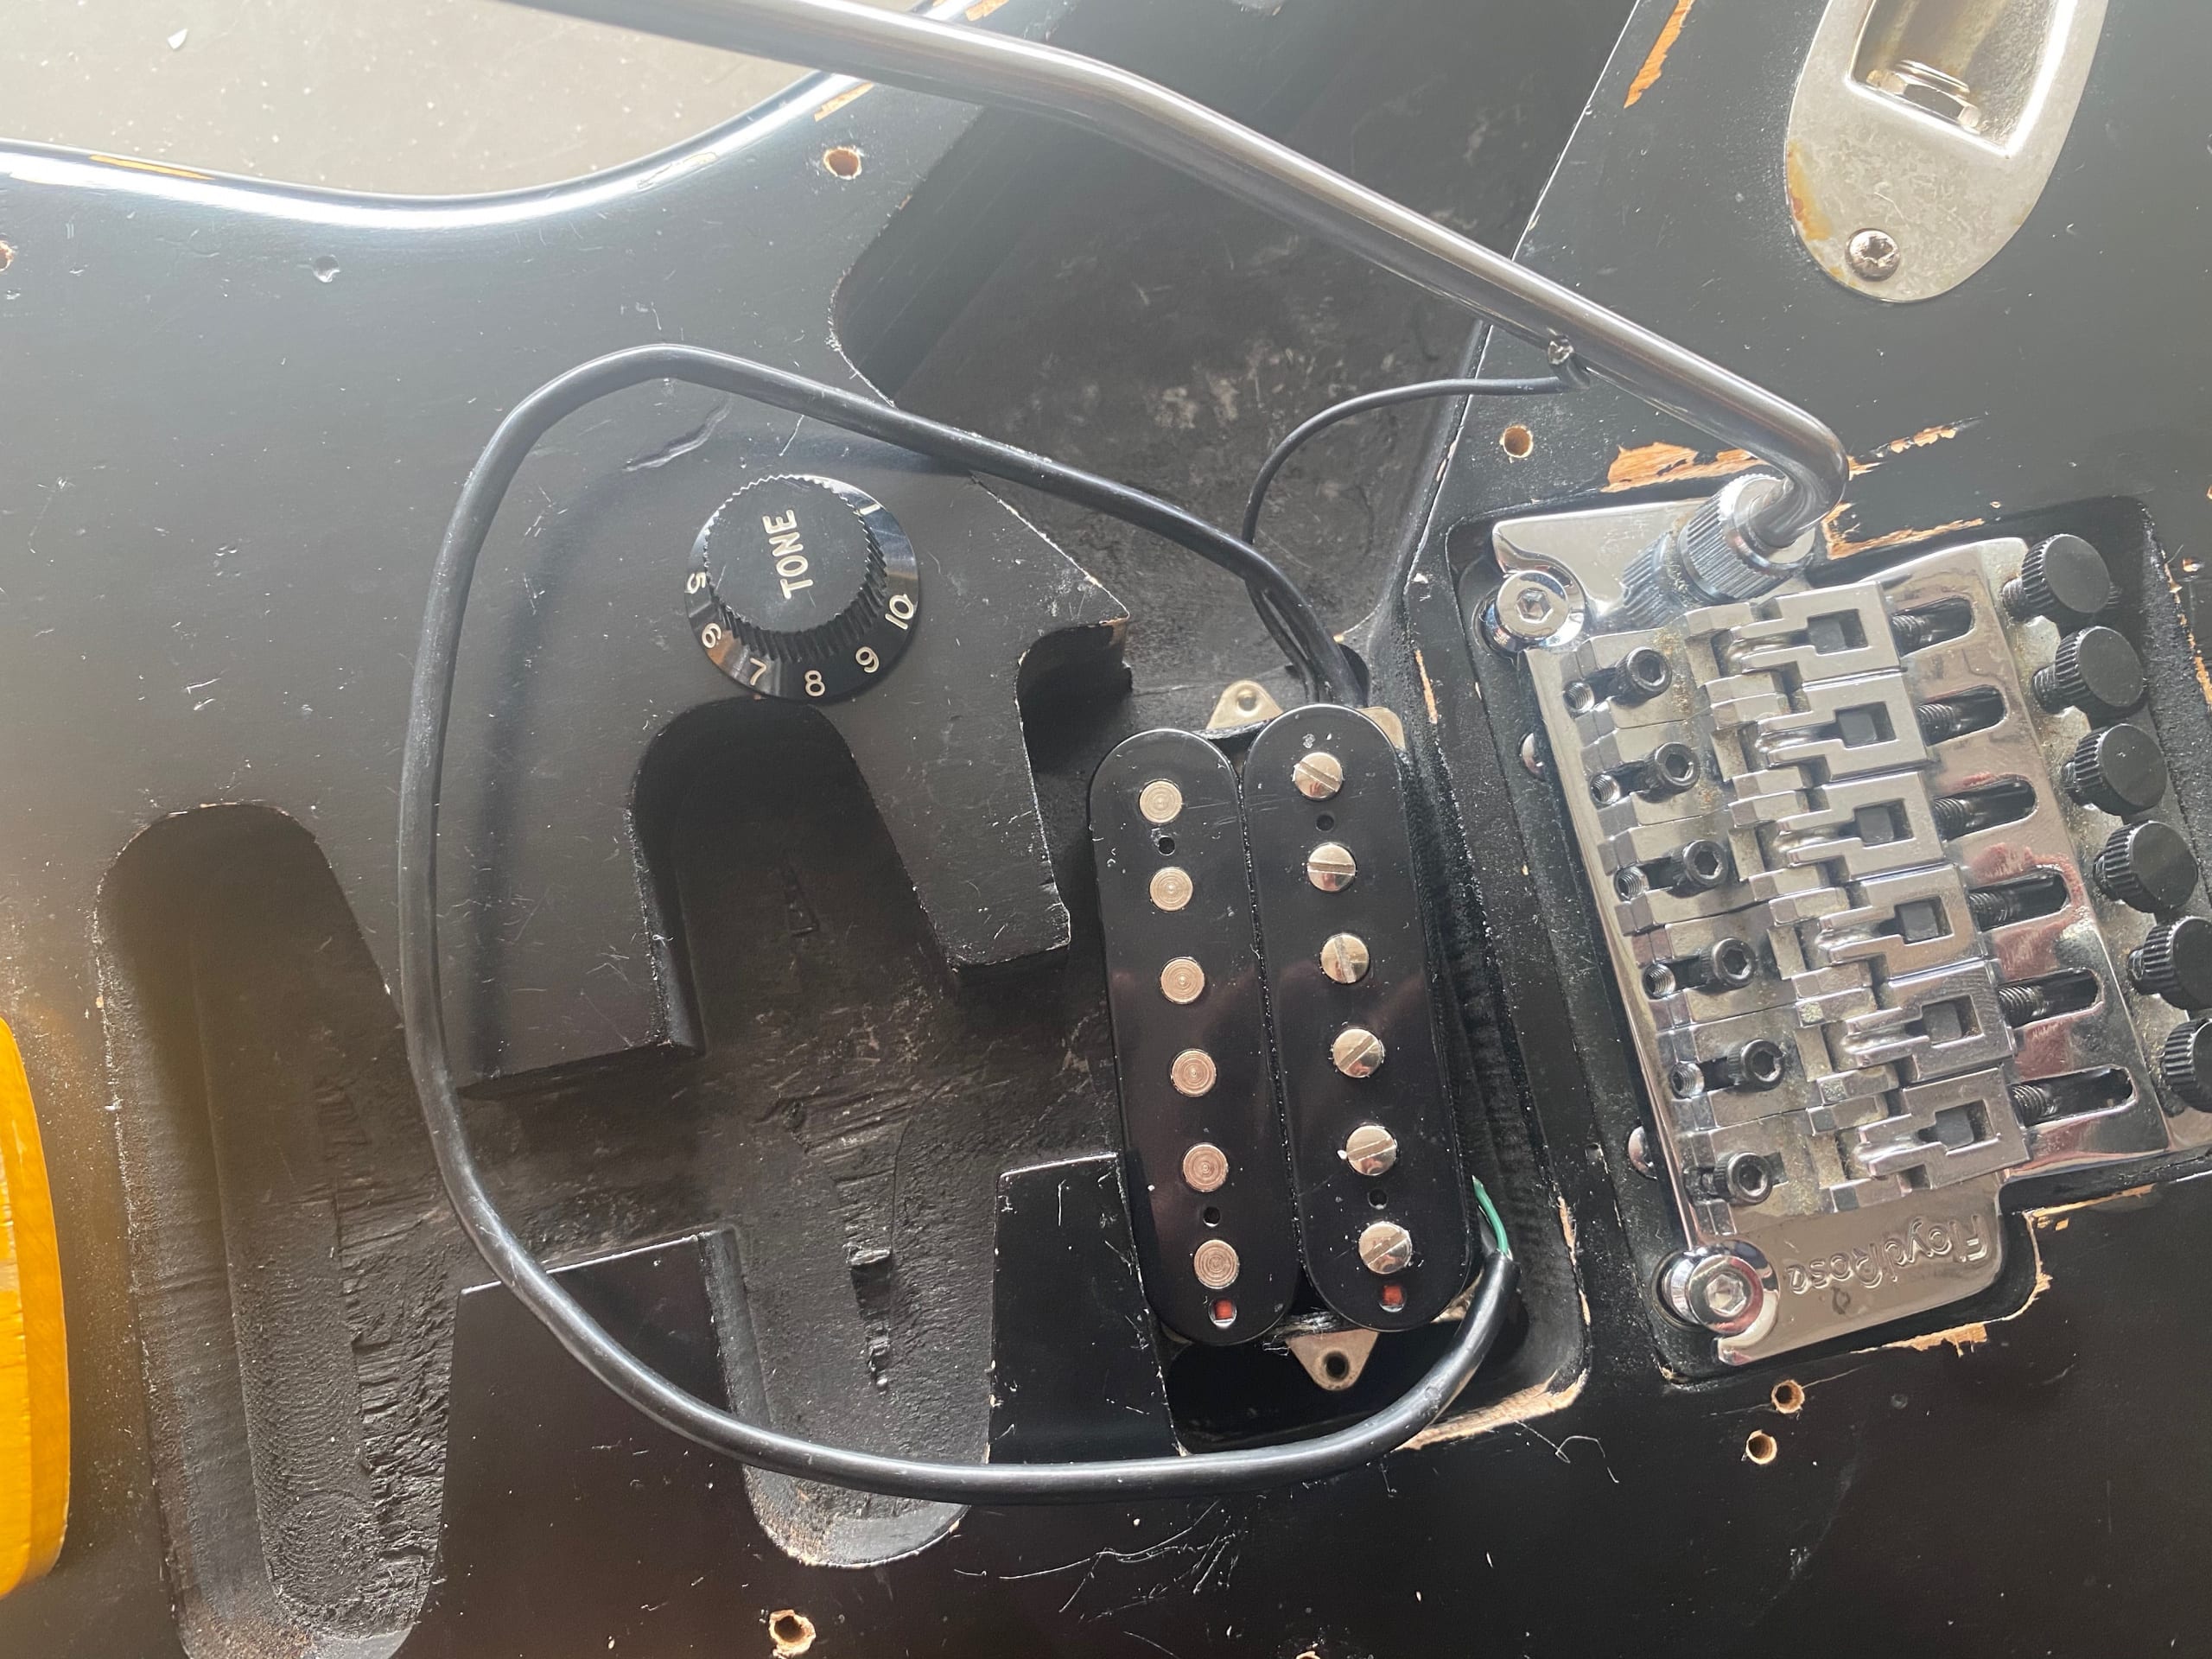
Like many players that dabble with guitar pickups, I have a box full of them in various states and different sizes. I wanted something raw, but classic rock for this build and the old Suhr Doug Aldrich bridge pickup that I had was perfect for this. I would have to make some adjustments, as it has short legs, which are great if you are going to mount it on a pickguard. But my plan was to mount it direct to the body. I figured some long screws and some foam packed underneath the humbucker would suffice, so all I had to do now was find a volume potentiometer and I’d be in business.
Gone to pot
I had a few old CTS pots that were either falling apart or felt rough when you turned them. They were also covered in solder and bits of old wire, and many of them had loose lugs. This meant I was probably doing to have to spring for a new one…
But before I bit the bullet and ordered one online, I took a few apart and tried to clean out the tracks. For this I grabbed my soldering iron, removed a load of the old solder, and attempted to build a 500k pot out of all the dead ones. I used some Deoxit cleaner on the pot’s track and crossed my fingers.
After 30 minutes or so I had a slightly dodgy 500k CTS pot that, I decided, would have to eventually get replaced with a new one. In all likelihood, it would probably crap out after a few volume swells and so I buckled, ordered a new one and put the Frankenstein’s monster 500k pot in the ‘this will do’ pile of parts for my build.
At this stage I had a bastardised Floyd Rose, a temperamental 500k CTS pot, and a humbucker. Not bad! And it was still technically morning, as my clock said 11.58 am.
- Now I know where I keep all this stuff! · Source: Jef Stone
- Rummaging through my toolbox full of guitar parts · Source: Jef Stone
The body and neck
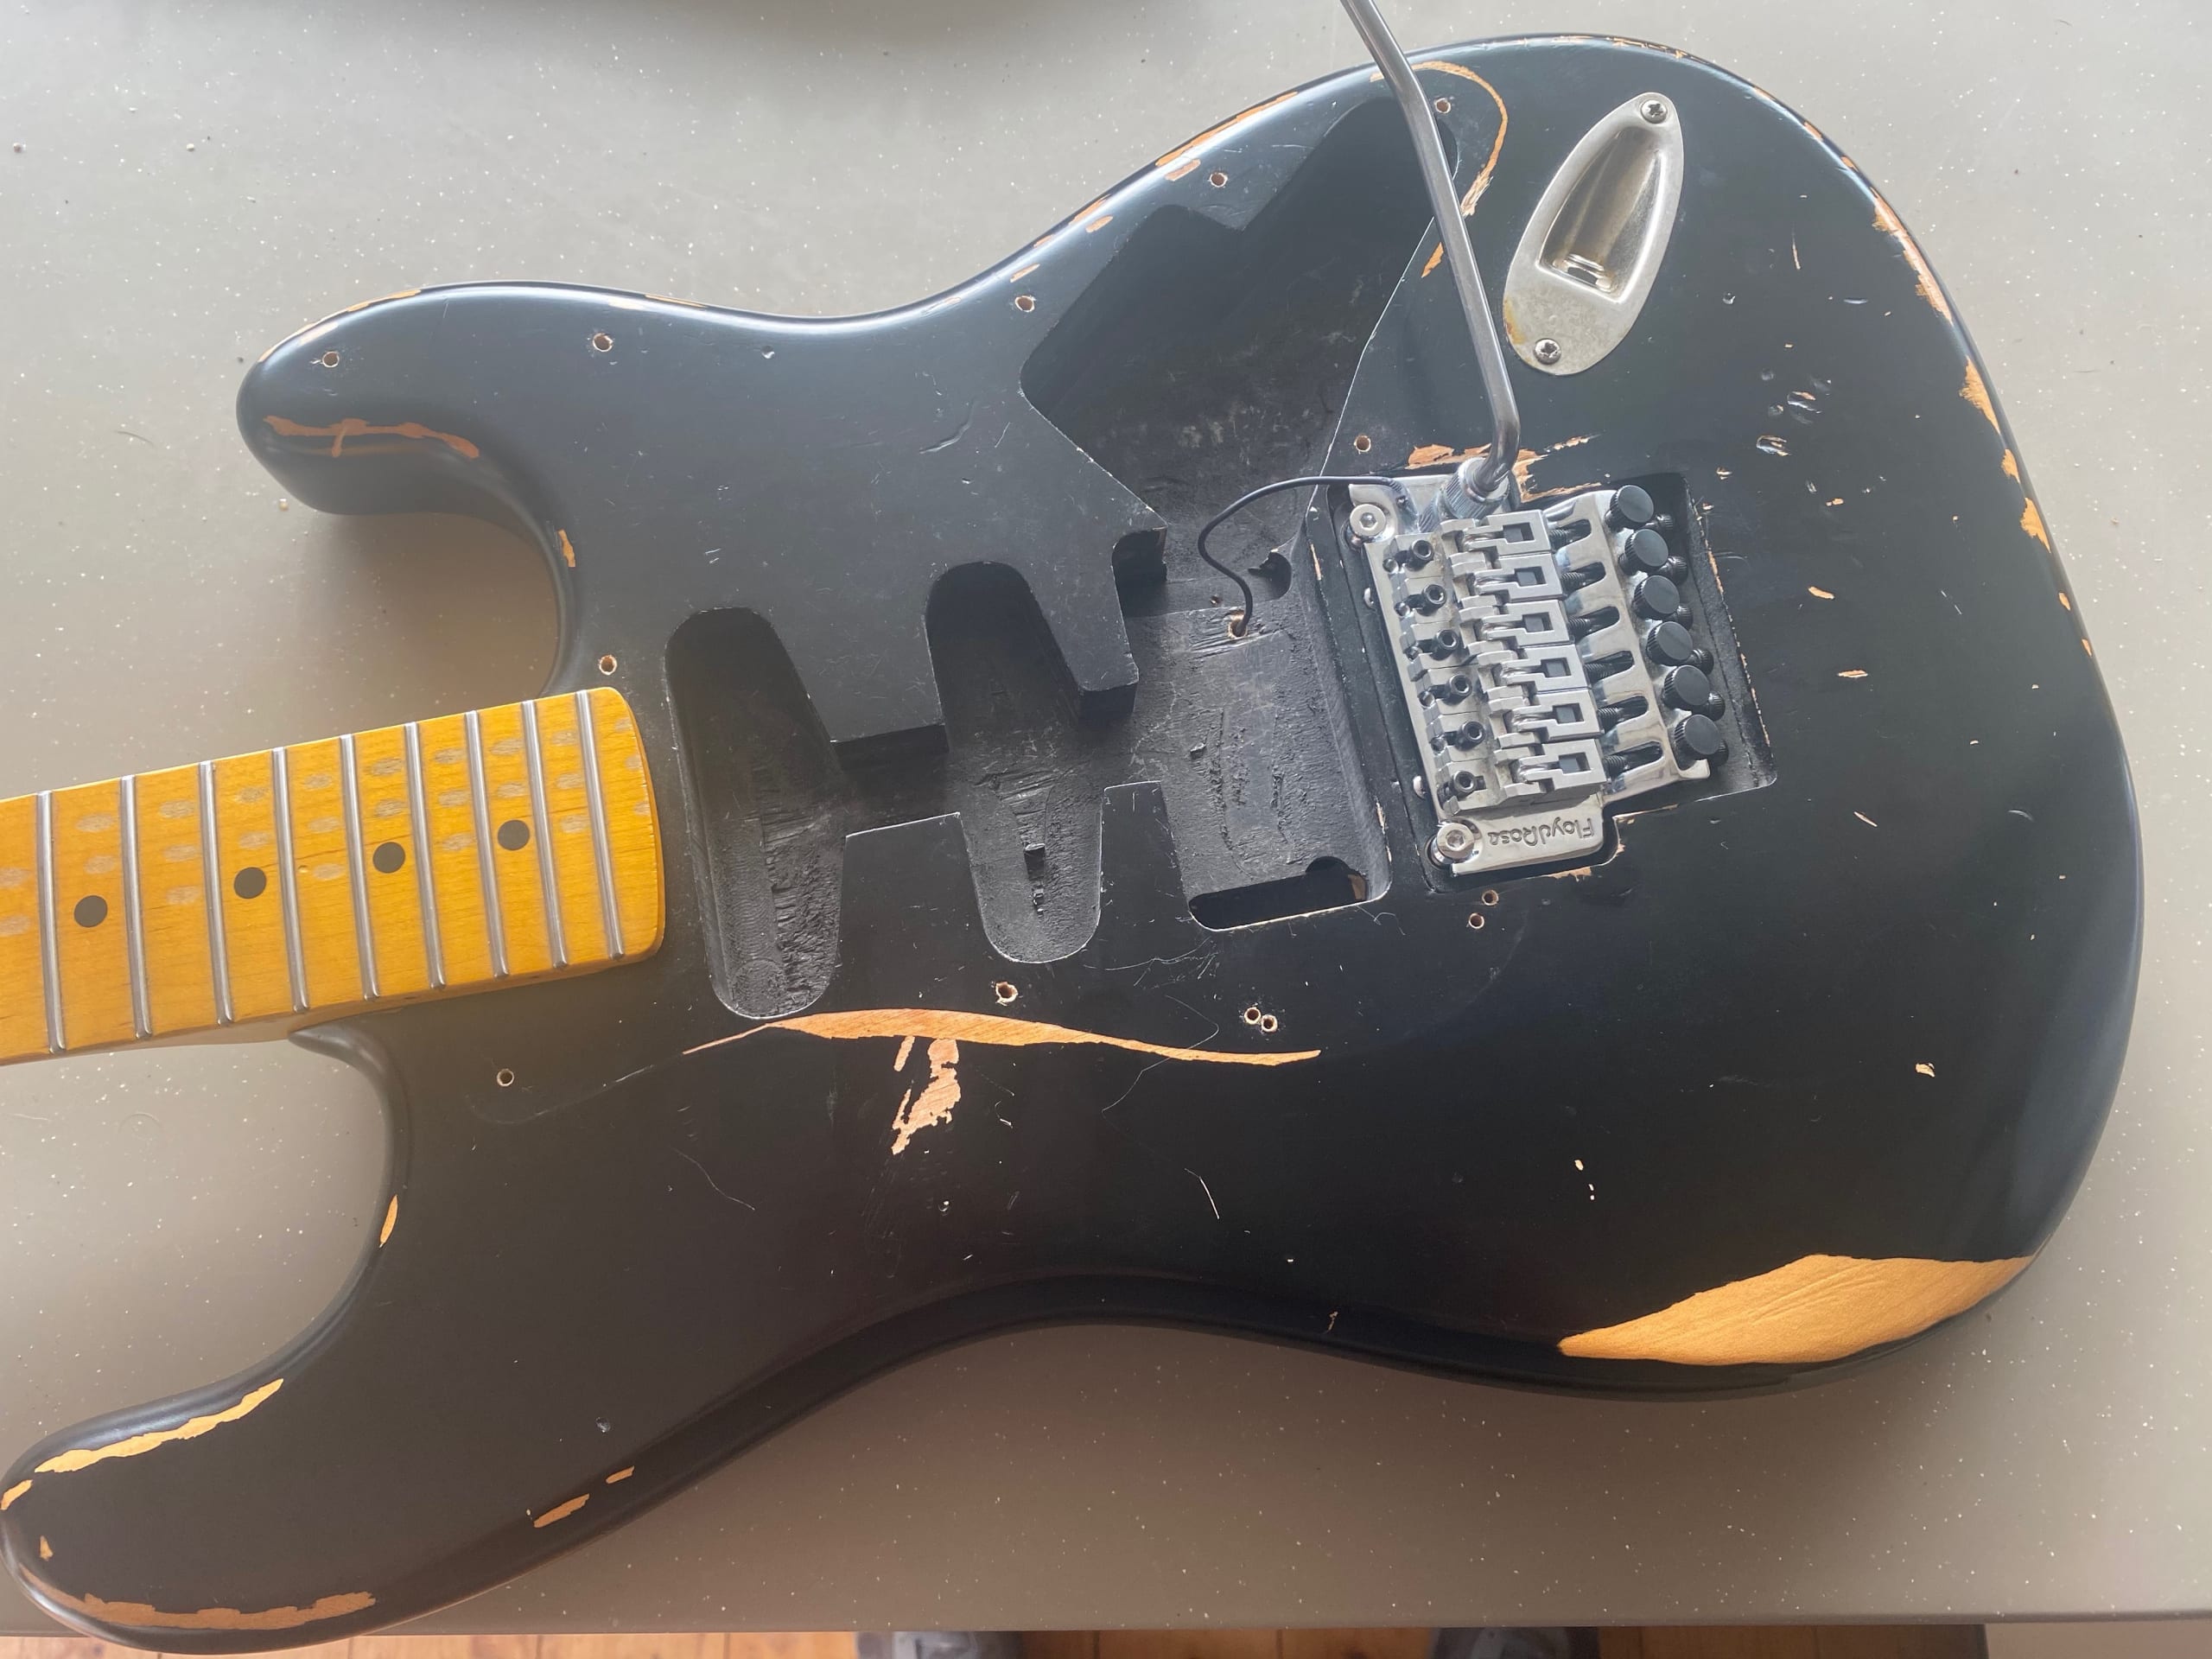
Now the obvious things missing are a Strat-style body and a neck. Luckily for me I had a few to choose from. I had an old Japanese Charvel Floyd routed body I had recently acquired from a good samaritan on my local guitar forum. There was also the alder blank I had which would need some routing for a Floyd, meaning I would have to break out the blunt chisels and go caveman on it. Or there was an old ESP/LTD body, routed for a Floyd, but it was floating.
I opted for the last one. It’s been kicked around for years and looks perfect for this project. Plus, unlike Eddie, I don’t mind a floating trem, and can always block it with some offcuts of wood if I wanted to deck it.
Another reason for my choosing this black ESP/LTD alder body was that it has a matching all maple neck, with extra jumbo frets. It also already had a locking nut and a set of tuners attached, which was the clincher in this decision.
Mounting the pickup
I wasn’t out of the woods yet though. I still had to add some wood blocks inside the bridge cavity, since it was routed too deep and my humbucker needed something to screw into. So off I went into my shed, found some wood, hacked out a few small blocks and used some Titebond wood glue to hold them in place. I was planning to screw down the humbucker anyway, so I figured the glue, plus screws would make it secure and solid enough.
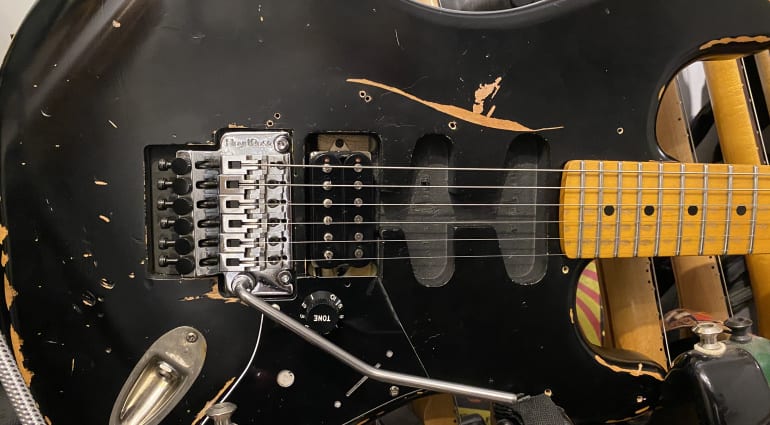
Eddie’s original guitar used an ash Boogie Bodies, seconds Charvel blank and he chiselled his to fit a humbucker in the bridge position. So with this in mind, I went a bit gung ho and just crammed my humbucker in. The glued wood blocks and long screws seem to have done the trick and this pickup is in solid as a rock. It ain’t pretty, but it works.
Bringing it to life
Okay, it was time for a break and I had work to do. Someone has to write these guitar articles for this site. After a few hours of listening to Van Halen on full blast and writing about guitars, I gathered all my parts and resumed the assembly process.
By now I had decided I wasn’t going to paint my guitar with stripes and that I was going to stick with my Floyd Rose as a floating trem system. Both of these things could easily be changed in the future, and I wanted to get this guitar up and running today.
I grabbed my screwdriver, a soldering iron, some wire clippers and went to work. Using ‘push back’ vintage style cloth wire, I soldered all the parts together and used a small Blackstar Fly amp to check my wiring job in-between testing out my pile of dodgy CTS pots. The one I built from parts was the best of the bunch, but still crackly. That’s ok though, it was going to be replaced anyway, and would do for now.
For some reason, when I rescue old pots from clients’ and friends’ guitars that I have repaired, I keep them. Over time this has amassed into a huge pile of hacked up and destroyed old potentiometers in my collection of bits.
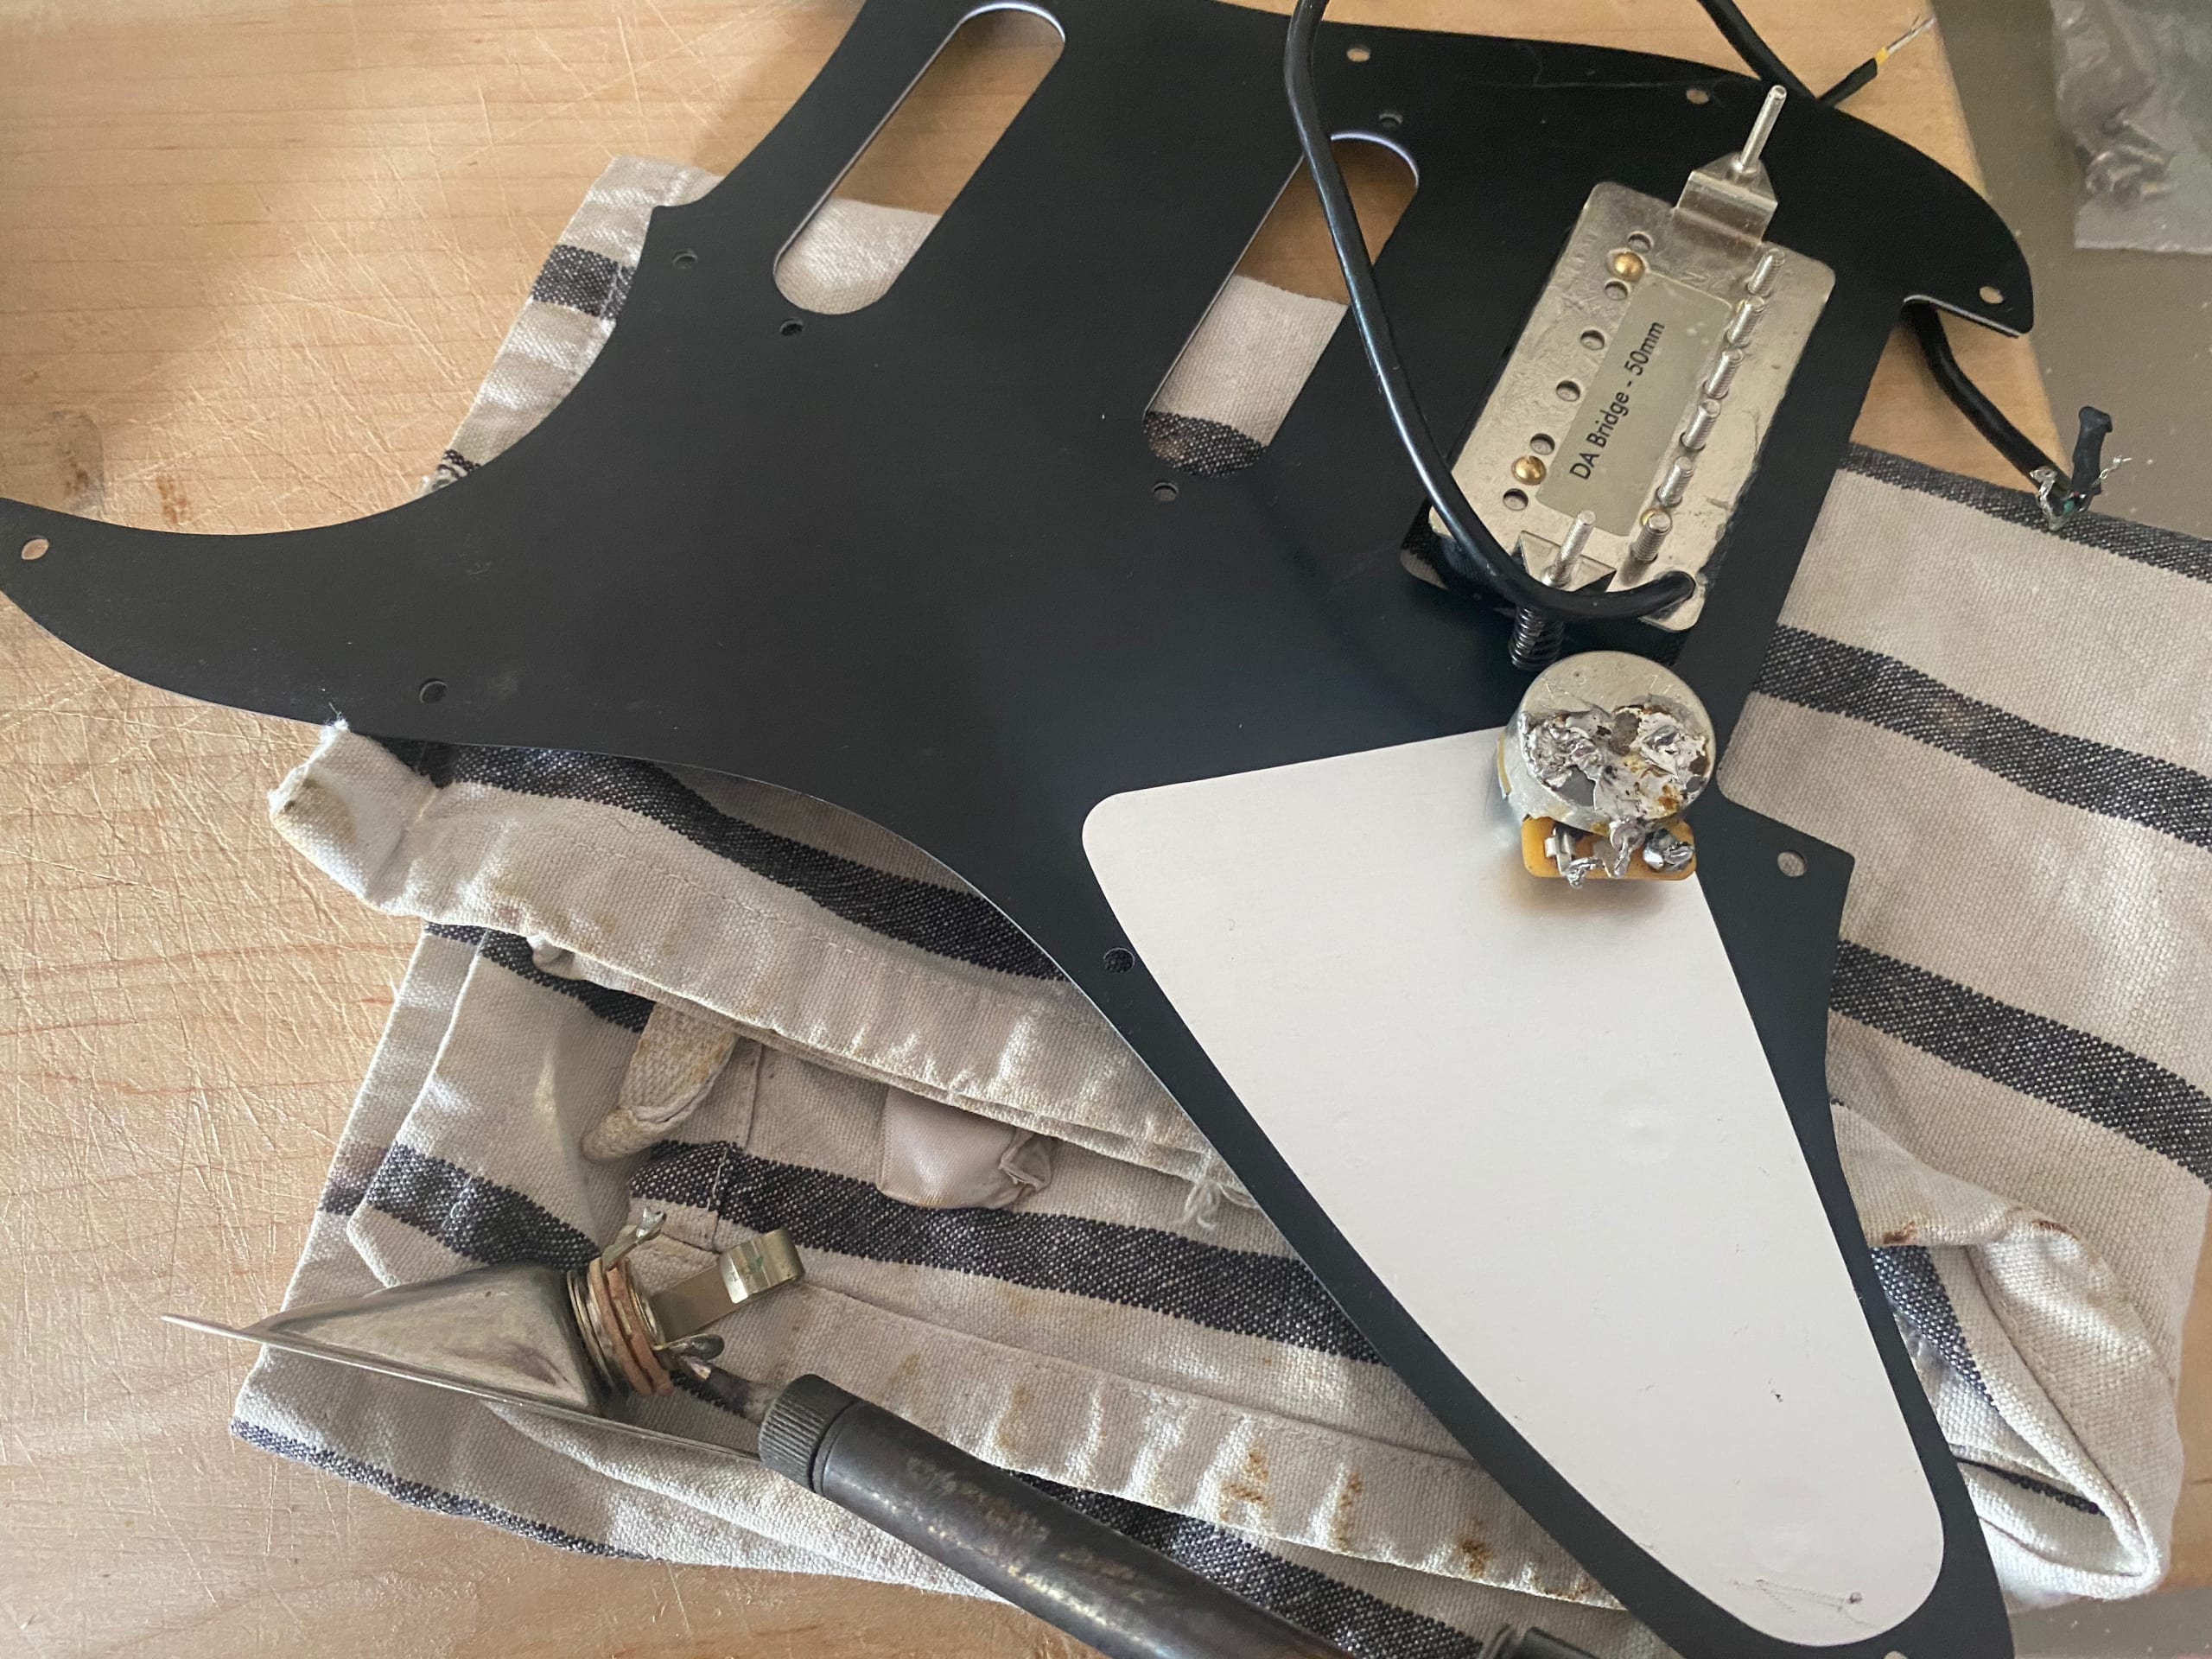
Wow, look at all that old solder. This rescued CTS pot was one of many in a similar state · Source: Jef Stone
Hack it
Luckily, I already had a few old black Stratocaster pickguards lying around. I broke out the kitchen scissors and hacked one to hold my CTS pot, and then stuck an old ‘Tone’ control knob on, just like Eddie had on his guitar.
Once I had it all wired up and tested, I attached the Floyd Rose trem system and put in three trem springs. I broke out a set of Elixir gauge 10 strings and strung up the guitar. My preferred method is to feed the string through the tuners, leaving the ball end as an anchor at the tuner end, rather than cutting the ball end off and clamping the Floyd saddles first. This way I can cut the string to the correct length and then clamp the string end into the locking saddles of the Floyd.
Next I used the cardboard string packet to hold my Floyd in roughly the right position to float it and tuned up my strings. As much as I love Eb, I wanted this guitar in standard tuning and so I spent the next 20 minutes or so bedding the strings in by stretching them. I also had to balance the Floyd Rose, so it had some up pull. Then I finally decided that Eb tuning suits this guitar more and so I re-tuned and re-balanced the trem!
My Frankie
The whole guitar build was pretty fast as I already had everything I needed (except the d@#$ 500k potentiometer). It was a fun project and, in my mind, it had the spirit of Eddie’s Frankenstein build at its centre.
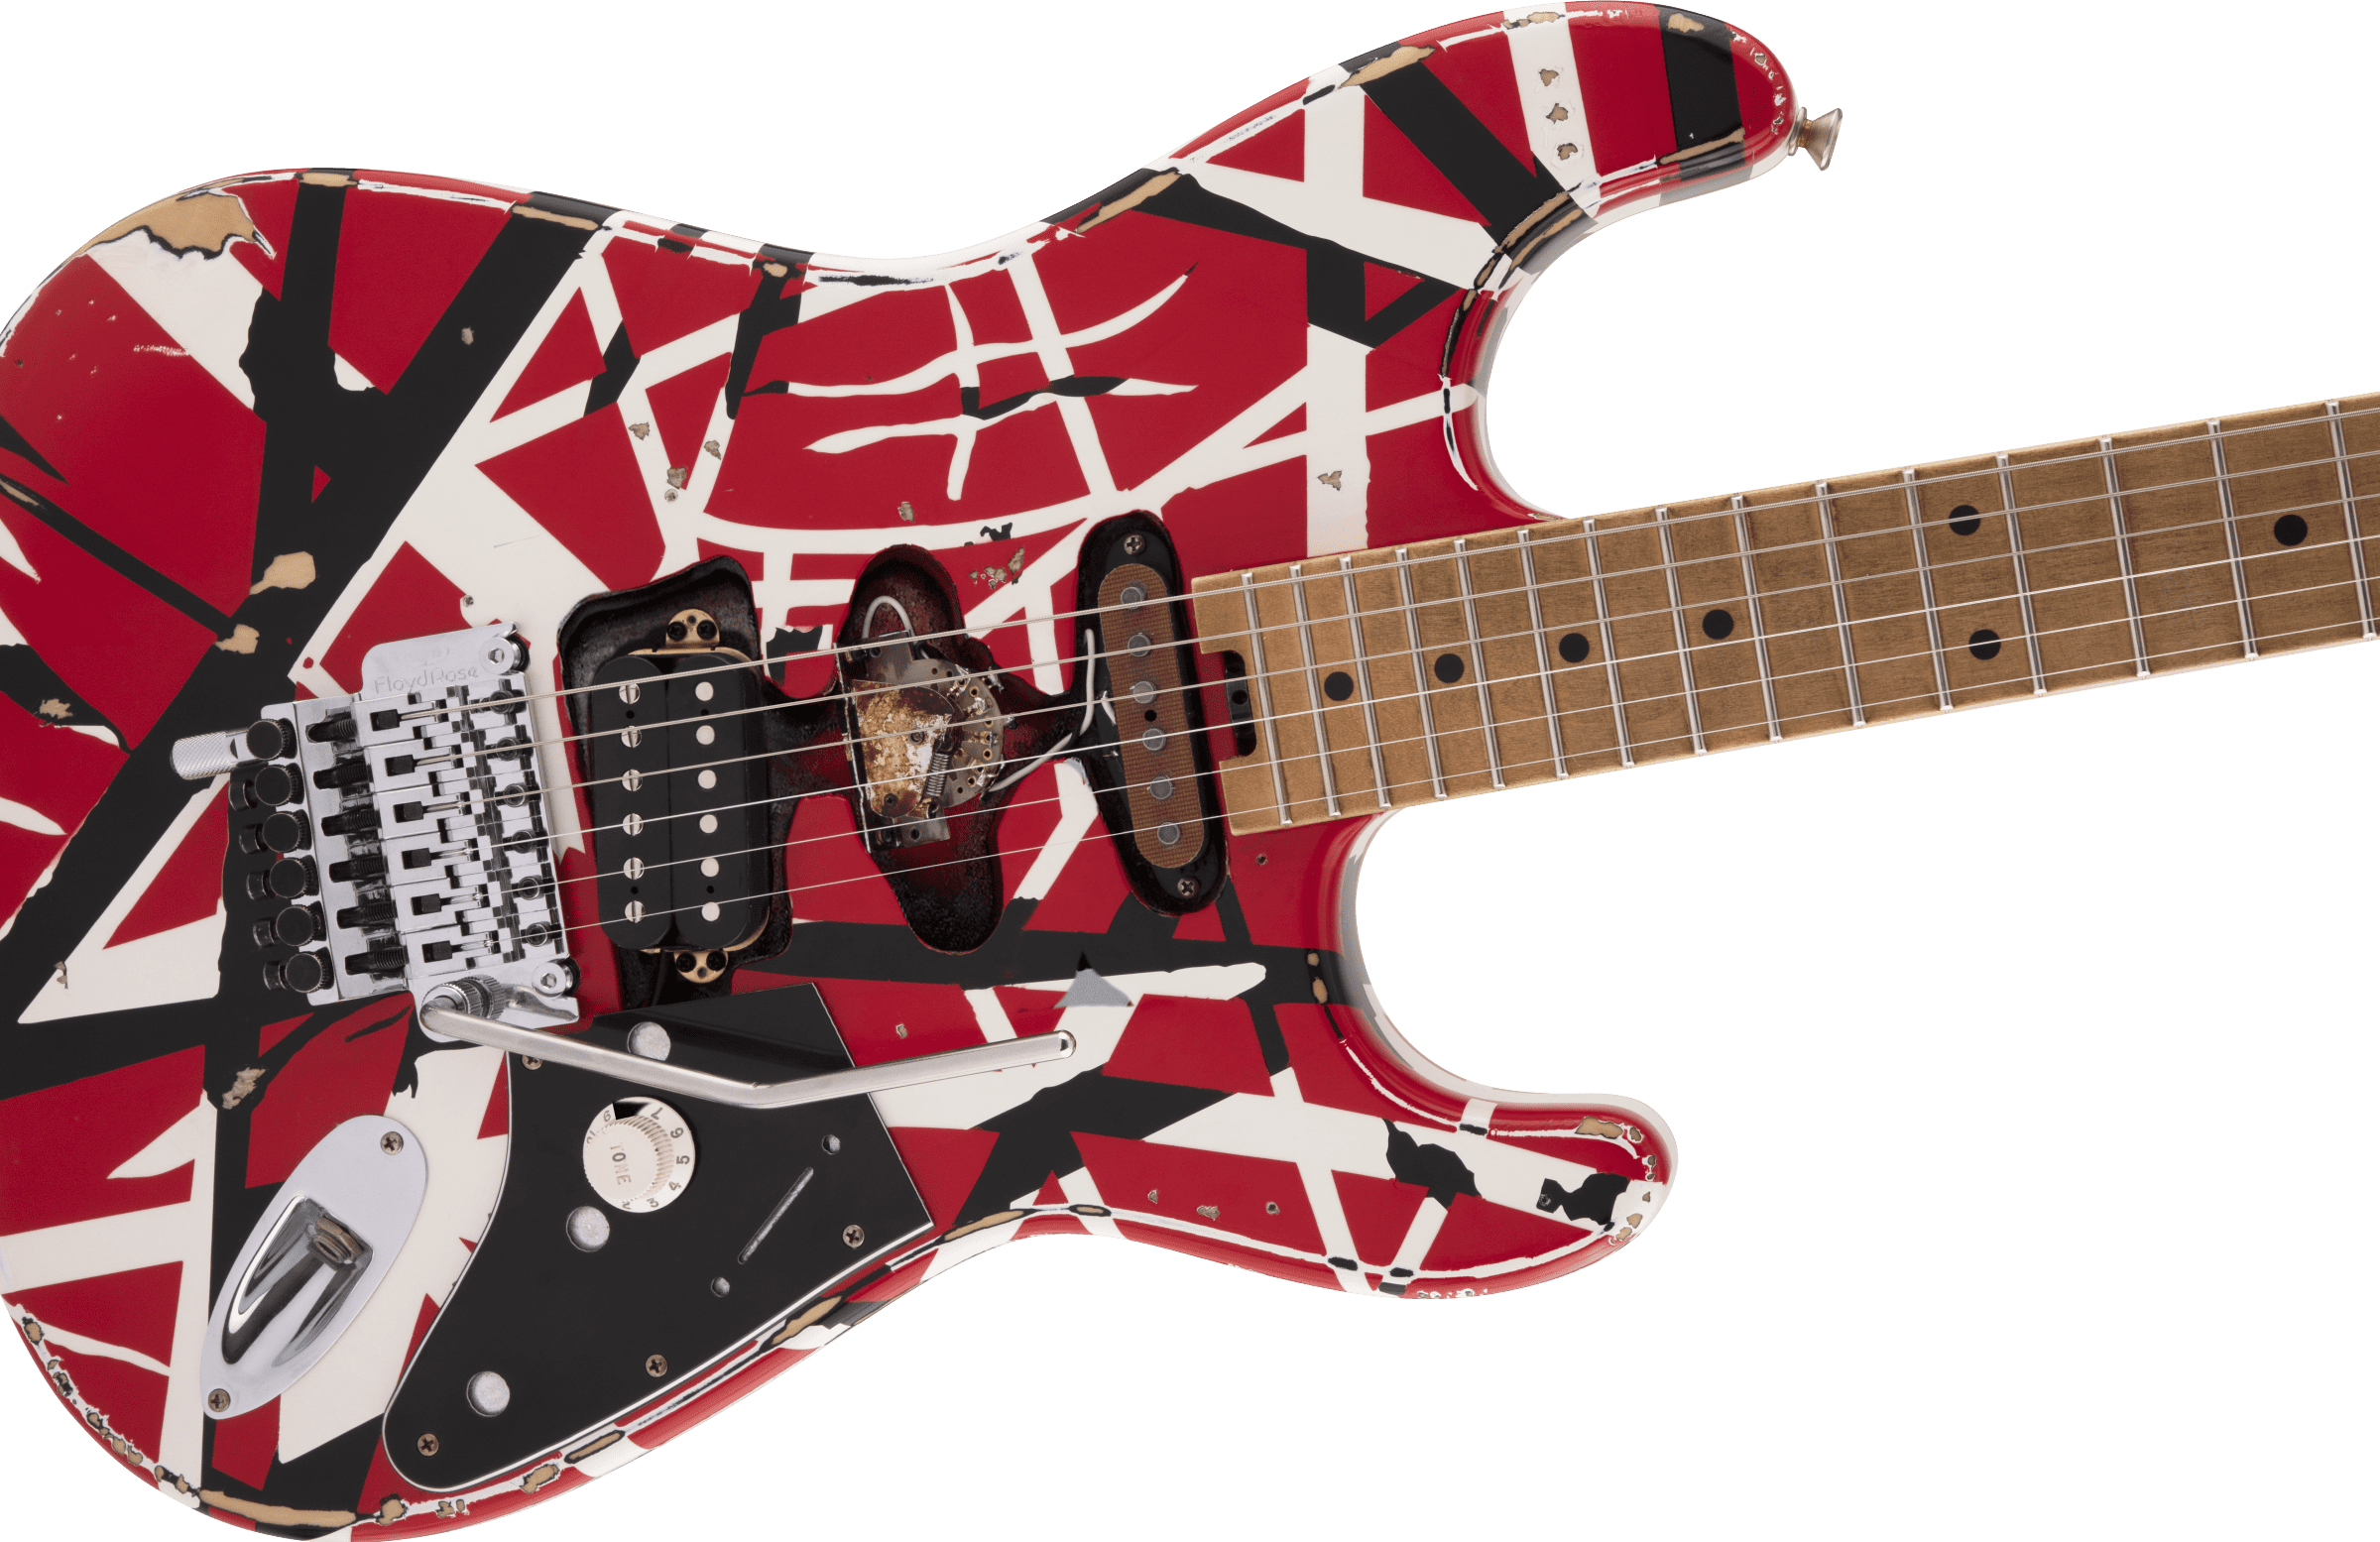
Sure, you can go build a super accurate, clone of Eddie’s original guitar. You can even spray them to represent certain periods of Van Halen, or hunt down original 1971 quarters and old truck stop reflective signs to put on the back. There is nothing wrong with that at all, and I think it can be a fun project for many fans of this iconic guitar, chasing down these parts and specifications.
For me, I just wanted to build my own version of Frankie and I feel have accomplished what I set out to do. My version of the Frankie guitar sounds awesome and I had a blast building it. No doubt, I will keep modding and adjusting it from time to time, which, for me as a ‘tone chaser’, is all part of the fun.
Build Your Own Frankie
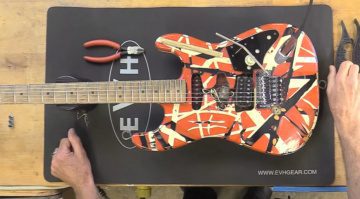
I would advise anyone that wants to build their own Frankie-style guitar to plan out the build first. You can read my soldering and improving your guitars articles here for some basics. You can also check out the videos below and see some real extreme EVH Frankie builds, with all the details and full on specifications of the original guitar.
Hopefully by the time you read this, the 500k CTS pot will have arrived…
You are currently viewing a placeholder content from Default. To access the actual content, click the button below. Please note that doing so will share data with third-party providers.
Video
https://www.youtube.com/watch?v=yzVybyhBLBo
https://youtu.be/rccyHB-td44
2 responses to “Building my own Van Halen Frankenstein Super Strat in a day: A tribute to Eddie”
 4,2 / 5,0 |




Eddie van halen use a Kramer not charvell
No, he used Kramer later on in his career. He first used a Boogie Body he got from Wayne Charvel, which was a factory second, and it is well documented. https://en.wikipedia.org/wiki/Frankenstrat