How To Use DAW Automation: 3 Methods to Add to your Workflow
New ways to use automation in your production workflow.
We look at how to use DAW Automation in your production workflow to help you make precise arrangement and mixing decisions with your tracks.
Until flying faders were implemented in recording consoles by API in the 1970s, the process we call automation today was performed manually. The primary function of automation was to control the channel faders during mixdown. However, with the advent of DAW software, we can do far more than was ever imaginable in the console days.
DAW Automation:
How To Use DAW Automation
As we’ve discussed, shifting faders during mixdown was done as a performance, making songs like Tomorrow Never Knows the unique masterpieces that they are. For this very reason, using DAW controllers is still the best way to get that organic feel.
Sure, it might not have the same level of smoothness as using real analogue console automation but few of us have that luxury. Instead, controllers can provide different degrees of digital control over your most frequently used DAW parameters.
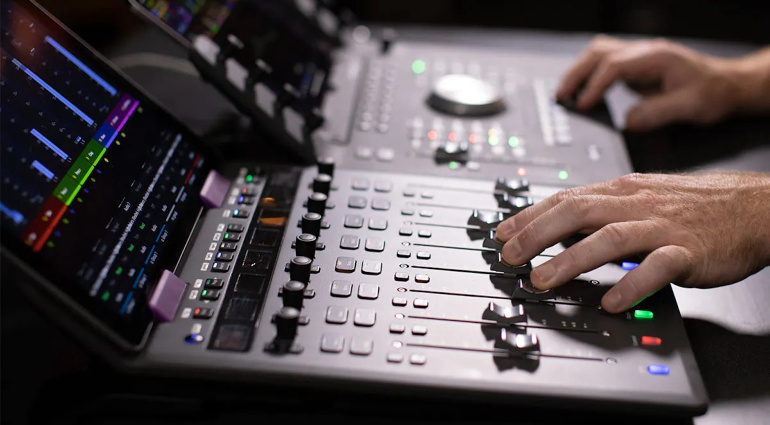
Professional DAW controllers like the Avid S series can cost as much as SSL consoles, so we’ll start with the basics. Let’s focus on the foundational aspects of automation, and look at some methods you can incorporate into your workflow.
Automation Modes
Before we dive into DAW automation, there are several modes that determine our approach. These functions are universally common to most DAW software systems, so you can apply this no matter which one you use.
- Read Mode: When a channel is set in read mode, it will only respond to previously recorded automation. Any parameter changes will not be saved.
- Latch Mode: Writes automation changes and the value remains where you left it from your last interaction with the controller knob or fader. This is the basic setting for fader automation.
- Touch Mode: Records any parameter changes, but then instantly returns to the original value when you release the controller. This is the perfect setting to add the finishing touches once you’ve already shaped your automation curves with several passes in Latch mode.
- Write Mode: When you want to start from scratch, this erases any automation on the selected channel as the project plays.
1. Volume Automation
Volume automation is one of the core aspects of the mixdown process. Although we can adjust the gain of multiple audio clips in seconds, automation remains key to achieving smooth transitions between your verse and chorus.
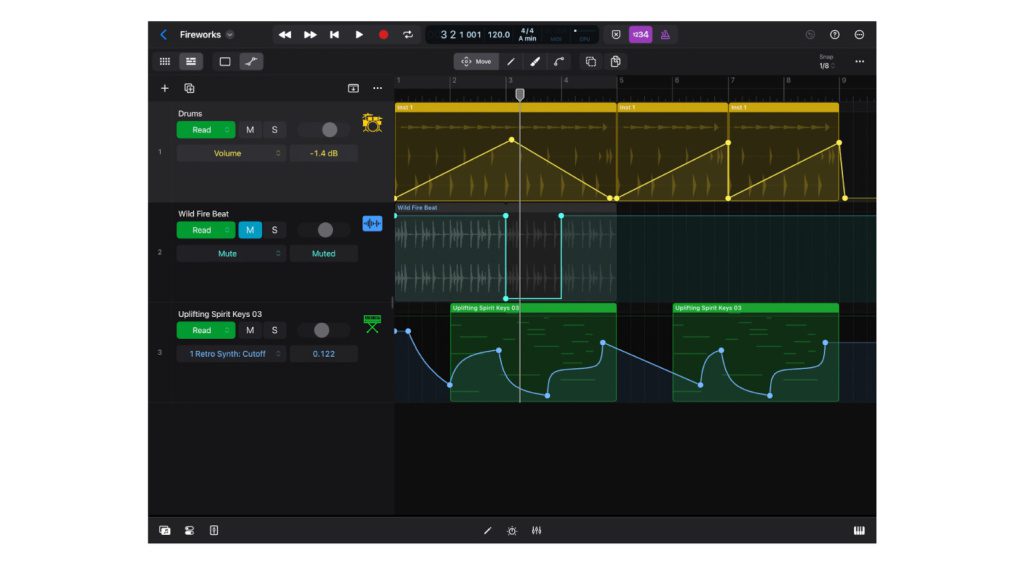
Drawing in your automation with gradient and curve tools presents a quick and flexible method for achieving this, and it’s extremely precise once you get the hang of it. That being said, it can come across as too clinical in some cases, and recording real-time automation with your mouse never works out quite as you intend.
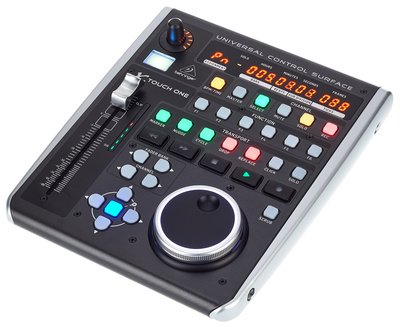
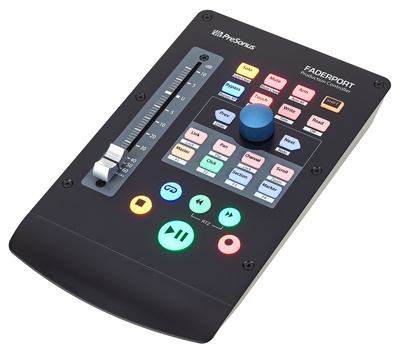
Controllers with faders solve this problem and they can be quite affordable, provided you aren’t looking for multiple flying faders. Instead, you can use a single-fader controller and simply automate your channels individually and copy/paste where necessary.
If you’re working with a limited budget, you can either choose a controller with a single motorized fader or go with a larger option without motorized faders. There are advantages to both, but motorized faders are certainly more precise. Also, some controllers offer better integration with certain DAW systems, so keep this in mind.



2. Effects Automation and Plug-in Control
Once got your fader automation covered, the next avenue worth looking into is effects. Whether you use parallel effects sends or an endless chain of inserts on each channel, there are benefits to using automation.
In a quiet vocal passage, perhaps in a bridge before the last chorus, you can gradually introduce more reverb or delay to build anticipation. By automating the plug-in’s mix control or the channel send amount, you can create a swelling effect and pull your channel or bus fader down just before the chorus hits.
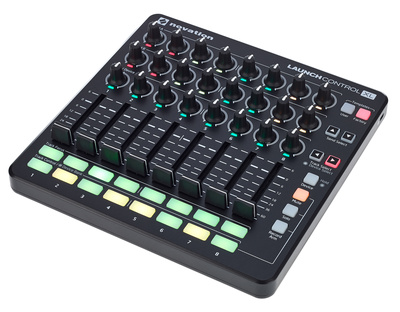
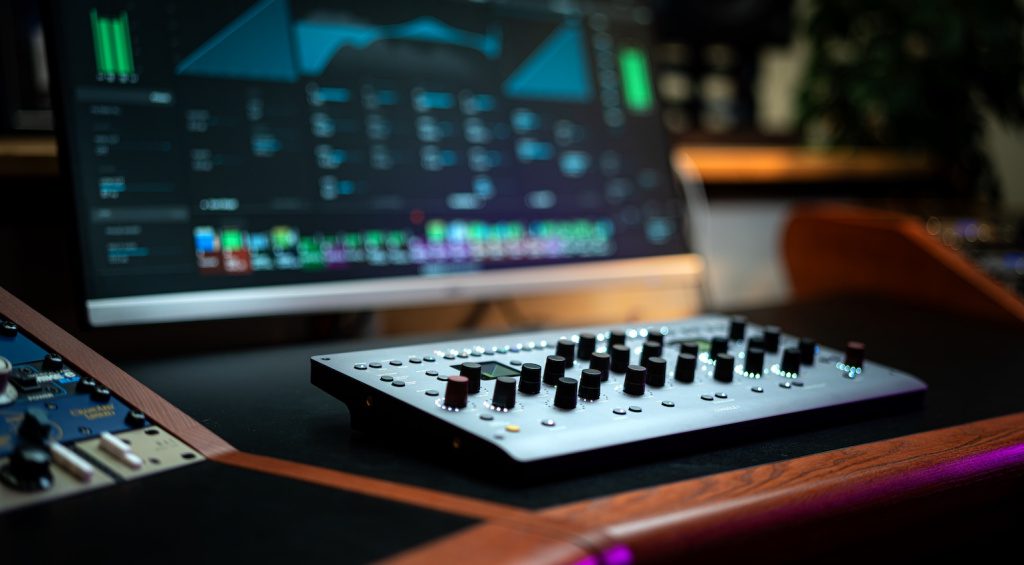
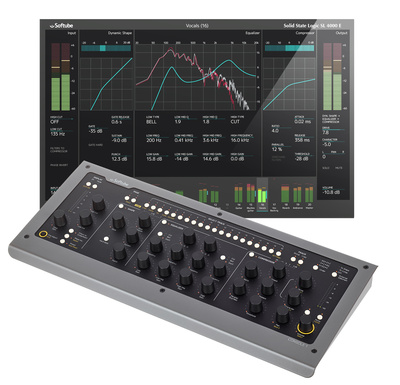
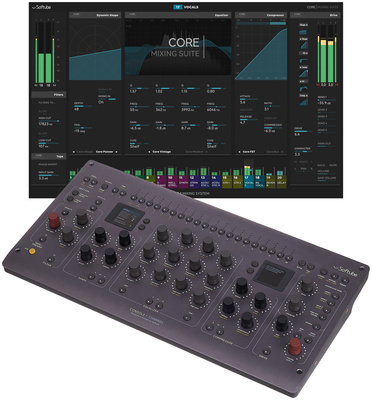
These functions can be done with almost any rotary controller. However, if you want a more hands-on feel when using plug-ins, the Softube Console 1 system gives you a complete and comprehensive overview of each channel strip.
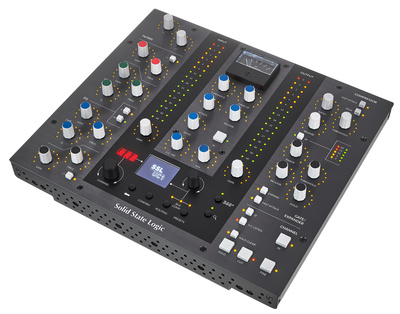
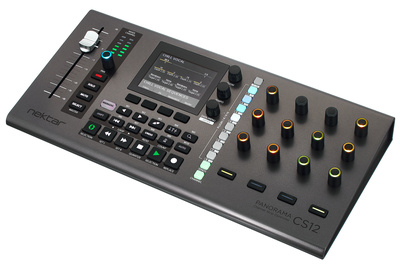
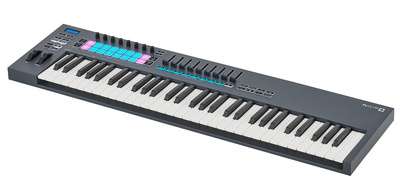
Meanwhile, controllers like the SSL UC1 offer a similar level of integration but both options are designed for specific plug-in suites. A worthy alternative is to choose a controller designed specifically for the DAW that you use, like the Nektar Panorama CS12 for Logic Pro or the Novation FLKey series for FL Studio.



3. Using Automation for Sound Design
We’ve covered the basics of volume fader and parameter automation. However, when we apply this to the software instruments and effects we use in music production automation becomes a way to shape sounds over time.
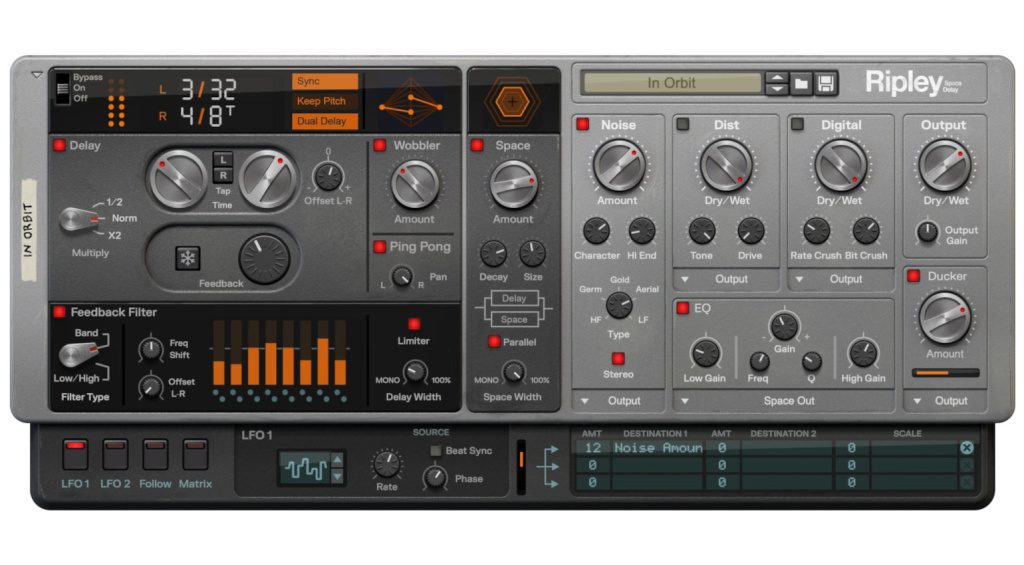
The most obvious example would be synth parameters. Here, you can open up your melodic synth parts during the drop by controlling the filter cutoff and the envelope release amount.
Another simple but effective use of automation can be applied when using a delay plug-in. Instead of simply changing the wet/dry mix, altering the delay time can create warbled effects on drum hits or vocals.
Although this moves more into the realm of synthesis than DAW automation, it gives you a powerful creative way to approach any song you’re trying to produce.


More about DAW Automation:
*Note: This article about DAW Automation contains affiliate links that help us fund our site. Don’t worry: the price for you always stays the same! If you buy something through these links, we will receive a small commission. Thank you for your support!
 5,0 / 5,0 |