
Synth Repair: How to fix vintage synthesizers and drum machines yourself
Save money by doing minor repairs yourself at home.
 4,5 / 5,0 |
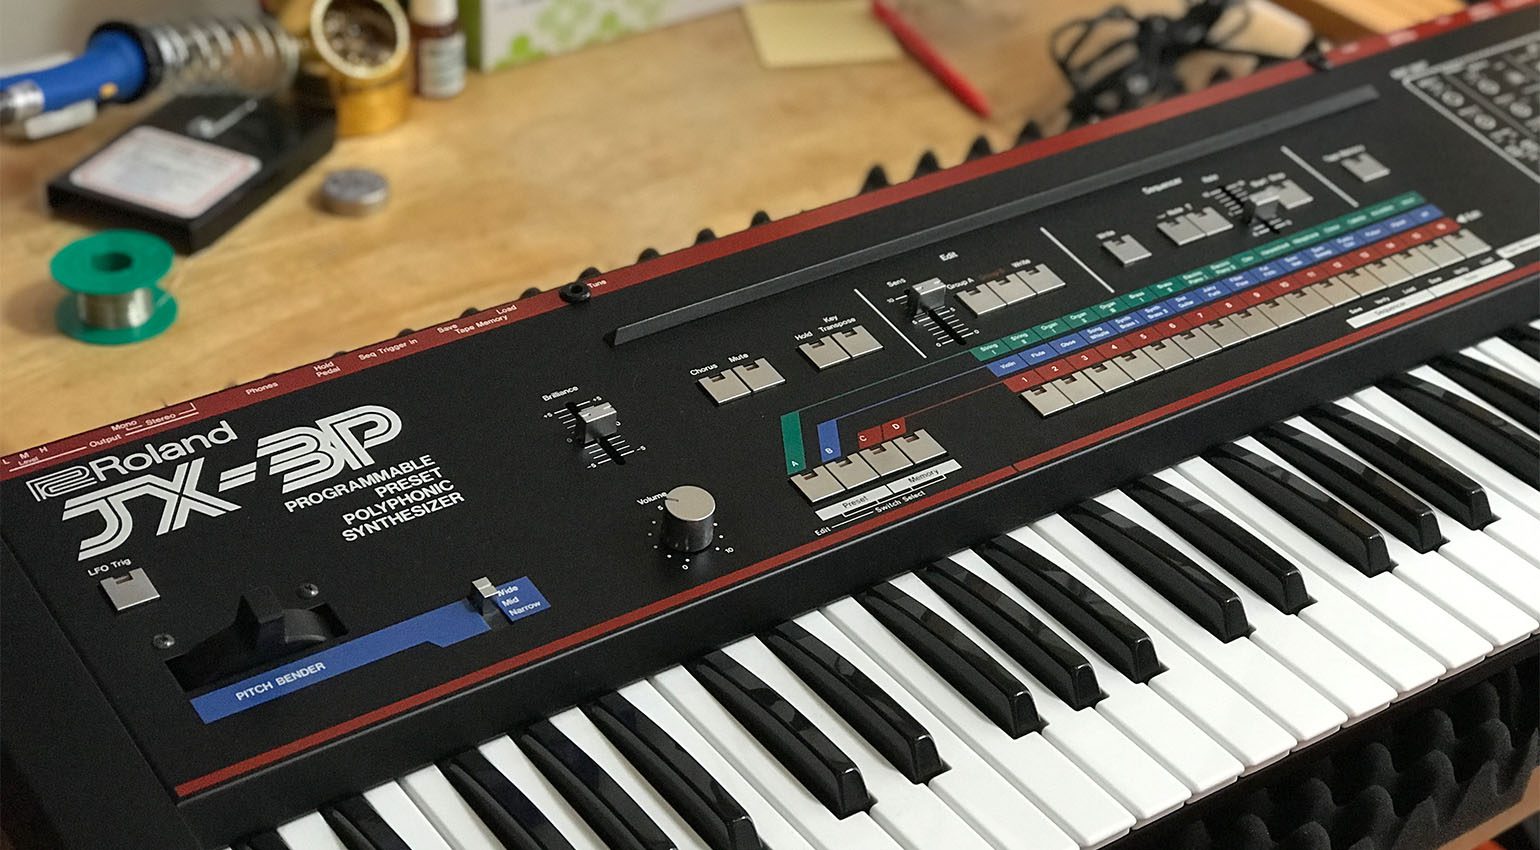

You can do quite a lot of vintage synth repairs by yourself. Find out how to change internal batteries, fix dead keys, swap out sticky buttons and more.
Table of Contents
Synth Repair
Vintage gear like synthesizers and drum machines are great. They sound amazing, they look cool and they’re fun to play. Unfortunately, they tend to break down. A lot. Along with the cost of the initial purchase, you’ll need to factor in the amount you’ll spend getting them fixed – not to mention the time they’ll be away from your studio while at the repair shop.
That is unless you can handle synth repair yourself.
You might be surprised to learn that you can solve many of the most common problems with older gear by yourself. With just a little know-how, you’ll be able to repair things like dead internal batteries, sticky buttons and dead LCD screens. You’ll save time and money – and there’s little more satisfying than fixing something yourself.
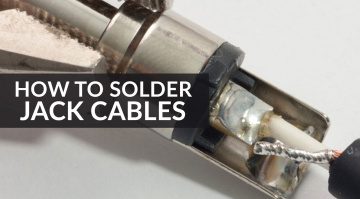
Soldering
Many of the repairs that I’ll outline in this article involve soldering. If you never learned to solder, get yourself a soldering iron and practice putting together some electronics kits or – if you’re feeling adventurous – DIY synth and Eurorack modules. Stick with through-hole PCBs. Modern surface mount boards are a whole other beast.
Soldering is a skill just like any other and just takes a little practice. Make sure you’re comfortable both soldering and desoldering, as you’ll be removing old parts about as often as you’ll be putting new ones in.
Safety First
Before we get into it, I should mention safety. Obviously, stay safe at all times. Always unplug the device before you start soldering. The last thing you want to do is flow hot metal onto a live circuit board. PCBs can be remarkably forgiving but there’s always a chance that you’ll ruin something. If you’re feeling in over your head, call a reputable tech to step in.
Lastly, this article on synth repair is intended for informational purposes only. Any damage incurred to your possessions or self is your responsibility.
Synth Repair: Start By Cleaning
Your first port of call when assessing an issue with vintage gear should be a good clean. Go ahead and open the synth or drum machine up. You’re not going to hurt anything by loosening a few screws.
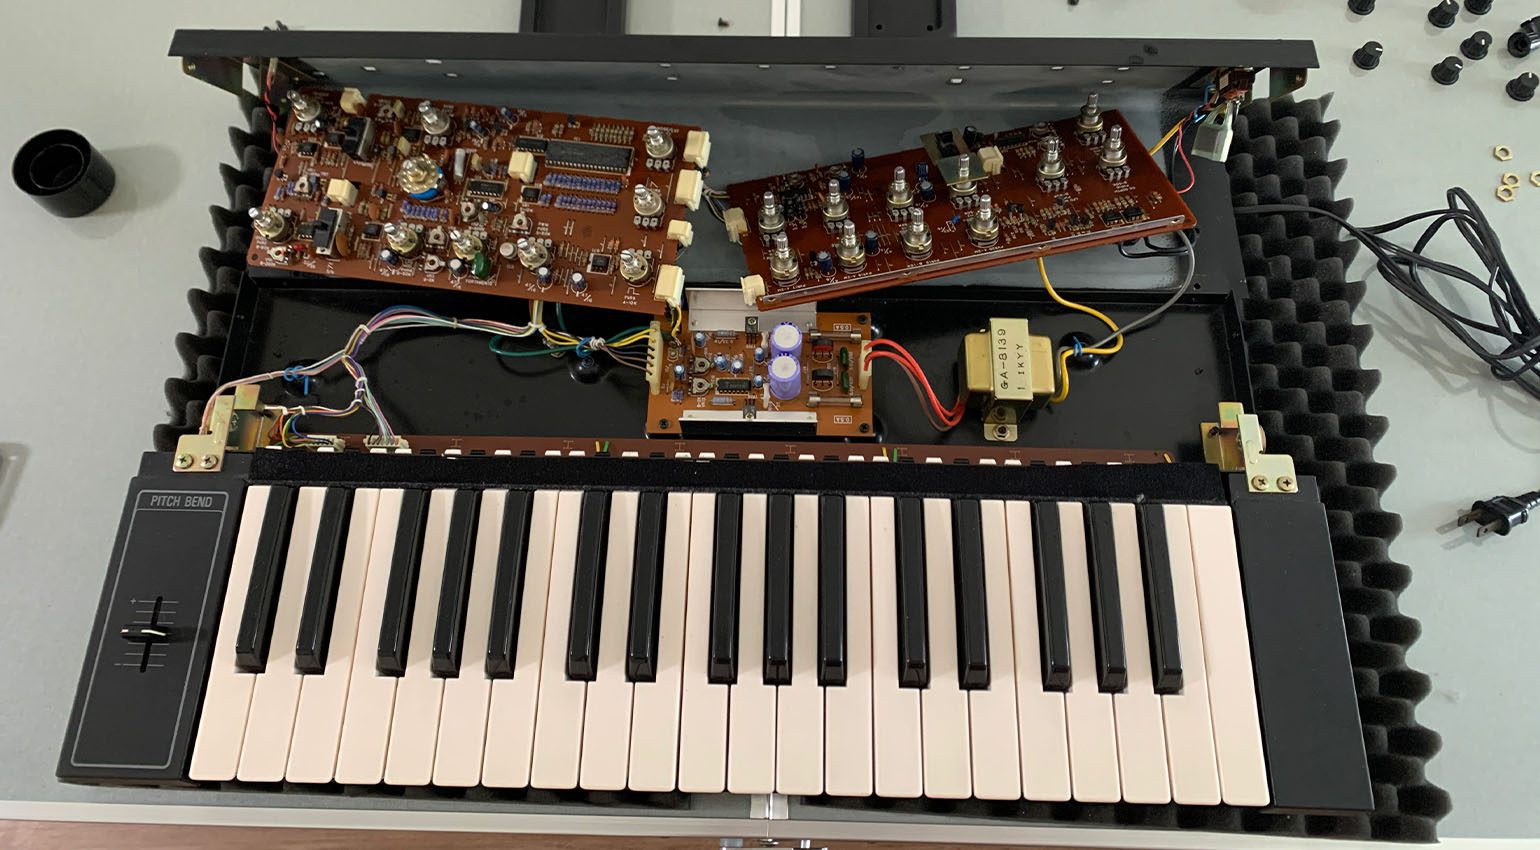
Synthesizers can get especially dirty inside as dust and other debris get in under the keys. Suck up any dust bunnies with a small vacuum. You can use a soft, small paint brush and a can of compressed air to loosen any dirt around potentiometer shafts and key bushings. Make sure you get around the keys as well, as accumulated dirt may be preventing the key from making electrical contact.
Also, clean out audio jacks. If you’re having intermittent audio, put a little alcohol on a Q-tip and swab the contact at the back of the port. Folded up business card works well too.
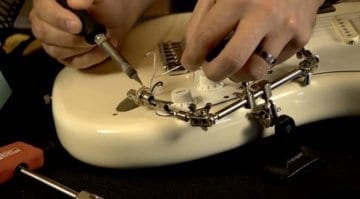
Synth Repair: Fixing Keys
One of the most common synth repairs is broken keys. Keys get snapped off when moving them, by kids horsing around and by overzealous dancing YouTubers. It’s easy enough to replace them as this is a mechanical operation with no soldering involved.
Start by identifying the note of the key and then look online for a replacement. Most won’t be too hard to find although woe to the person looking for a top C key, as these can be quite rare. The actual replacement method will vary by instrument but most will involve taking out the entire keybed to get access to the broken key. You may need to temporarily remove some of the surrounding keys as well as they often fit together like jigsaw puzzle pieces.
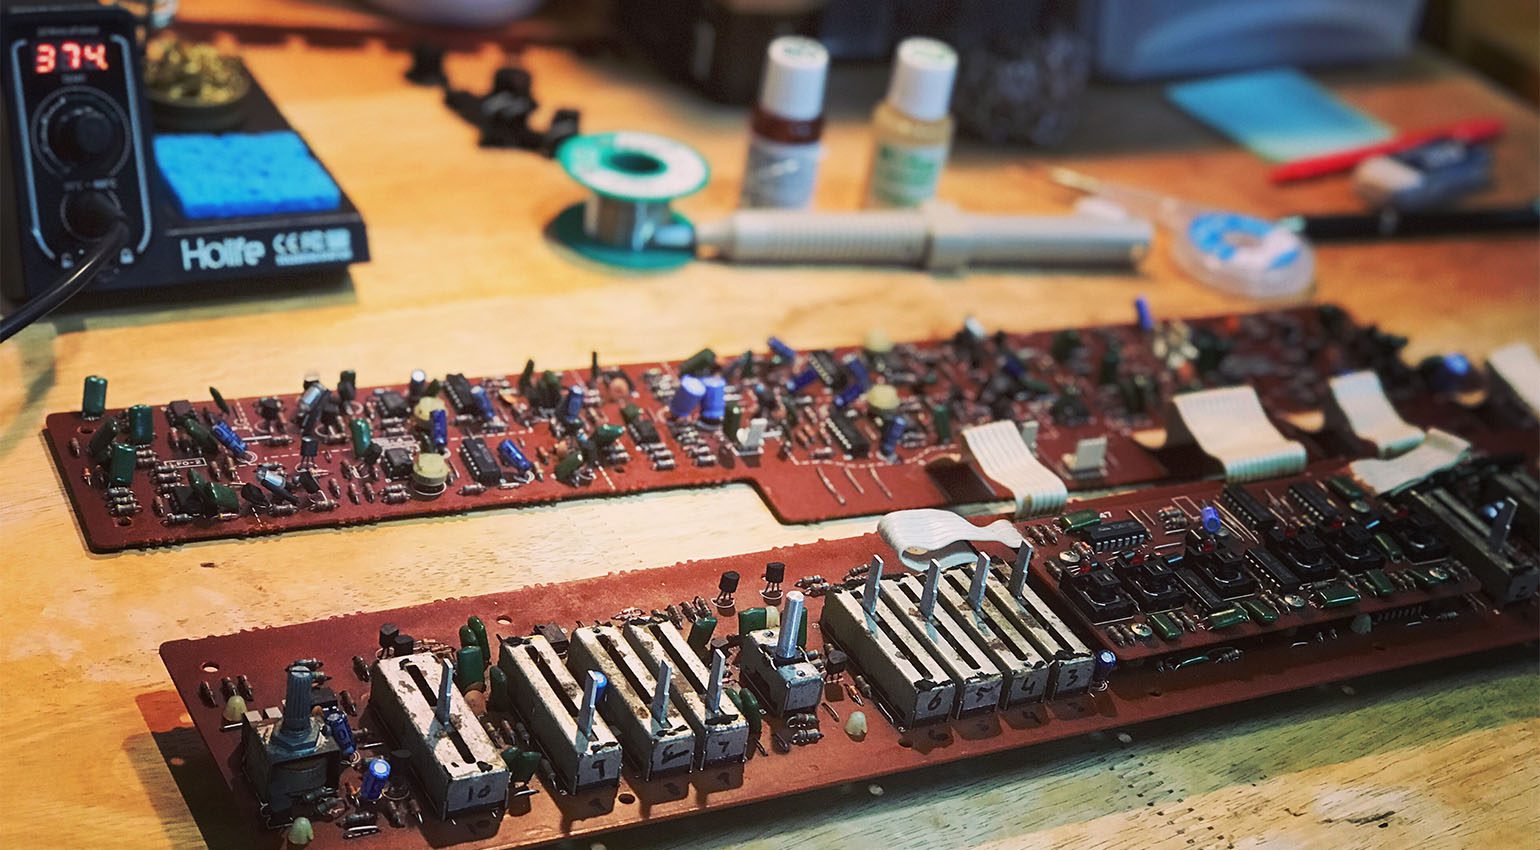
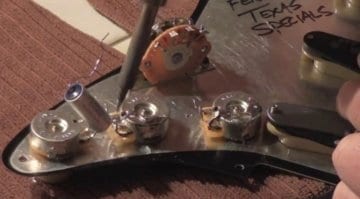
Synth Repair: Cleaning Dirty Key Contacts
If the key itself is fine but the note is still dead, you could have a dirty contact. Remove the keys until you have access to the contact on the PCB. Sometimes a good cleaning will be enough. This is especially common on notes close to the edge of the keyboard, like at the top or bottom. A little rubbing alcohol on a cotton swab should get up any stubborn dirt from a metal contact.

If you’re still getting no sound, it could be the contact itself has worn down. Sometimes a little pencil lead drawn onto the contact will be enough to get electricity flowing. Before you go wild with a number two though check around online for any similar posts. Certain models are often prone to the same problems.
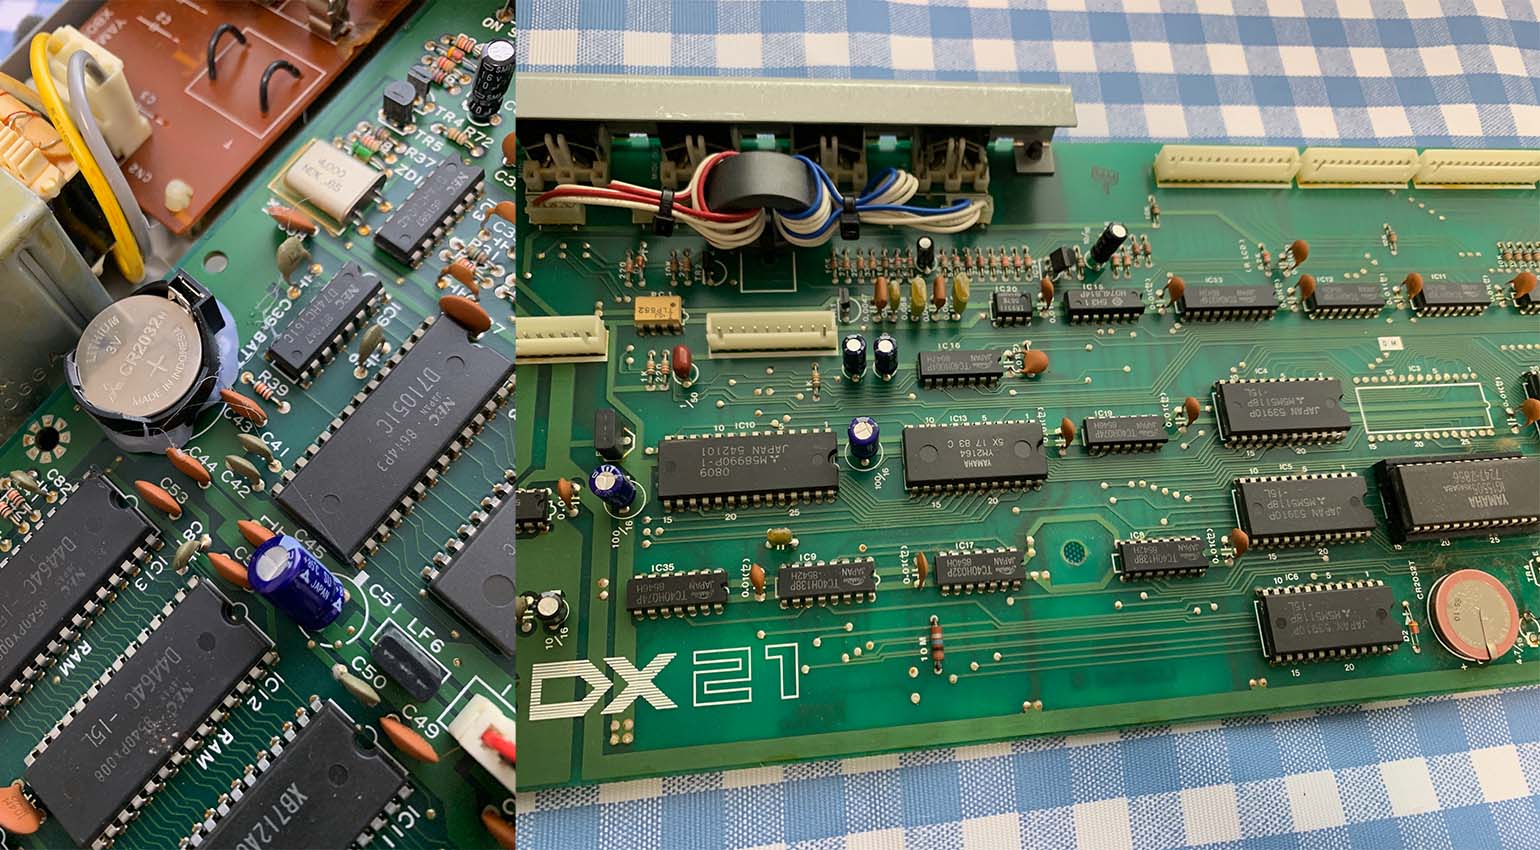
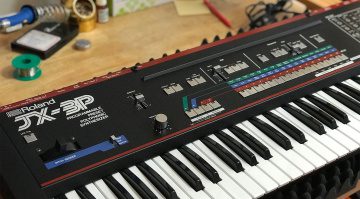
Synth Repair: Changing the Internal Battery
By far the most common issue I have with vintage gear is dead internal batteries. Many old synths and drum machines use a CR2032 button cell battery to save patches when the unit is switched off. These are generally soldered straight to the PCB so changing them isn’t as easy as popping off a lid on the body of the unit like a Casio keyboard. You have to open it up, find the board with the battery, take it all out, desolder and remove the old battery and then put in a new one.
As far as fixes go, it’s not difficult to do. It can be time-consuming though having to pull everything out just to get at the battery. If you’ve ever seen a coin cell battery, you’ll know that it doesn’t have any leads or legs on it to solder to the board. Although you can buy the battery with legs pre-attached, many people prefer to solder a holder to the PCB instead, making it easier to change out next time. If you do opt to solder the battery straight to the board, make sure you get the positive and negative legs in the correct holes.
Synth Repair: Replacing Bad Buttons
So annoying, those sticky buttons. A button doesn’t work so you press hard and then get two or three reactions in quick succession. This is because of the contact inside the tactile switch under the button breaking down. Cleaning it won’t fix it. You’ll need to replace the switch. And if you’re going to do one, you may as well do them all.
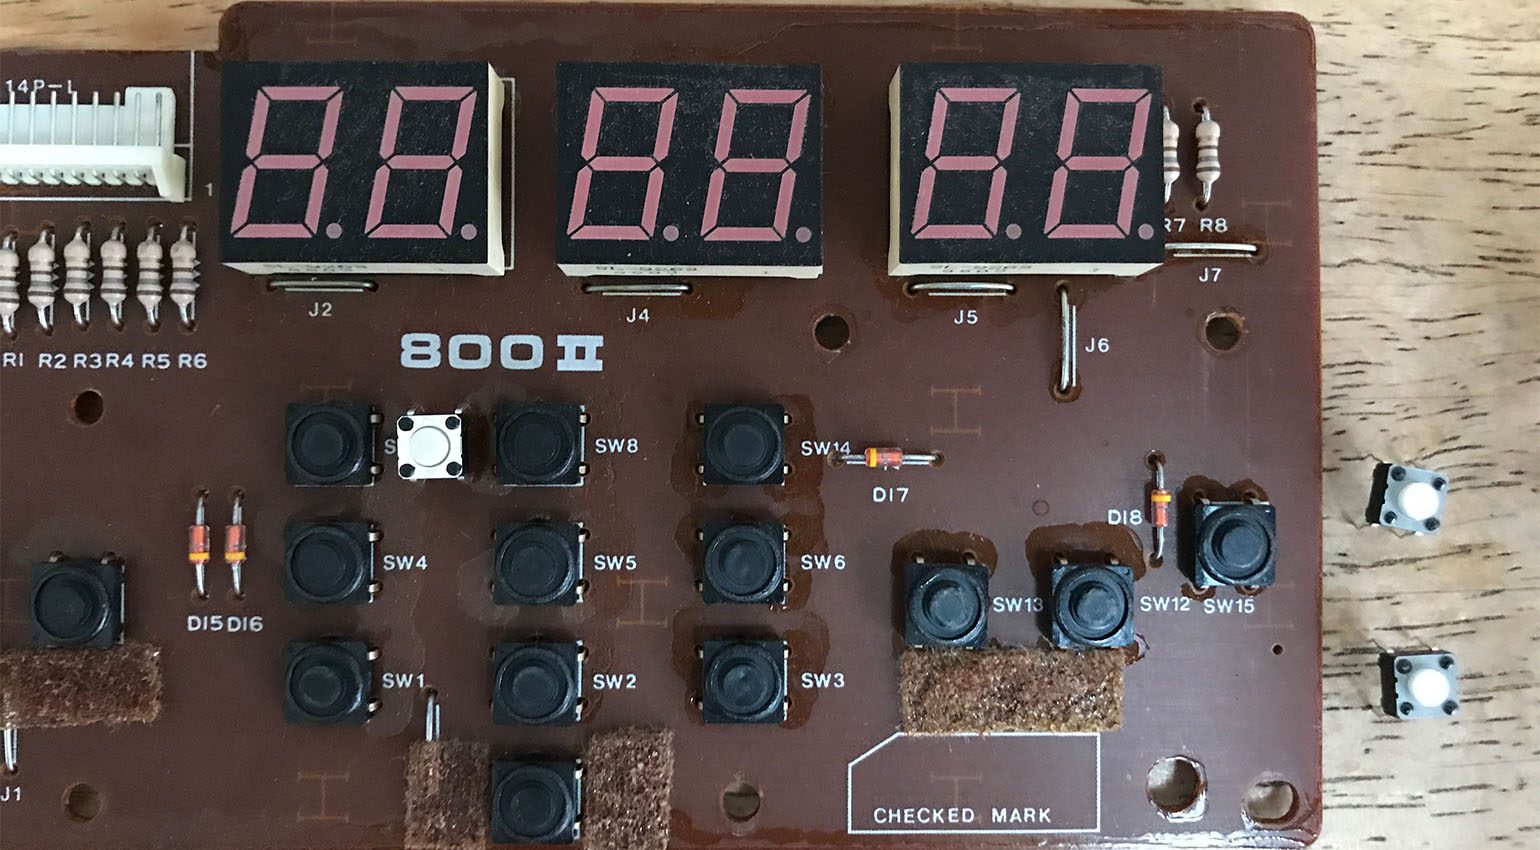
Because of the sheer number of buttons on some old synths, replacing tactile switches can be a big job. Each button has four legs (usually – some have two). You’ll need to desolder all of them and then put in all the new ones. It can take HOURS. However, when you’re done, it works so well it’s worth the effort.
A word of advice: many tactile switches have the same base size but the length of the shaft is different. Make sure that length is correct or you may run out of clearance when putting the PCBs back in. Seriously, even a few millimeters can make a difference. Buy the wrong size and you’ll end up having to shave them all down with a Dremel. Not that I know from experience or anything.
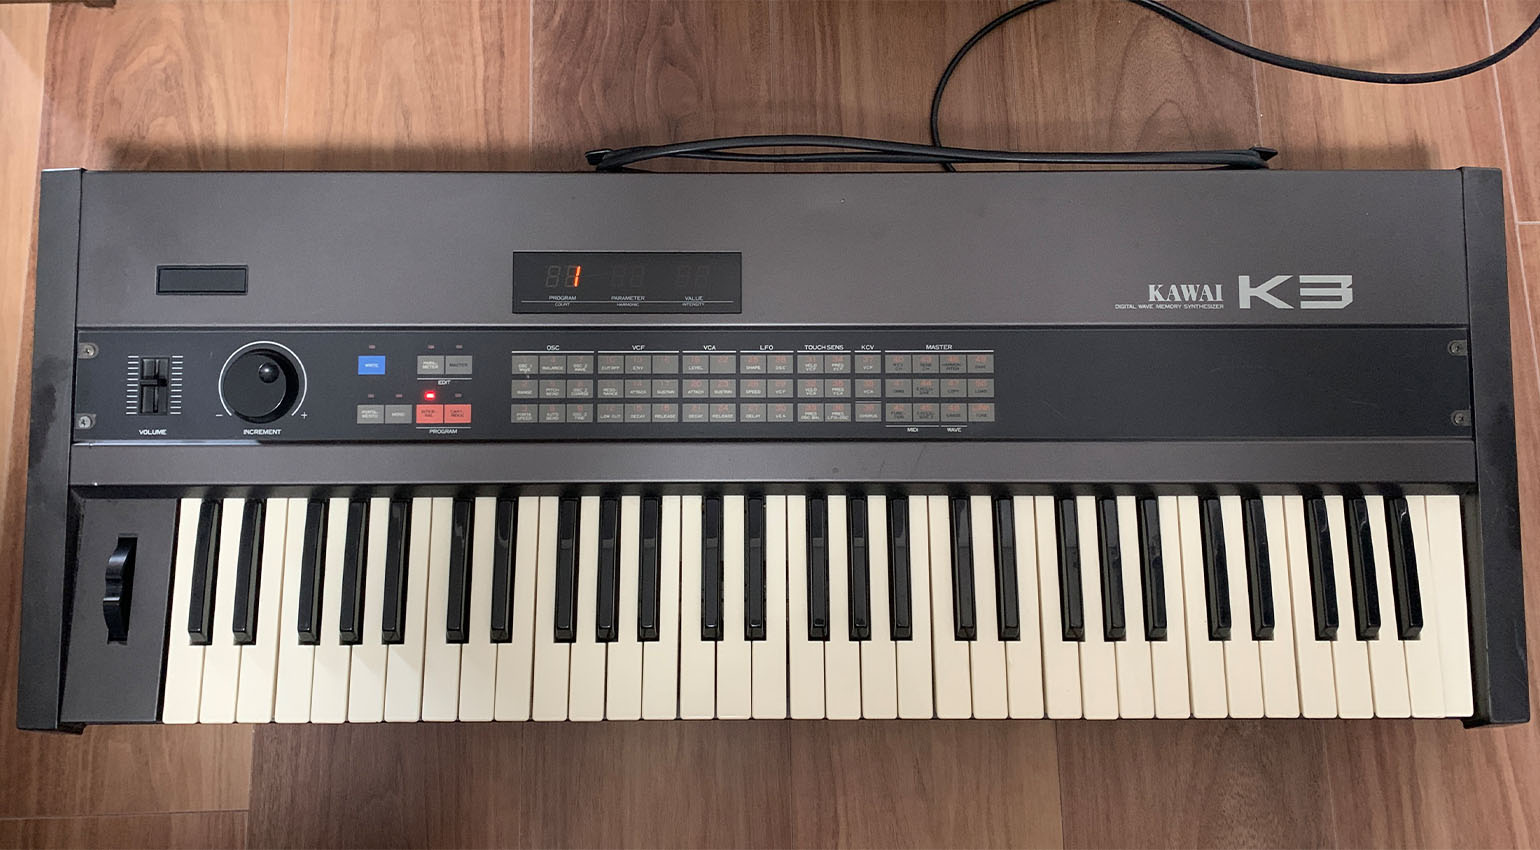
Synth Repair: Swapping Out a Dead LCD Screen
The last fix you’re likely to be able to do yourself without too much effort is putting in a new screen. Many old synths and drum machines used 16-character, two-row LCD screens. Some, especially in instruments made in the late 1980s and after, are bigger and more complex. After a few decades, these go dark, necessitating replacements.
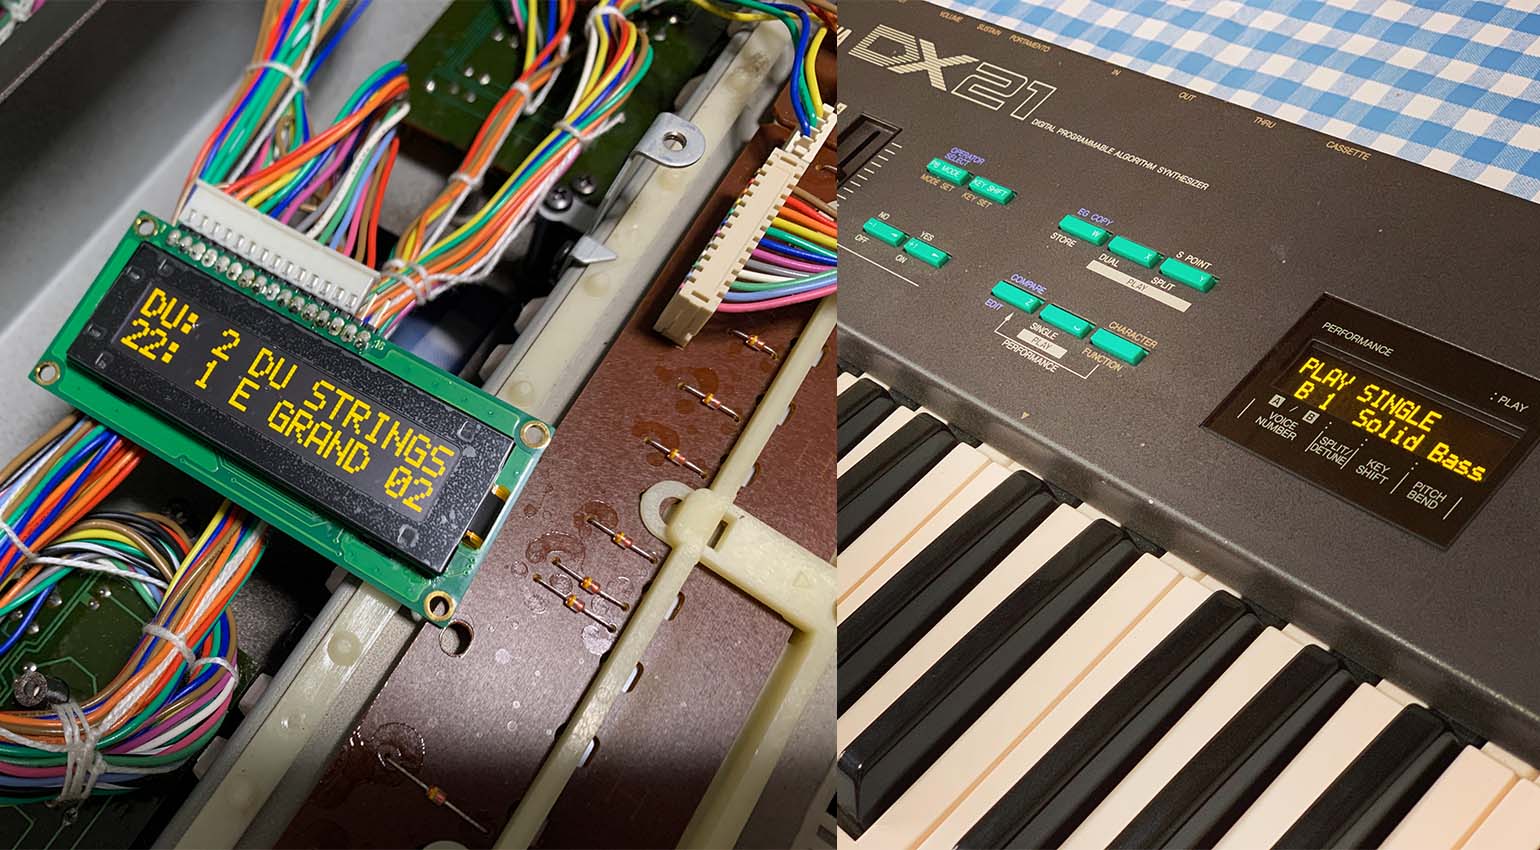
Depending on your instrument, you may be able to use an off-the-shelf part. The repair might be as easy as swapping out the old for the new, in which case you may not even need a soldering iron. However, it probably won’t be that simple, and at the very least, you’ll probably have to do some fabrication to get the new display to fit in the original bracket. Some repairs can be quite complex involving resistors to reduce the amount of electricity hitting the screen.
If your screen starts to go and adjusting the contrast won’t save it (or there’s no manual contrast control), look around online to see what options are available.
Have you done any home synth repairs? If so, let us know how it went in the comments.


More Information
- How to solder
- All about synthesizers

This might also interest you

7 responses to “Synth Repair: How to fix vintage synthesizers and drum machines yourself”
Do you think vintage synths will be repairable forever? That’s the question I’d like to know.
In theory, surely they should? The 70s ones at least…
Let’s face reality: how many 80’s synths ****** branded are playing around in a working status? Not many and really just a few with no repair needed. Did anyone write on the box “leaking batteries inside”? Nope. So I’d rather invest in reissues considering instrument life expectations. Sad consideration is plug-ins require, in the worst case, a master keyboard replacement 🙂
Remember Deoxit D5 and F5 will help a lot, especially after using alcohole swabs to clean.
If you can get OLED display replacements it’s really an improvement.
CR2032 can be nasty but make sure to replace them.
Electrolyte Capacitors should almost always be swapped in 30-50 year old synths.
I have a Roland JP 8080, where the display doesn’ work anymore. Without this pieve, the unit is not usable anymore. How can one repair this piece? thanks for any reply.
Casio CTK811 ex, does this keyboard have an internal battery.
Love this!
The HPF slider on my Juno 6 is “scratchy”.
I can try these tips!
I’m fortunate to have a Jupiter 8, Juno 60 and 106, JP8000 , Sh101 and JD800.
Thank you for your article and has been well received.
You are currently viewing a placeholder content from Facebook. To access the actual content, click the button below. Please note that doing so will share data with third-party providers.
More InformationYou are currently viewing a placeholder content from Instagram. To access the actual content, click the button below. Please note that doing so will share data with third-party providers.
More InformationYou are currently viewing a placeholder content from X. To access the actual content, click the button below. Please note that doing so will share data with third-party providers.
More Information