The Pedalboard Challenge: Get a full-on pedalboard with effects for €200!
Build or buy your own pedalboard then populate it with pedals, for €200 all-in!
For many guitarists, sending their guitar signal through a swathe of effects pedals is an important part of their music making. Sure, you can buy multi-effects for under €200. But there’s a whole universe of pedals to discover out there, and unlimited combinations of pedals. So how much “real” pedalboard can you get for the same amount?
We set ourselves a challenge: Come up with the best pedalboard for the same amount as the cheaper multi-fx units. In this two-part series, we show you the best options for low-cost, full-on pedalboards and effects – for only €200. The first step: a pedalboard to put your effects on. The question now is: DIY or pre-made? We look at both options, then go through considerations for powering and placing your pedals. With the money you have left from buying or building your board, you’ll be ready for Part 2: the pedals! At the the end of this two-part series, you’ll have a full-on pedalboard for the price of a multi-fx unit.
DIY or pre-made?
Here we’ll look at two routes to a low-cost and reliable pedalboard. Route A: Build your own. It’s cheap and easier than you think. But if you don’t have time to build your own, you can always go for Route B, and order a low-cost pre-made pedalboard. A DIY pedalboard leaves you with more to spend on your pedals, while Route B is, obviously, faster and easier.
Build your own
Here’s where the fun starts! Normally, a pedalboard is a kind of frame made from durable material that’s not too heavy. But you don’t have to build it from scratch. There are lots of items you can repurpose or upcycle into a pedalboard. In the past I have used briefcases, wooden chopping boards and even a piece of perspex. As a kid in the ’80s I used an old hard briefcase to haul my pedals around in. It worked for years! I got the idea from seeing J Mascis of Dinosaur Jr playing live where I spotted he was lugging all his pedals around in a small brown suitcase.
I quite like wood as a material for pedalboards because it’s light, strong and easy to work with. Plus, it’s easy to customize with paint or varnish.
Ikea
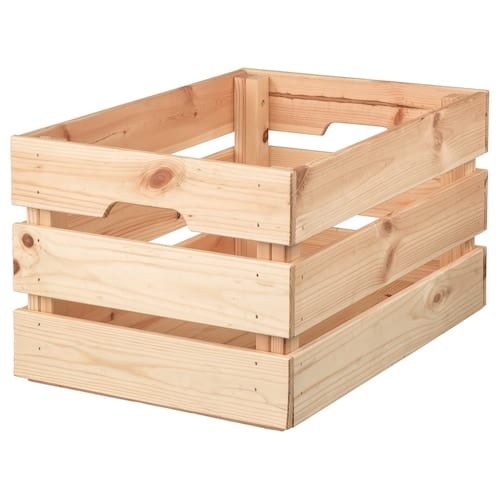
Ikea is a popular source for pedalboard substitutes. The Knagglig pine box gives you a solid foundation for building a budget board and costs only €9.99!
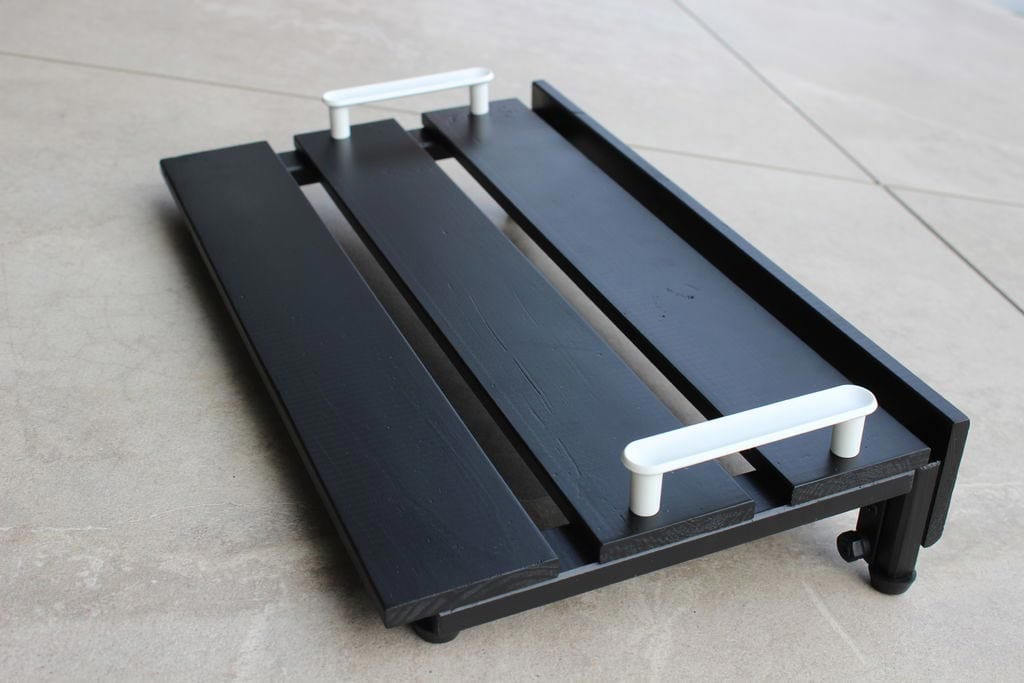
With a little work you can refashion this into a serviceable pedalboard. Don’t believe me? Check out the example below. It’s made from a Knagglig crate, giving a decent size pedalboard. The two optional handles on the side of the one in the photo below are Ikea Gubbarp Handles costing a paltry €0.50 for two.
This how-to guide by LucasV81 is brilliant and easy to follow. Here’s his finished product:
Bamboo Bath Mats
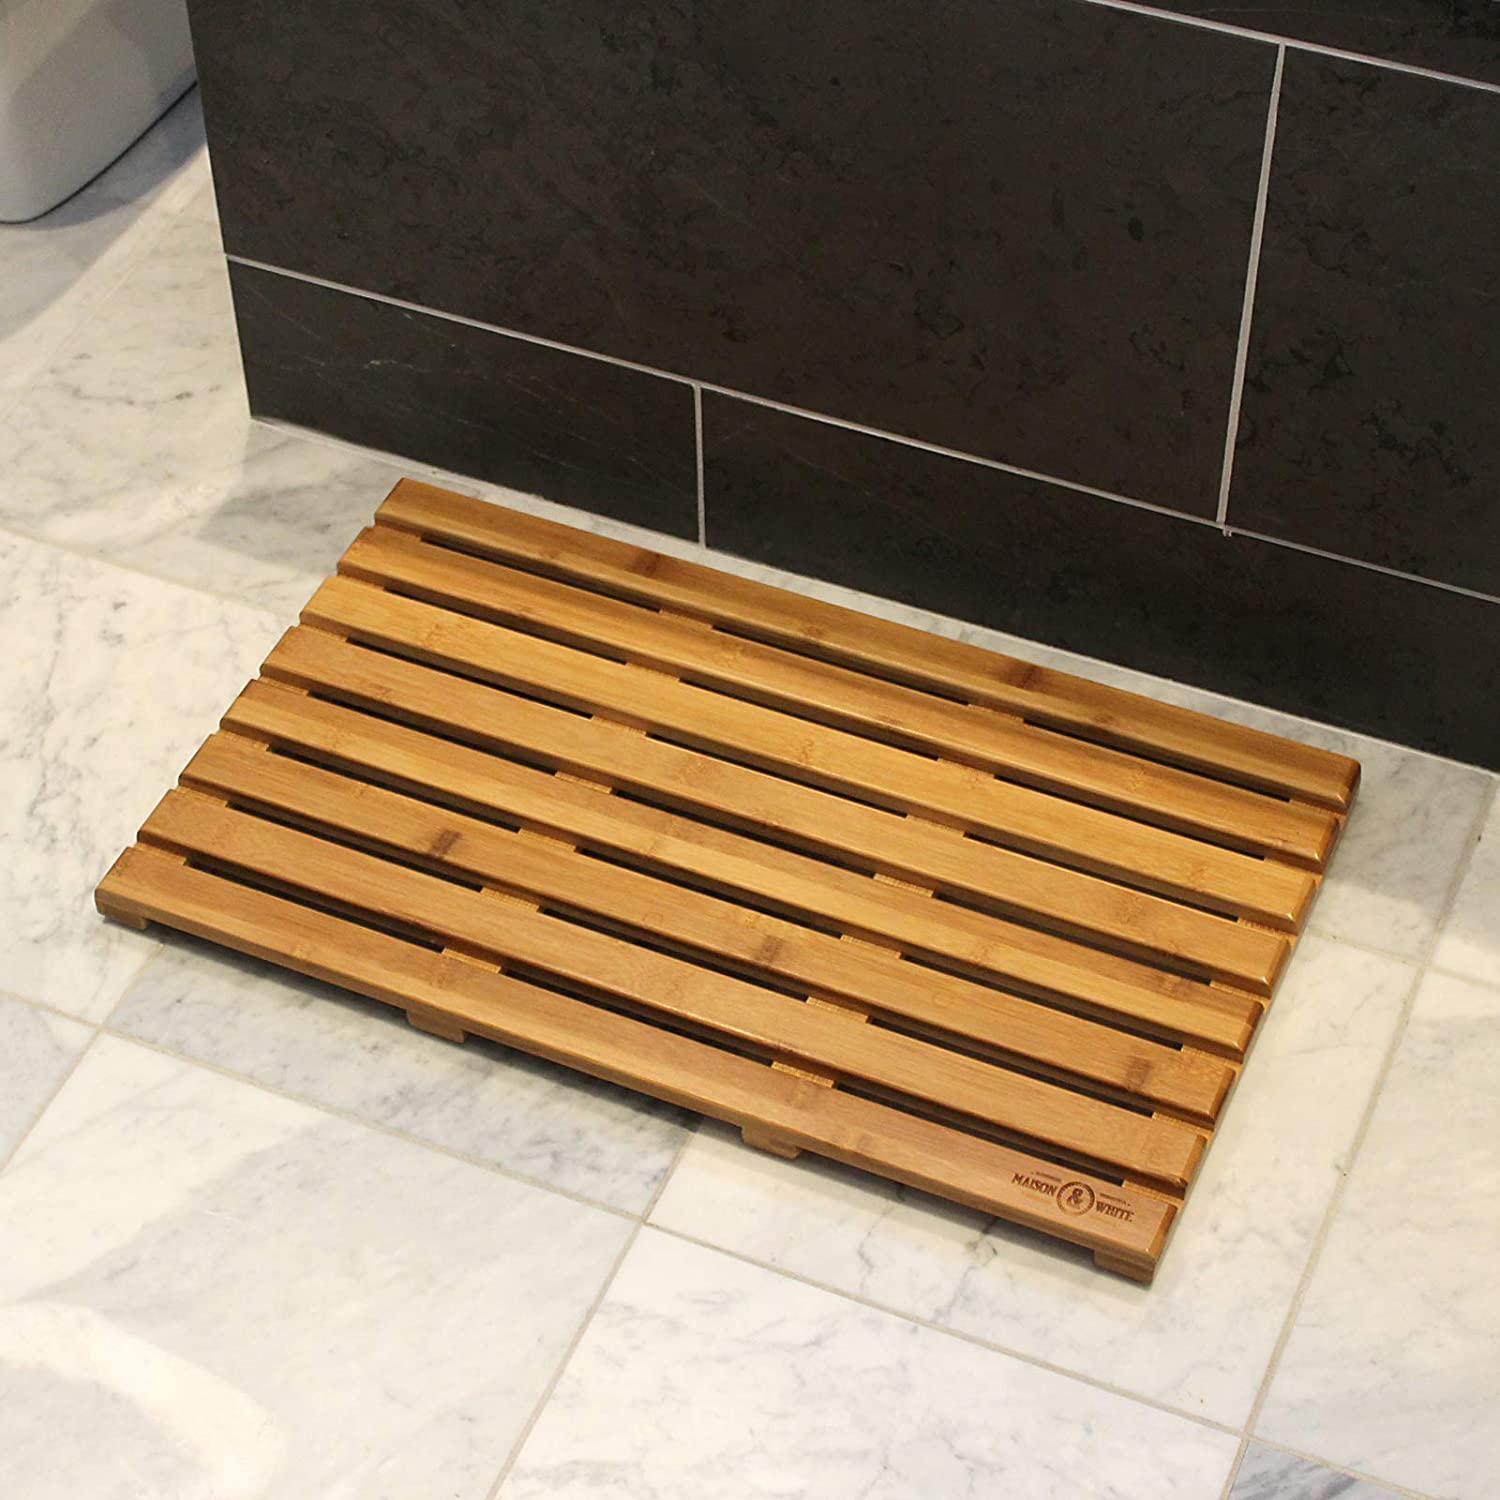
Another potential pedalboard are these bamboo bath mats. They are strong and can take your full weight, plus they have non-slip sturdy feet built in. They’re also cheap, starting at around €20-30, perfect for this project. An added bonus: they are waterproof, so perfect for gigs on beer-soaked stages! All you need to turn this into a pedalboard is to add some feet at the back for an angled board giving you better access. Lick o’ black paint and you’re done!
Both the crate and bath mat examples above incorporate rows and struts, giving you holes to run cabling for your pedals and power unit. You may want to incorporate rubber feet to stop your board sliding around when you’re using it. Velcro is a good choice to attach your pedals to your board. Cable ties keep your cabling neat and tidy. Harley Benton makes a handy Pedalboard Organizer kit* costing €5 that includes Velcro, cable ties and cable tie holders, making it a good, cheap addition to your DIY pedalboard.
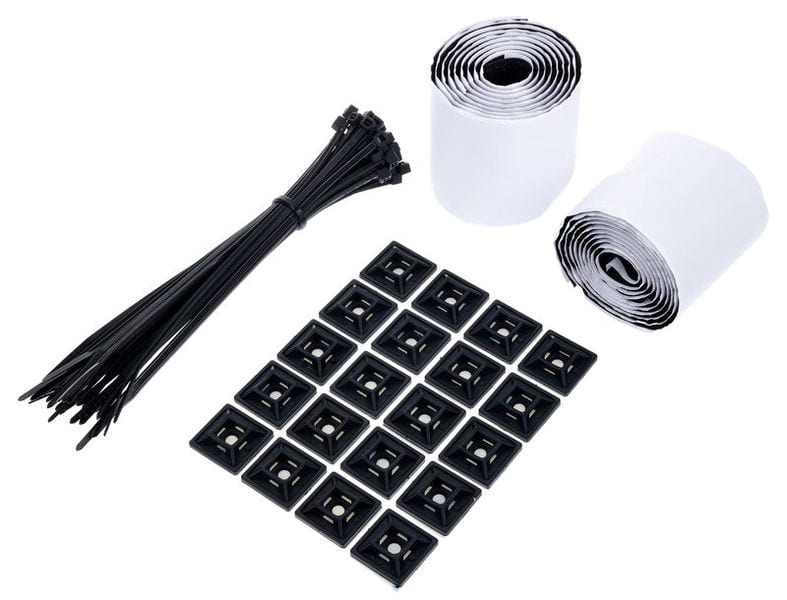
Harley Benton Pedalboard Organiser Kit perfect to keep your pedals in place and cables tidy · Source: Thomann
Budget pre-made pedalboards
SpaceShip 40
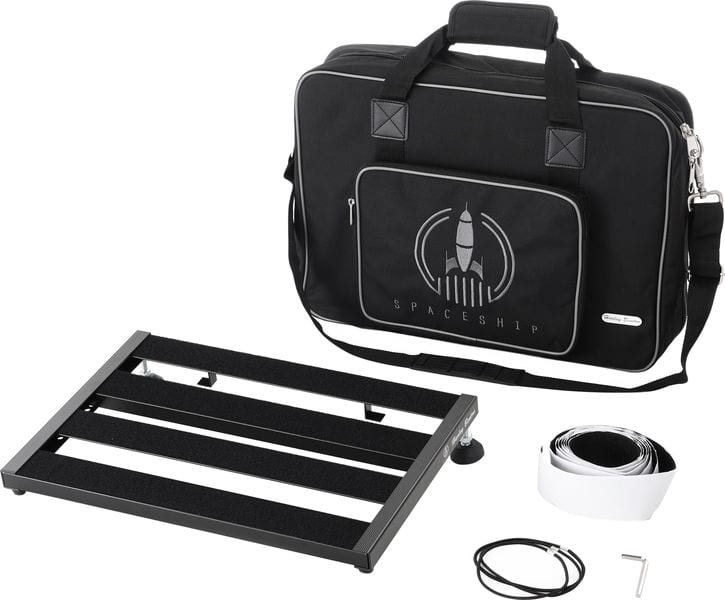
If you don’t have the time or inclination to build your own pedalboard, there are cheap, sturdy pre-made ones. The Harley Benton (yes, them again) SpaceShip 40* pedalboard includes a carry case. It’s a neat, low-cost solution that keeps your pedals safe and is easy to transport.
Wiring up your pedals
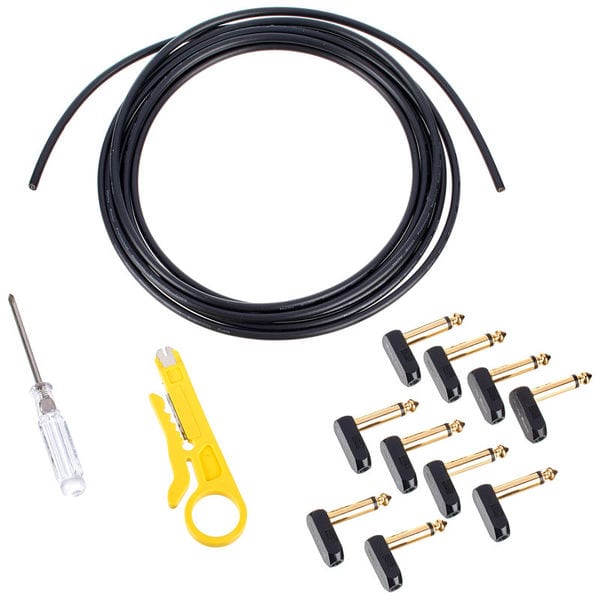
Messy cabling can turn your ideal arsenal of effects into an unwieldy mess. Pre-made patch cables costing from €3 each can work. But there are smarter alternatives, like this solder free patch cable system* for around €18, again by Harley Benton. The big advantage here is that you can make them the correct length to fit your pedals, making for a tidier pedalboard.
This kit has 3 metres of cable and 10 angled plugs, enough to make 5 patch cables. All the tools you need are included, and no soldering is required.
Powering your Stompboxes
Effects pedals need power. Many pedals can run off batteries, but overall I recommend a dedicated power supply because it’s less wasteful. Some pedals can’t be run from batteries at all.
Because cost is a big priority here, we’re only considering the lowest cost options. A dedicated power supply unit (PSU) for several pedals can come in two forms: a plug and daisy chain, or a proper PSU box. Most people starting out use a “wall wart” plug PSU combined with a daisy chain, which you can get for around €10. That frees up a bit more cash to spend on pedals. But it’s far less durable.
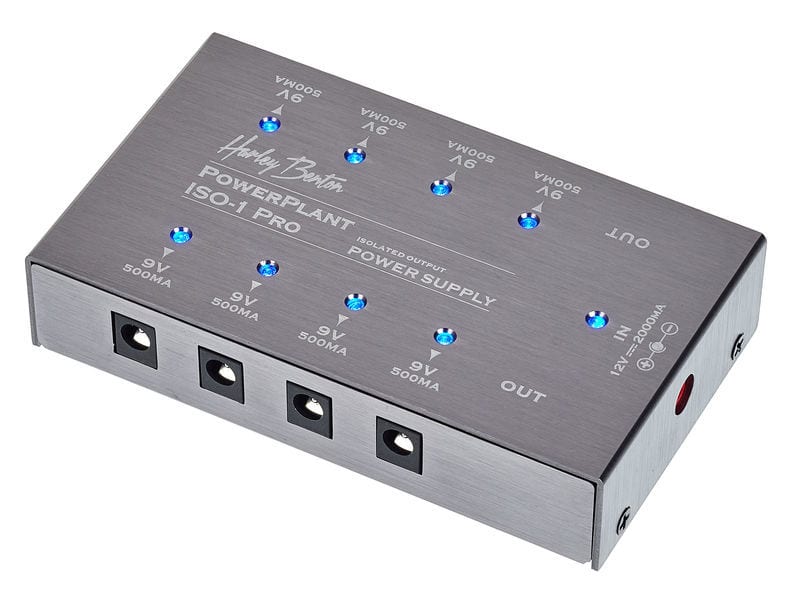
Experience says: don’t skimp on the power supply. A dedicated PSU box with a metal housing is worth the extra spend. The Harley Benton PowerPlant ISO-1 Pro* is a good, very affordable bet for a small setup. For €50 you get 8 isolated outputs, each rated at 9 V DC at a maximum of 500 mA which should be enough, even for most digital effects pedals which tend to be the most power hungry ones. It delivers a total 2000 mA which should be enough for most users. Add up the power need for each pedal and make sure your power unit can provide enough juice.
Once you have your pedalboard ready set up, it’s time to populate it with some good-sounding but inexpensive pedals. In Part 2 of this series, we’re going to be looking at sets of stompboxes catering for various tastes and scenarios. Depending on whether you opted for the DIY route or pre-made board, we’ll suggest a set of low-cost pedals covering a range of tones that will keep you under €200, all-in.
Have you ever tried building your own pedalboard? What’s been your experience of DIY board building? Let us know in the comments below.
* This post contains affiliate links and/or widgets. When you buy a product via our affiliate partner, we receive a small commission that helps support what we do. Don’t worry, you pay the same price. Thanks for your support!

