How to edit vocals and improve your recordings
If you’re looking for a comprehensive guide on how to edit vocals, you’ve come to the right place. After giving the ins and outs of recording vocals, we’ll take a close look at the editing stage! Which software is the best? What do you need to keep in mind when editing?
How to edit vocals the right way
Assuming you’ve got great-sounding vocal recordings, a guide like this one on how to edit vocals can bring them to the next level. When it comes to cleaning up vocal recordings, it’s best to take a top-down approach: from bigger mistakes and entire sections to tiny fragments and noises. It’s a painstaking process, but removing these mistakes will greatly enhance the listener’s experience.

After that, improving the vocal recording is done through balancing and effects. For balancing, you pick words or phrases that were spoken or sung much too quietly or too loud compared to the rest and adapt their volume through clip gain or automation. For effects, you mainly use a compressor and an EQ to enhance what is already there. We’ll get in to that in a later installment.
How to edit vocals: the preparation
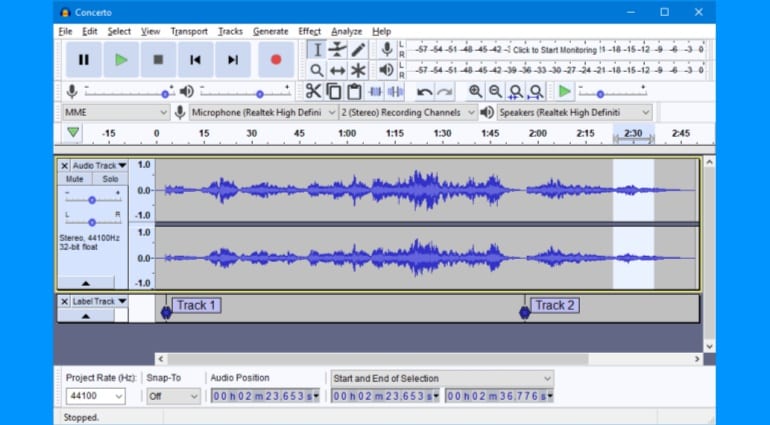
If you have a vocal recording, you’ve probably also decided on a piece of software to work on it. If you haven’t, there are either plain audio editors like the free Audacity or full-on DAWs (Digital Audio Workstations). Each offers different advantages.
An audio editor just does that: it helps you edit audio. So if you’re just starting out with a podcast or want to do a simple voice-over for a video, this kind of software is much better suited. And if Audacity isn’t your cup of tea, take a look at Ocenaudio, which is also free. If you want to edit on a mobile device, we recommend Garageband for iOS devices or AudioLab for Android devices.
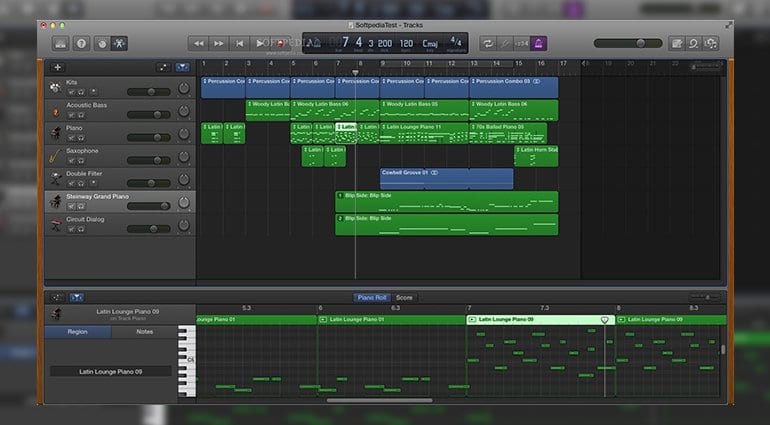
In comparison, a DAW offers much more. You can also record MIDI instruments, and most DAWs offer time-stretching capabilities to seamlessly adapt the speed of a recording and so much more. So if you’re producing a song or a whole album, with more than just vocals, or you’re producing a voice-over where you are also creating the music, a DAW like Ableton Live, Avid Pro Tools or Apple Logic Pro is your best bet.
One final word on preparation: do daily backups. This can’t be understated. In a world where external hard drives and USB sticks are cheap, and cloud storage is ubiquitous, there is simply no excuse.
Cleaning up a vocal recording for podcasts and voice-overs
The actual path to learning how to edit vocals differs a bit when you compare editing recordings of singers on the one hand and those of spoken word material like podcasts or voice-overs on the other hand. Let’s start with the latter. Go through the recording with different objectives for cleaning up. First, remove repeated sentences and whole sections that did not work. Then find misspoken words. Then mouth noises, background noise you can cut, and more.
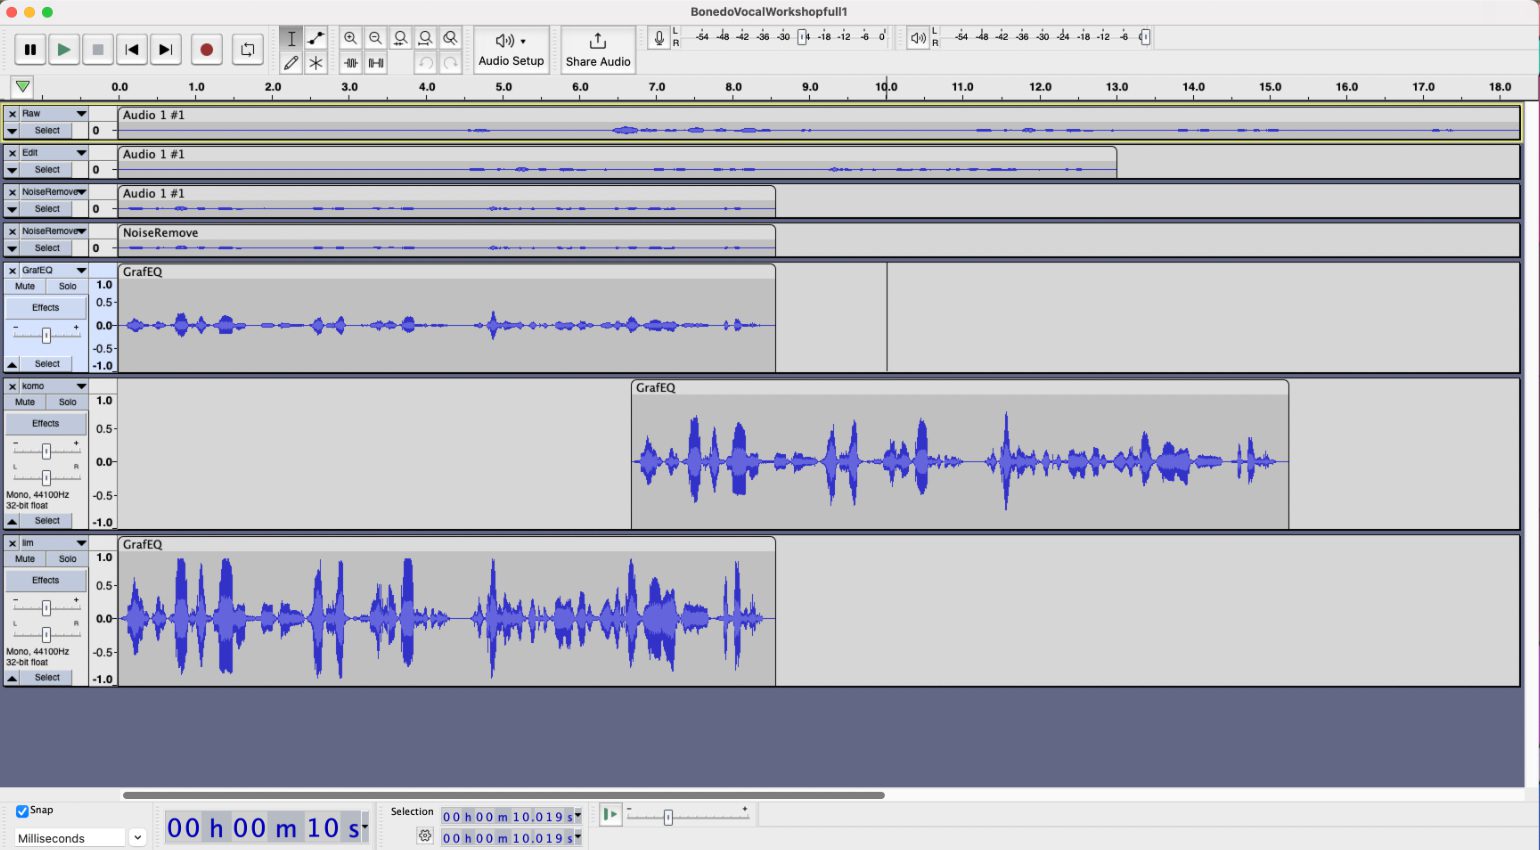
Whenever you remove a part of the recording, make sure to add a fade-out on the material to the left of the edit and a fade-in on the material to the right. If you don’t, you might end up with loads of nasty clicks and pops. For the first round of edits, remove longer passages the vocalist repeated because he or she misspoke.
How to edit vocals: The granular
When it comes to fixing individual words, where the speaker mispronounced them, mumbled too much, or did any other thing that made a word sound bad, don’t sweat it too much. If the speaker repeated the word, you usually have the chance to save it. But the main goals when learning how to edit are maintaining the flow and avoiding audible edits.
There will be times, when you might have to keep tiny mistakes, otherwise, a lousy edit would ruin the whole thing. And if the audio editor you’re using does not automatically close the gaps, keep in mind to move the remaining audio material over.
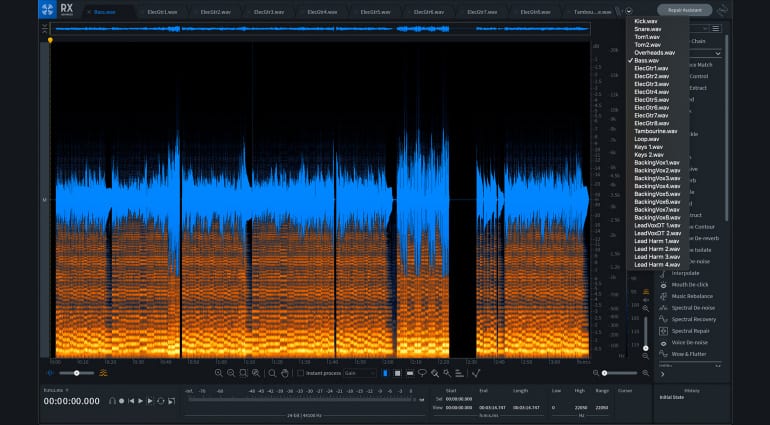
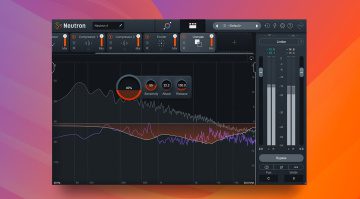
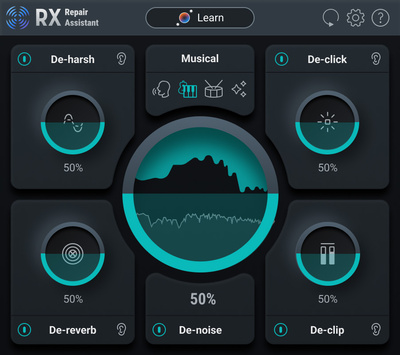
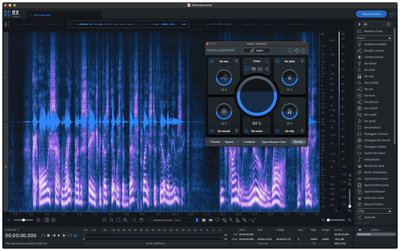
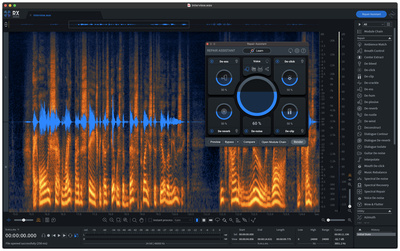
For the final editing rounds, remove long silences, background noise, “uh” and “uhm“, and mouth noises. It’s here where post-production software like Izotope RX can do wonders. Its AI-supported modules can solve many of these problems for you automatically.



Vocals in music production: Comping
Comping is a very common workflow in modern music production. Most contemporary DAWs offer a set of features where you record multiple takes (=attempts to sing a line) and then choose the best bits from each. This workflow can be invaluable to create a professional-sounding result.
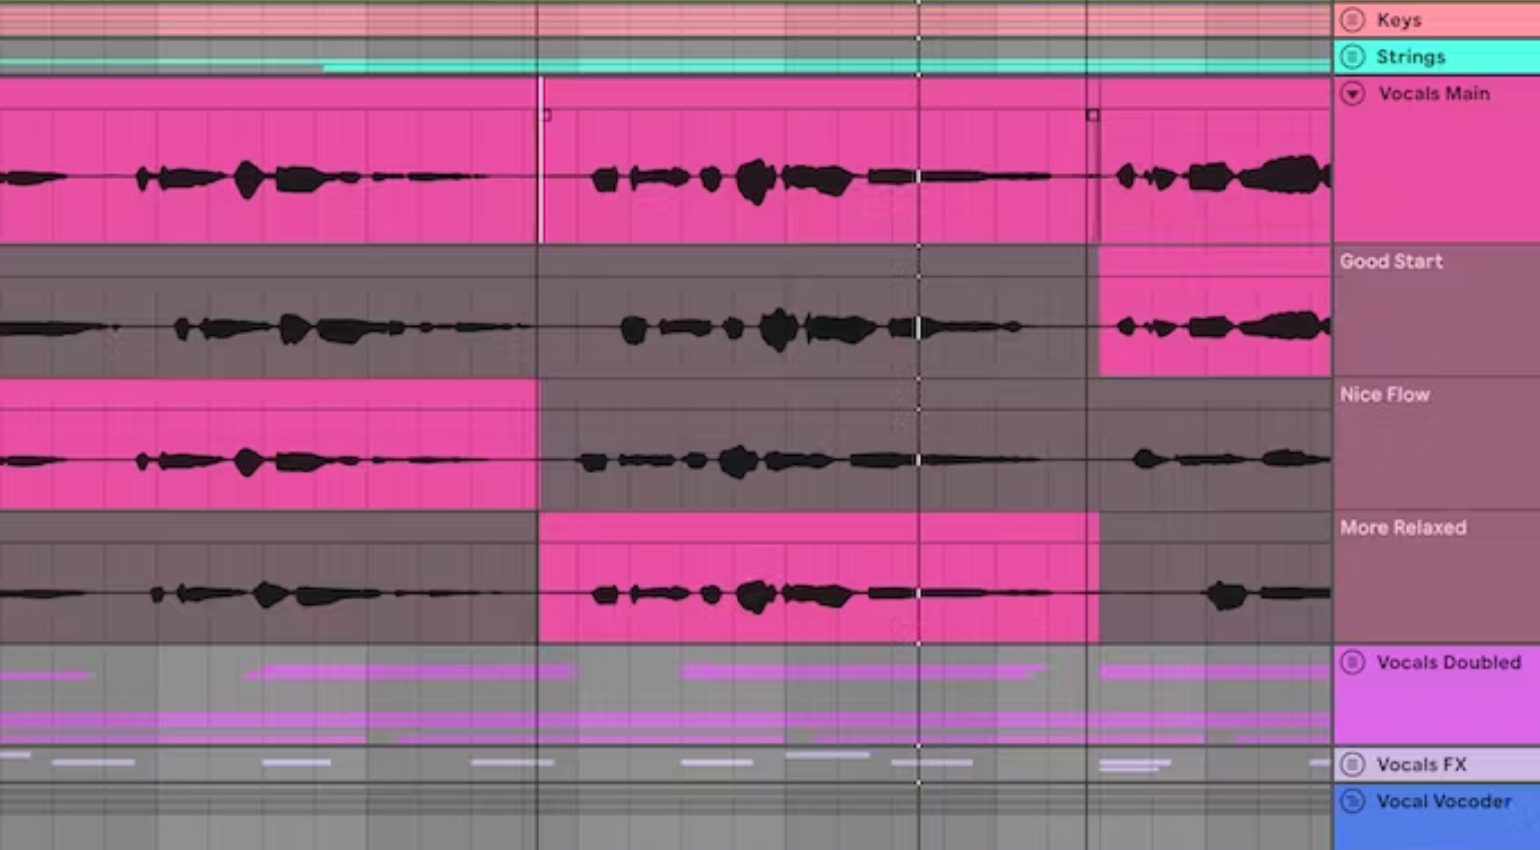
And most producers and engineers, from the smallest project studio to the biggest name working with singers, do it. Comping works best when detailed notes were taken during the recording („Take 17 was the best on the ending, take 5 had the best transition). If comping is new to you, and you’re self-recording: record your vocals line by line and sing each line multiple times. Take notes on which take felt best or which word stuck out for you. This way, the editing phase, when you’re splicing together the comp from your takes, will be smoother.
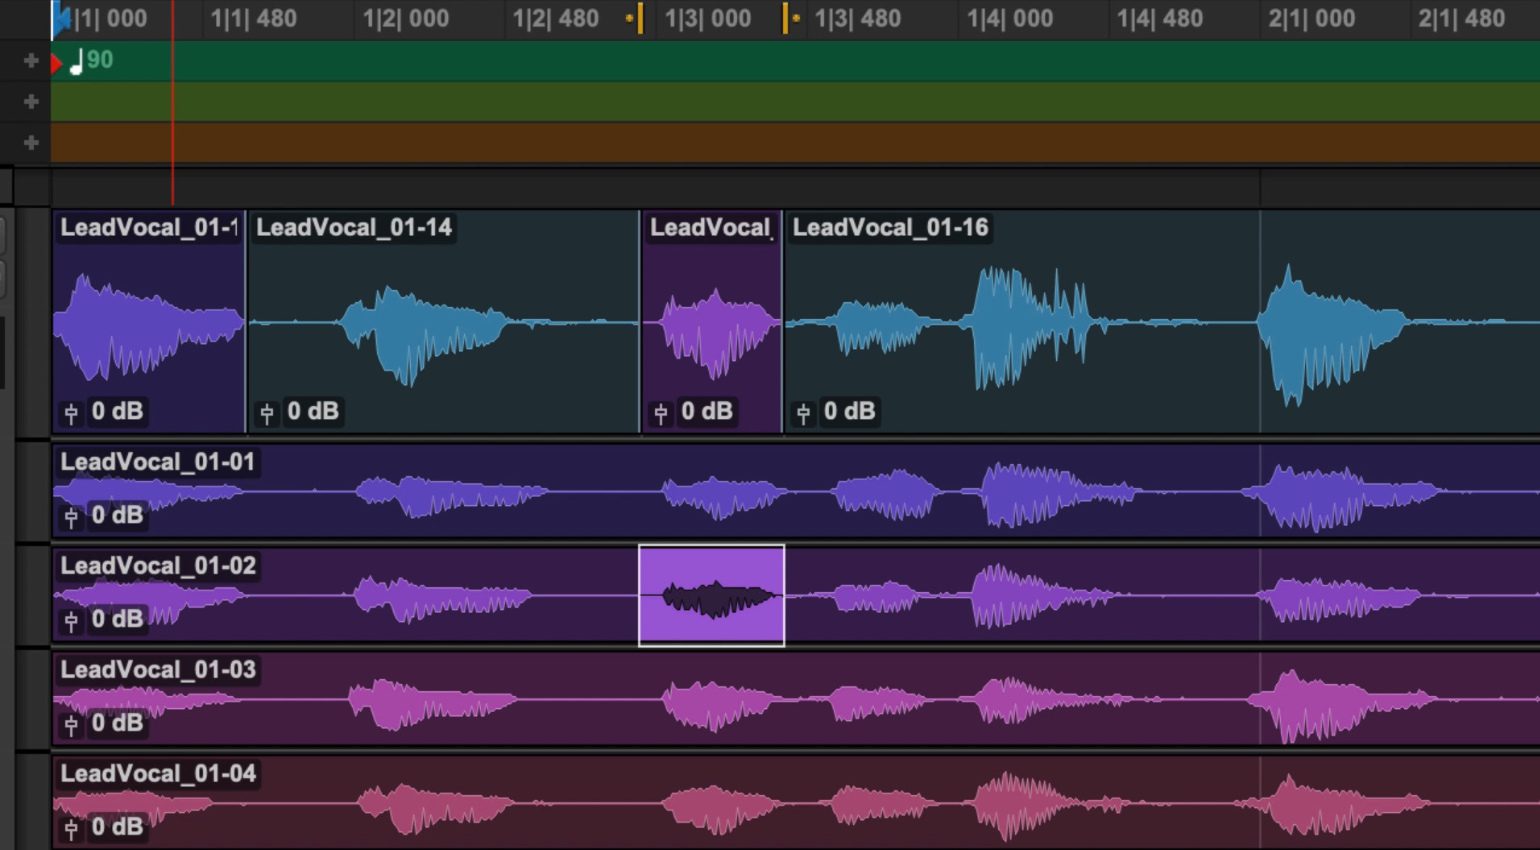
Besides comping, when getting the hang of how to edit vocals, removing mistakes, mouth noises and everything else is crucial as well. Because whatever excess noise you don’t remove will be ten times more audible when you start working with effects like compression or EQ.
Conclusion on how to edit vocals
The difference between an unedited, stumbling vocal and a recording that flows can make or break the outcome of a project. So do invest plenty of time to spot every loud breath, every „uh“ and every humming smartphone in the back. It is worth it. In the end, no secret sauce VST, and no legendary compression can fix a good-sounding, but badly edited recording. Only you can.
More on how to edit vocals
Videos on vocal editing
*This post contains affiliate links or widgets. When you buy a product via our affiliate partner, we receive a small commission that helps support what we do. Don’t worry, you pay the same price. Thanks for your support!
 5,0 / 5,0 |