Mixing for Beginners: Engineering Your Own Sound
Tips to help you learn about the mixing process.
 4,8 / 5,0 |

If you’re trying to mix bands in your hometown, or just improve the quality of your productions, Mixing for Beginners can help you do it.
Although music production has evolved considerably through the flexibility of the DAW and the accessibility of home recording gear, there are some key principles that have worked from the very beginning of recorded music history.
DAW systems have come a long way since their inception in the late 1980s and introduction in the early 1990s. While the software was initially designed to be a digital simulation of an analogue console, it has expanded to encompass the recording studio in its entirety.
Mixing for Beginners
You’ve finished recording and arranging your song, but what comes next? The art of mixing is a technically involved process where your goal is to transform a recording or composition into a record that people can consume on mass.
Like any aspect of music production, there are rules you can break. However, we’ll cover some tips you can implement in different stages to make it easier as you become more adept with your mixing skills.
Sample Selection
If you’re producing music electronically, half the fight of mixing is won by selecting the right sounds. Before you start the songwriting process, there’s a method you can apply to your sample libraries and the preset banks of your favourite software instruments.
When confronted with a bank of 100 kick drum samples, for example, find the 5 you like most and copy them into a subfolder. Similarly, when browsing a preset bank of lead patches on a soft synth, create a custom category for the 5 sounds that you’re most likely to use.
This process may take a few hours each time you acquire new instruments and sample packs. However, it will speed up your songwriting workflow and ensure that your songs only contain sounds that you’ve vetted previously. In modern music production, where you often mix as you go, your sample and sound selection skill is a crucial part of the process.


Balancing your Levels
Before you apply any EQ and compression to the instruments in your mix, balancing your channel levels is the starting point for mixing any record. In the DAW environment, it’s important to distinguish between the channel faders and audio clip gain.
An easy way to differentiate the two is knowing where you are increasing the noise floor. By boosting the gain of any audio clip, you automatically boost the noise floor by the same amount. Alternatively, a channel fader only increases the noise floor when you increase the level beyond zero or unity gain.
With this in mind, you can begin to get a feel for when to use clip gain or faders to achieve good gain structure. While clip gain is a more finite level you set before mixing, faders are the mix engineer’s piano keys that you can use to shape your mix over time with automation to interpret the song for the audience.

Using Buses
One of the fundamentals of mixing involves simplifying your signal flow. Once your song arrangement is complete, it could easily have over 100 tracks. By reassigning the outputs of a group of channels to a bus, you can process all your drums on one stereo channel, for example.

While this doesn’t mean you can ignore the processing and leveling of individual sounds, it becomes easier to quickly make drastic changes to your entire mix. If you can group your tracks on less than 7 or 8 stereo buses, you can isolate different areas to achieve better separation.
Start with your drums, then bus your bass, synths, guitars, and vocals on separate aux tracks. When you do, also ensure that you assign the send effects associated with each sound to the respective group where it belongs. This means, for instance, that you can compress your vocal reverb with the dry signal for a more cohesive sound.


Using In-line and Parallel Effects
Be it drums, vocals, or guitars, when you are layering multiple parts to form your verses and choruses it may be useful to use effects in parallel rather than in series. While compressors and EQs are used as in-line processors, effects like reverbs, delays, and other modulation effects can be used on aux sends.

This allows you to quickly adjust elements like the reverb amount on your vocal overdubs, to make them stand apart from your lead vocal track. In addition, you can specify the amount of reverb you want on each drum channel in your kit. Overall, this gives you more control and it’s far more practical than using an individual effects plug-in on every channel.
Another upside to parallel effects processing is that you can automate effects sends with a great deal of accuracy. In certain genres like dub and other forms of electronic music, effects returns are almost treated like a separate instrument. By using your DAW with the same creative principles, you can create unique sounds, sometimes even without intending to do so.

Mix Pockets
One of the techniques that can be incredibly effective in achieving definition and clarity involves creating what is called mix pockets. Rather than boosting the frequency range of the instruments you want to focus on, you do the opposite.
Particularly when mixing vocals, you can make them stand out by first ensuring that nothing is interfering with the frequency range they’re sitting in. Although instruments like vocals may sit anywhere between 90 Hz and 9 kHz, you need to look within the context of the particular song you’re working on.
When you look closely at the range of the vocal melody and the type of singer recorded, you can find its ideal range within any song. The next step is to look into each of the instrument groups that are obscuring your vocal frequency range. Use the Q-factor of your EQ cut according to the width of each infringing sound.
More about Mixing for Beginners:
- All about Mixing
- More about Recording
- Thomann’s guide to Studio Monitors
*Note: This article contains advertising links that help us finance our site. Don’t worry: the price for you always stays the same! If you purchase something through these links, we receive a small commission. Thank you for your support!
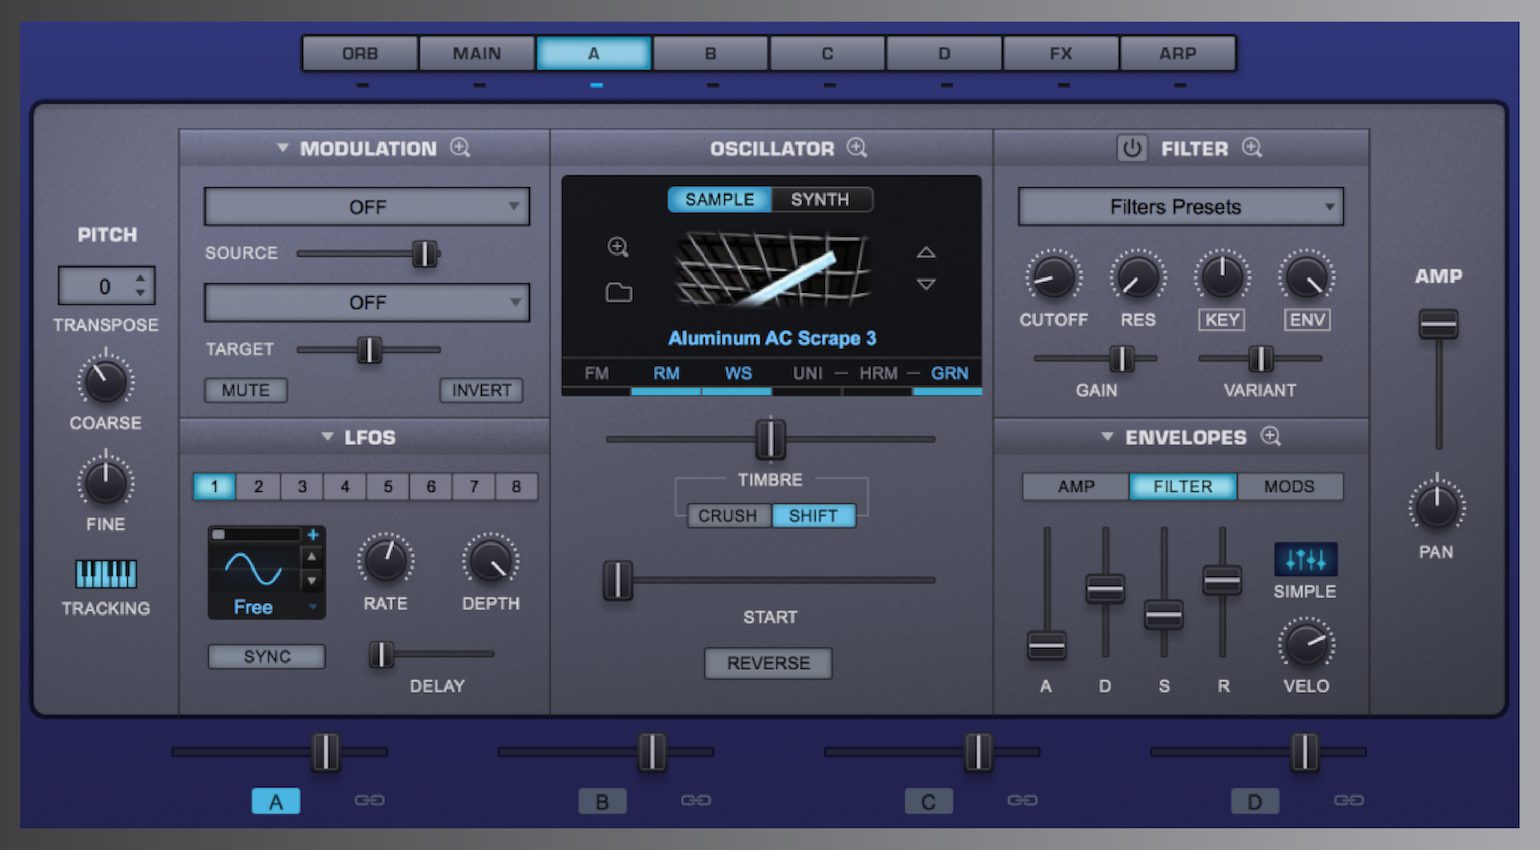
- Omnisphere 2 does great emulations classic synths.: Spectrasonics
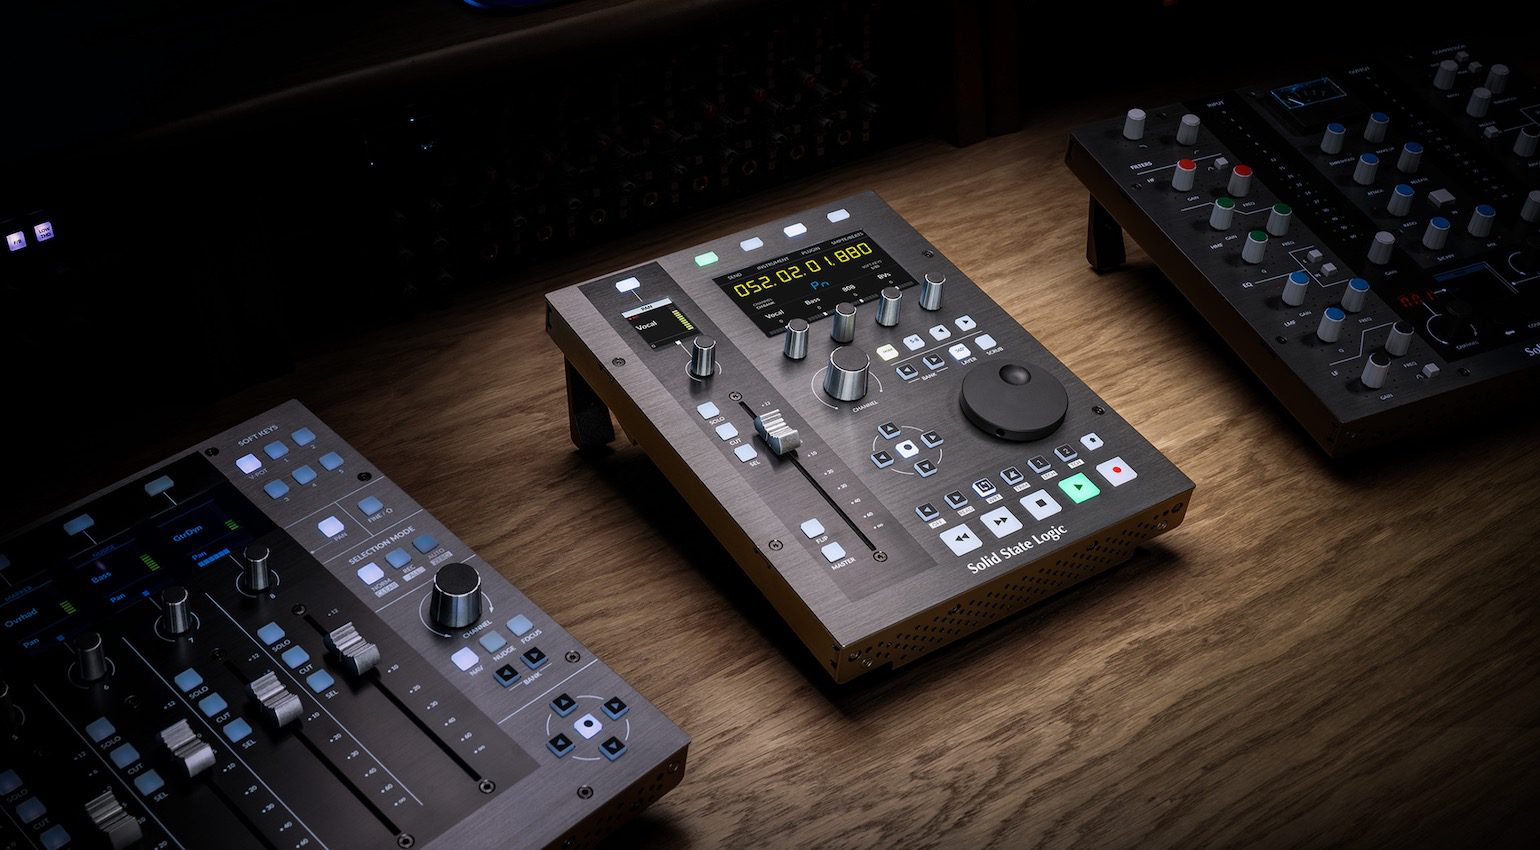
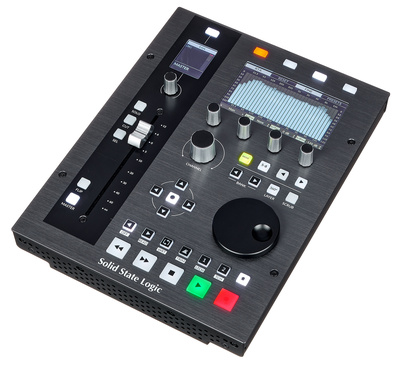
- The SSL UF1 DAW controller.: SSL
- Steinberg Cubase: Steinberg
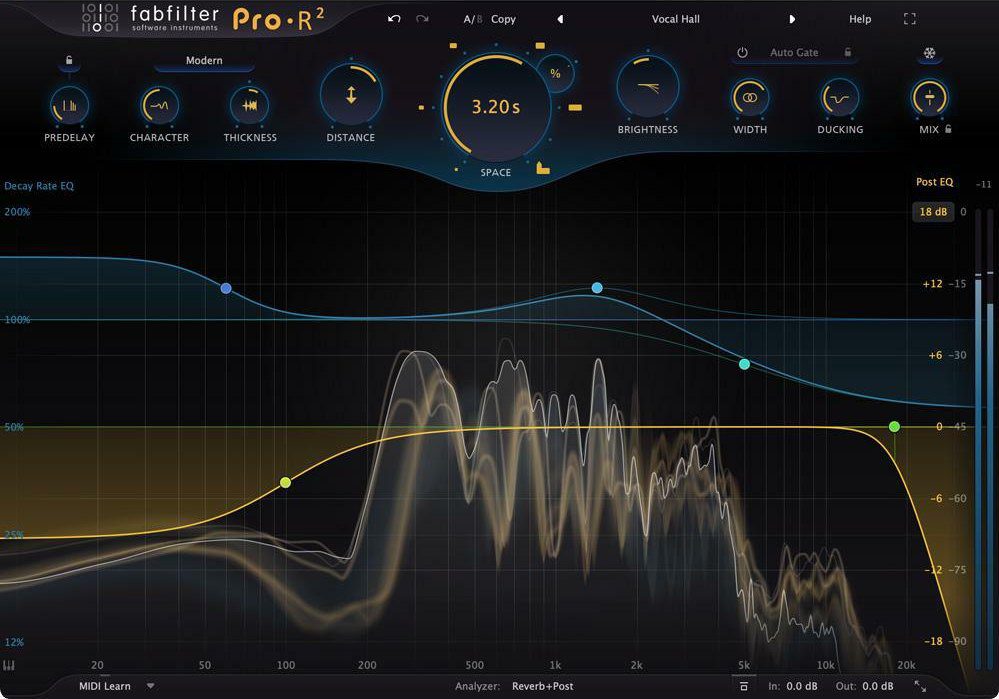
- Advanced Reverb Processing with the FabFilter Pro-R 2: Fabfilter
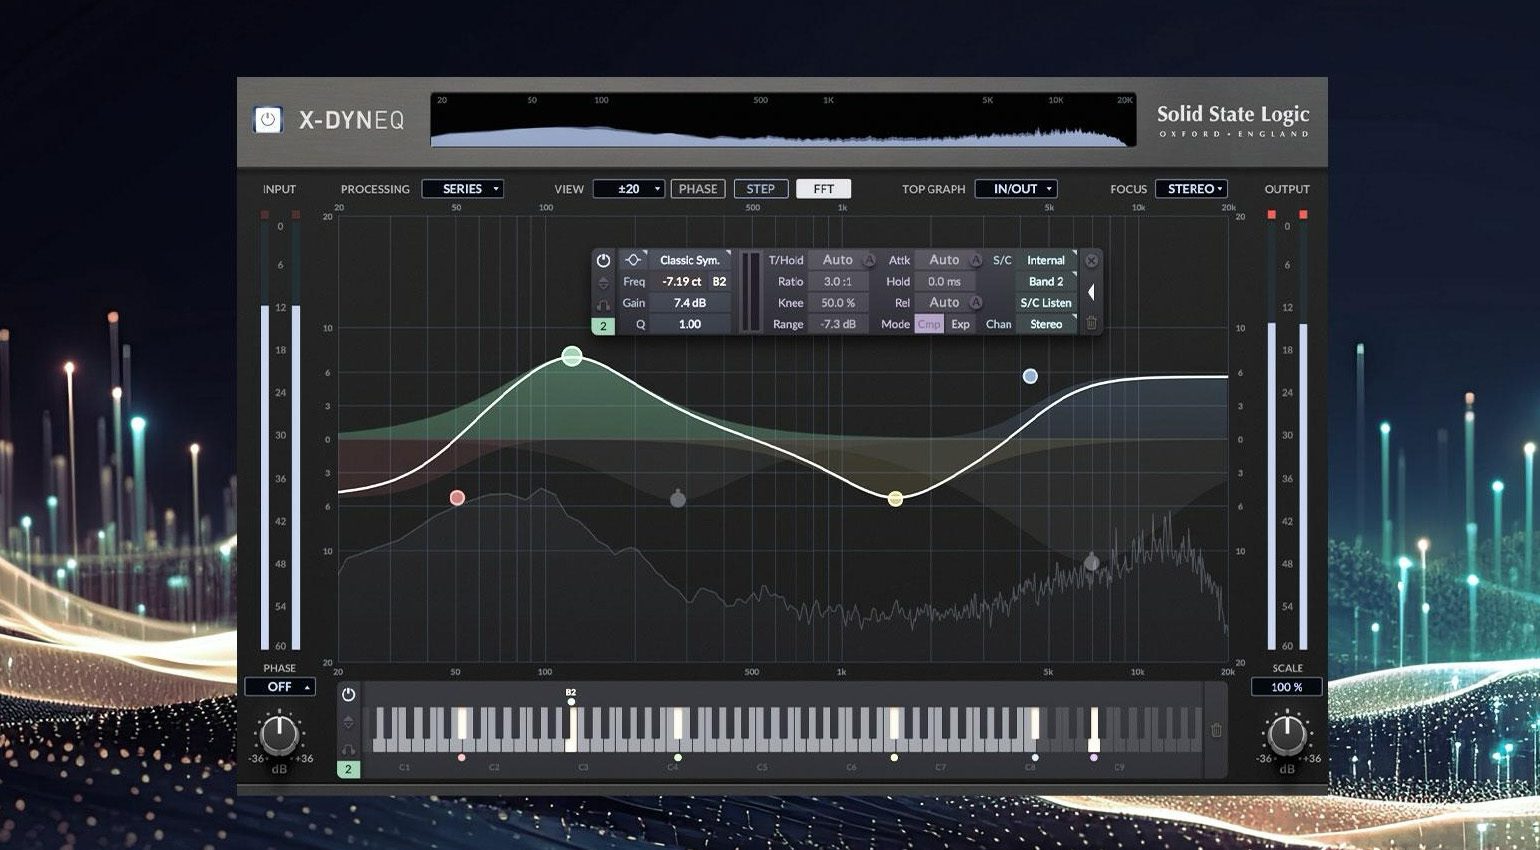
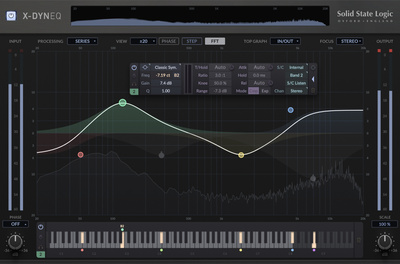
- SSL X-DynEQ is the new flagship EQ plug-in: SSL
- FabFilter_Pro_R2_pluginboutique_1 (2): Plugin Boutique
- pb: Plugin Boutique

This might also interest you